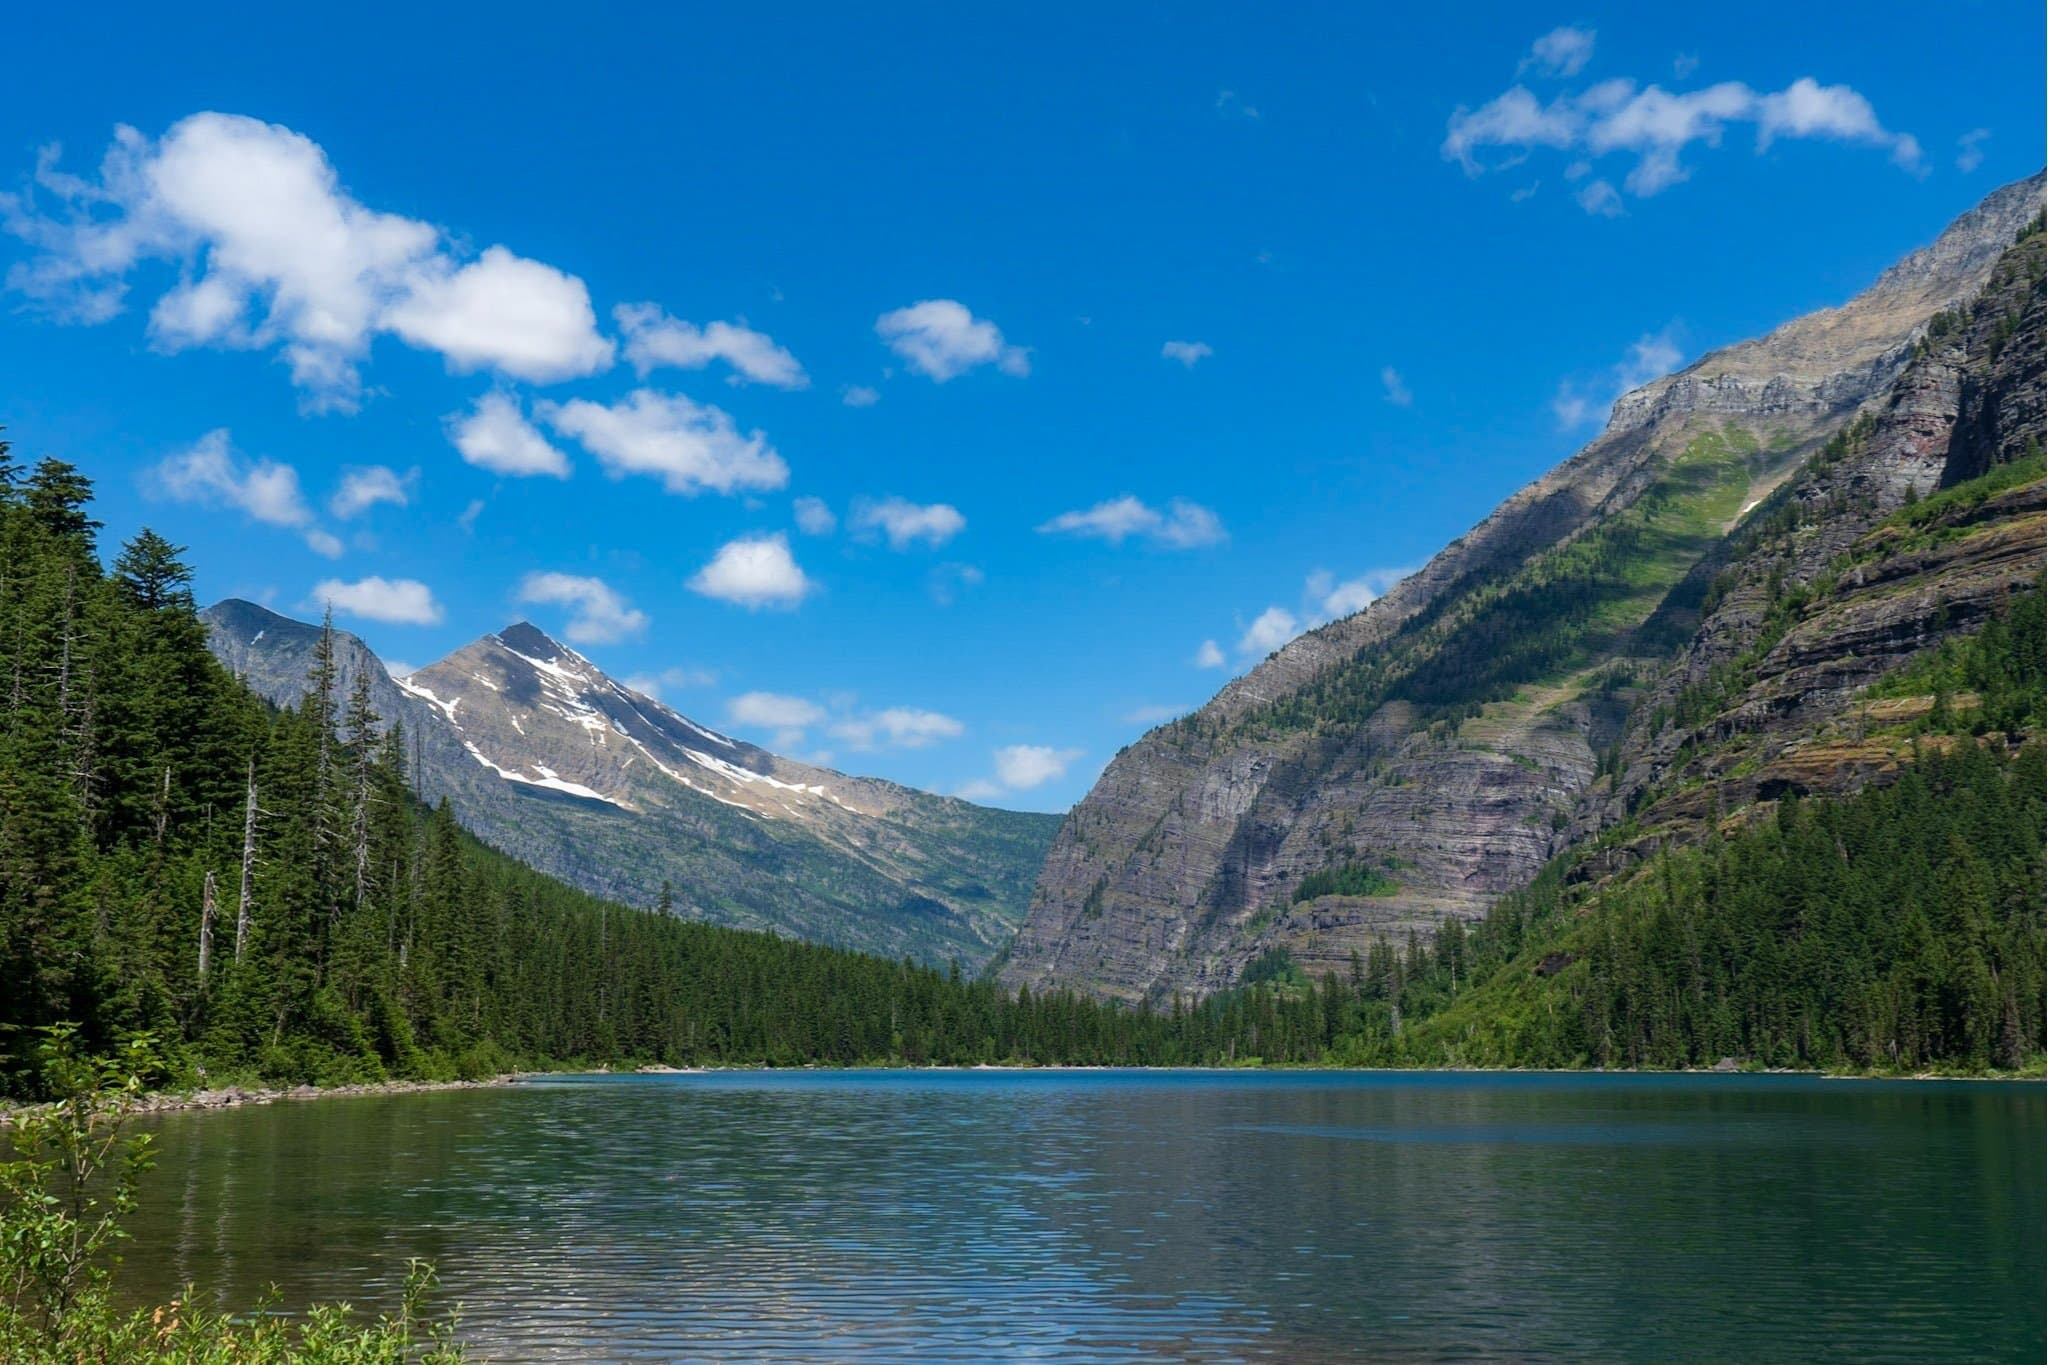
Cascading waterfalls, Stunning glacier-capped mountains. Robin egg blue alpine lakes. Avalanche Lake in Glacier National Park offers all these things- and so much more, on a moderately challenging trail that can be enjoyed by hikers of all abilities.
So, jump in the car and lace up those hiking boots—here’s everything you need to know about Avalanche Lake, Glacier National Park’s most bang-for-your-buck hike.
This post may contain affiliate links. If you make a purchase through them, we may receive a small commission, for which we are extremely grateful, at no extra cost to you.

")
About the Avalanche Lake Trail
Here are some quick stats about the Avalanche Lake Trail:
- Length: 5.9 miles
- Elevation Gain: 757 feet
- Difficulty: Moderate
- Trail map

How to get to Avalanche Lake in Glacier National Park
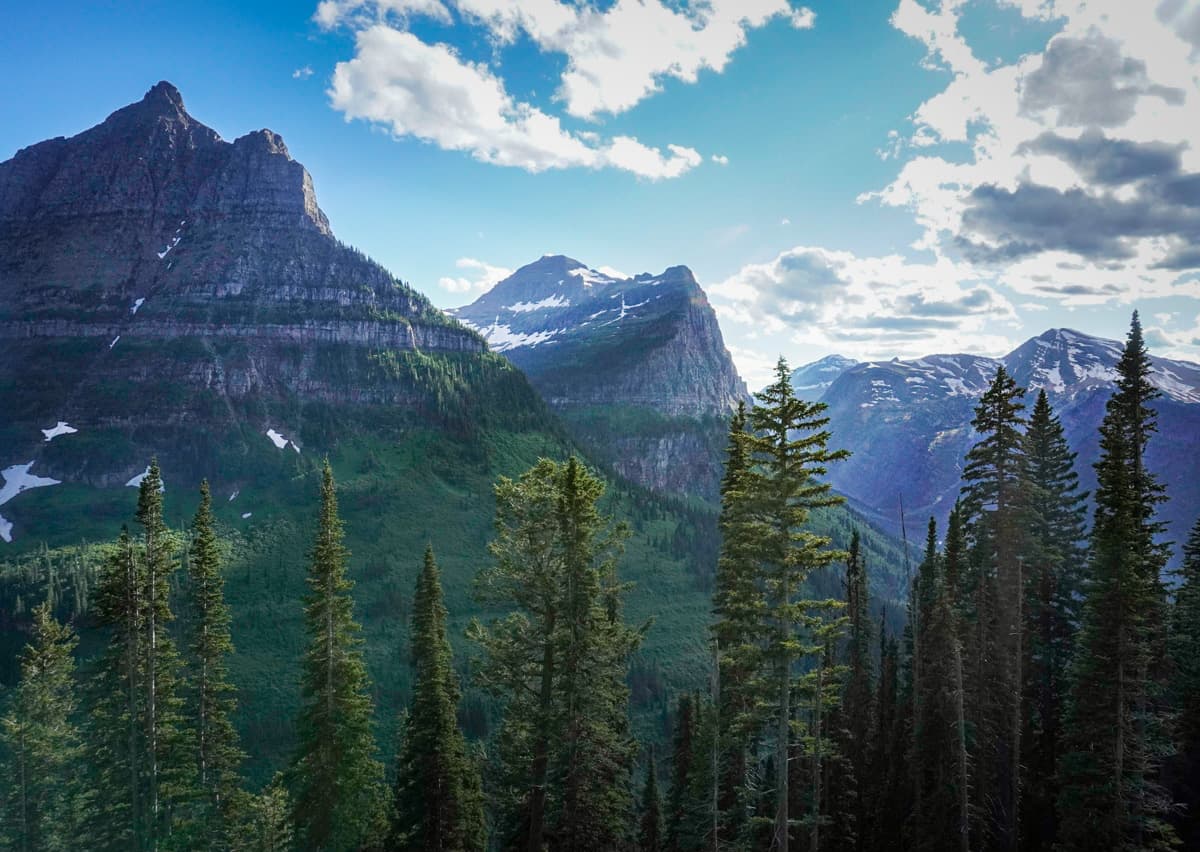
This trail is located in the jaw-dropping Glacier National Park in the northwest corner of Montana, known for its dramatic mountainscapes, glacial lakes, and active wildlife. Glacier is MASSIVE—over 1,500 square miles to be exact—and is accordingly divided into several different sections.
The trailhead for Avalanche Lake is in the West Glacier section of the park (creatively named after its location near the town of West Glacier), located here, along the famous Going-to-the-Sun Road.
In order to get to the park in the first place, pretty much all visitors will need to have a car or, if you’re flying in, to pick up a rental car. There’s no public transit to get to Glacier from any major city around the park, like Missoula or Great Falls.
To enter the park, you’ll need to either pay a $35.00 entrance fee per vehicle, good for one week, or have a valid annual interagency pass, like America the Beautiful.
Once you’re in the park, the trailhead is located about a half hour drive past the West Glacier entrance of the park, along a flat and forested portion of the Going-to-the-Sun Road.
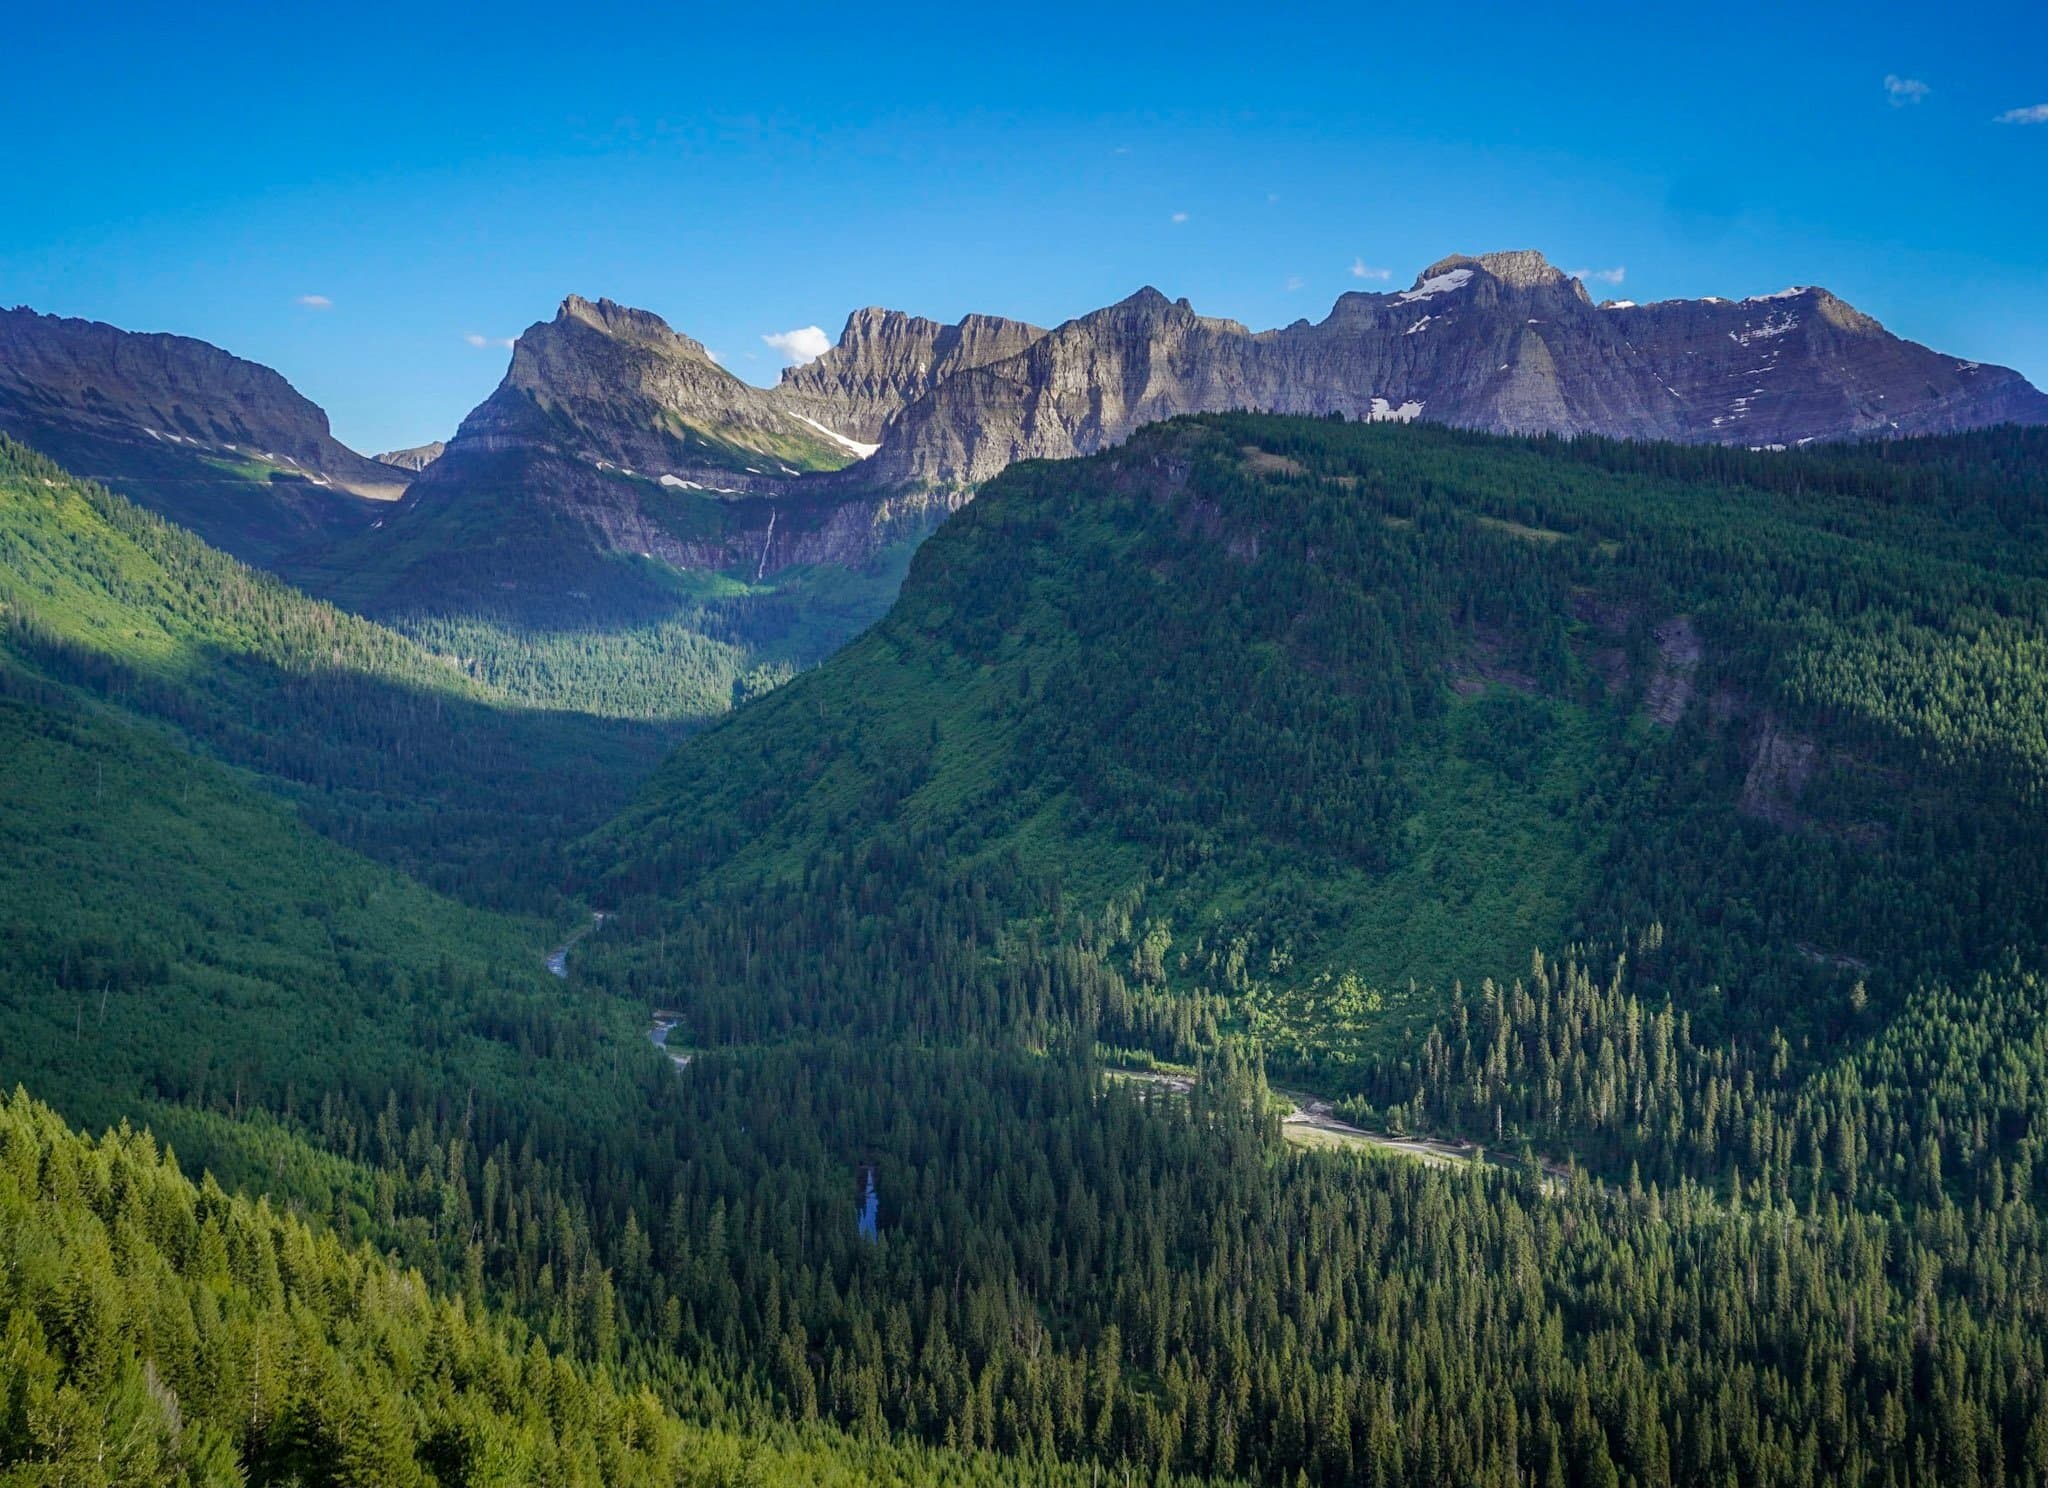
The drive itself is stunningly scenic (I mean, that pretty much describes everything in Glacier), with the beautiful Lake McDonald on your left hand side. As you get closer to the trailhead, you’ll start to catch glimpses of Glacier’s famous mountains to the northeast peeking through the treeline.
Parking at the Avalanche Lake trailhead
So good news—there’s parking for the Avalanche Lake trailhead both to the left and right side of the Going-to-the-Sun Road.
But the bad news?
Given Avalanche Lake’s popularity, scoring a parking spot in the tiny lots here can be really tough. It’s not unusual for the parking lot to fill up before 7 AM during the summertime. And beyond the designated parking lots by the trailhead, there’s only a handful of spots along the road within a mile of the trailhead.
Justin and I have hiked the Avalanche Lake multiple times, with varying levels of success getting a parking spot near the trailhead. In fact, we showed up once at 6 AM on a Saturday—and still couldn’t find a parking spot.
All that is to say, I highly recommend getting here early (as in, before 6:30 AM) or later in the day, like after 4 PM, to make sure you can snag a parking spot.
In previous years, you could take a shuttle from the Apgar Visitor Center to the Avalanche Lake trailhead, but, as of 2026, the shuttle no longer stops here. Accordingly, the parking situation is probably going to be significantly worse in 2026!
Are vehicle reservations required for Glacier National Park?
In past years, you were required to have a vehicle reservation to enter Glacier during its busiest months.
However, the park lifted this requirement in 2026 and no longer offers vehicle reservations. So expect the park to be even busier—and parking to be even MORE challenging!
What to expect while hiking to Avalanche Lake
From the parking lot, you’ll start hiking to Avalanche Lake via the Trail of the Cedars, a 0.9-mile wheel-chair accessible nature walk with a wooden boardwalk that loops through a beautiful grove of towering cedar trees.
The trail here will also follow along Avalanche Creek on your left—about 0.3 miles in, you’ll cross over a wooden pedestrian bridge that leads to views of a bright blue waterfall cascading through the gorge below.


From here, continue straight for just 0.1 miles and you’ll find a junction towards either Avalanche Lake or towards the Avalanche Campground. Keep left here and climb up the short, but steep hill towards Avalanche Lake (this is technically the Avalanche Lake trailhead).
You’ll follow along the path from this point for about 2.3 miles towards Avalanche Lake, with the rushing glacial waters of Avalanche Creek immediately to your left for the first mile of the hike and mossy hemlock and cedar trees soaring above.
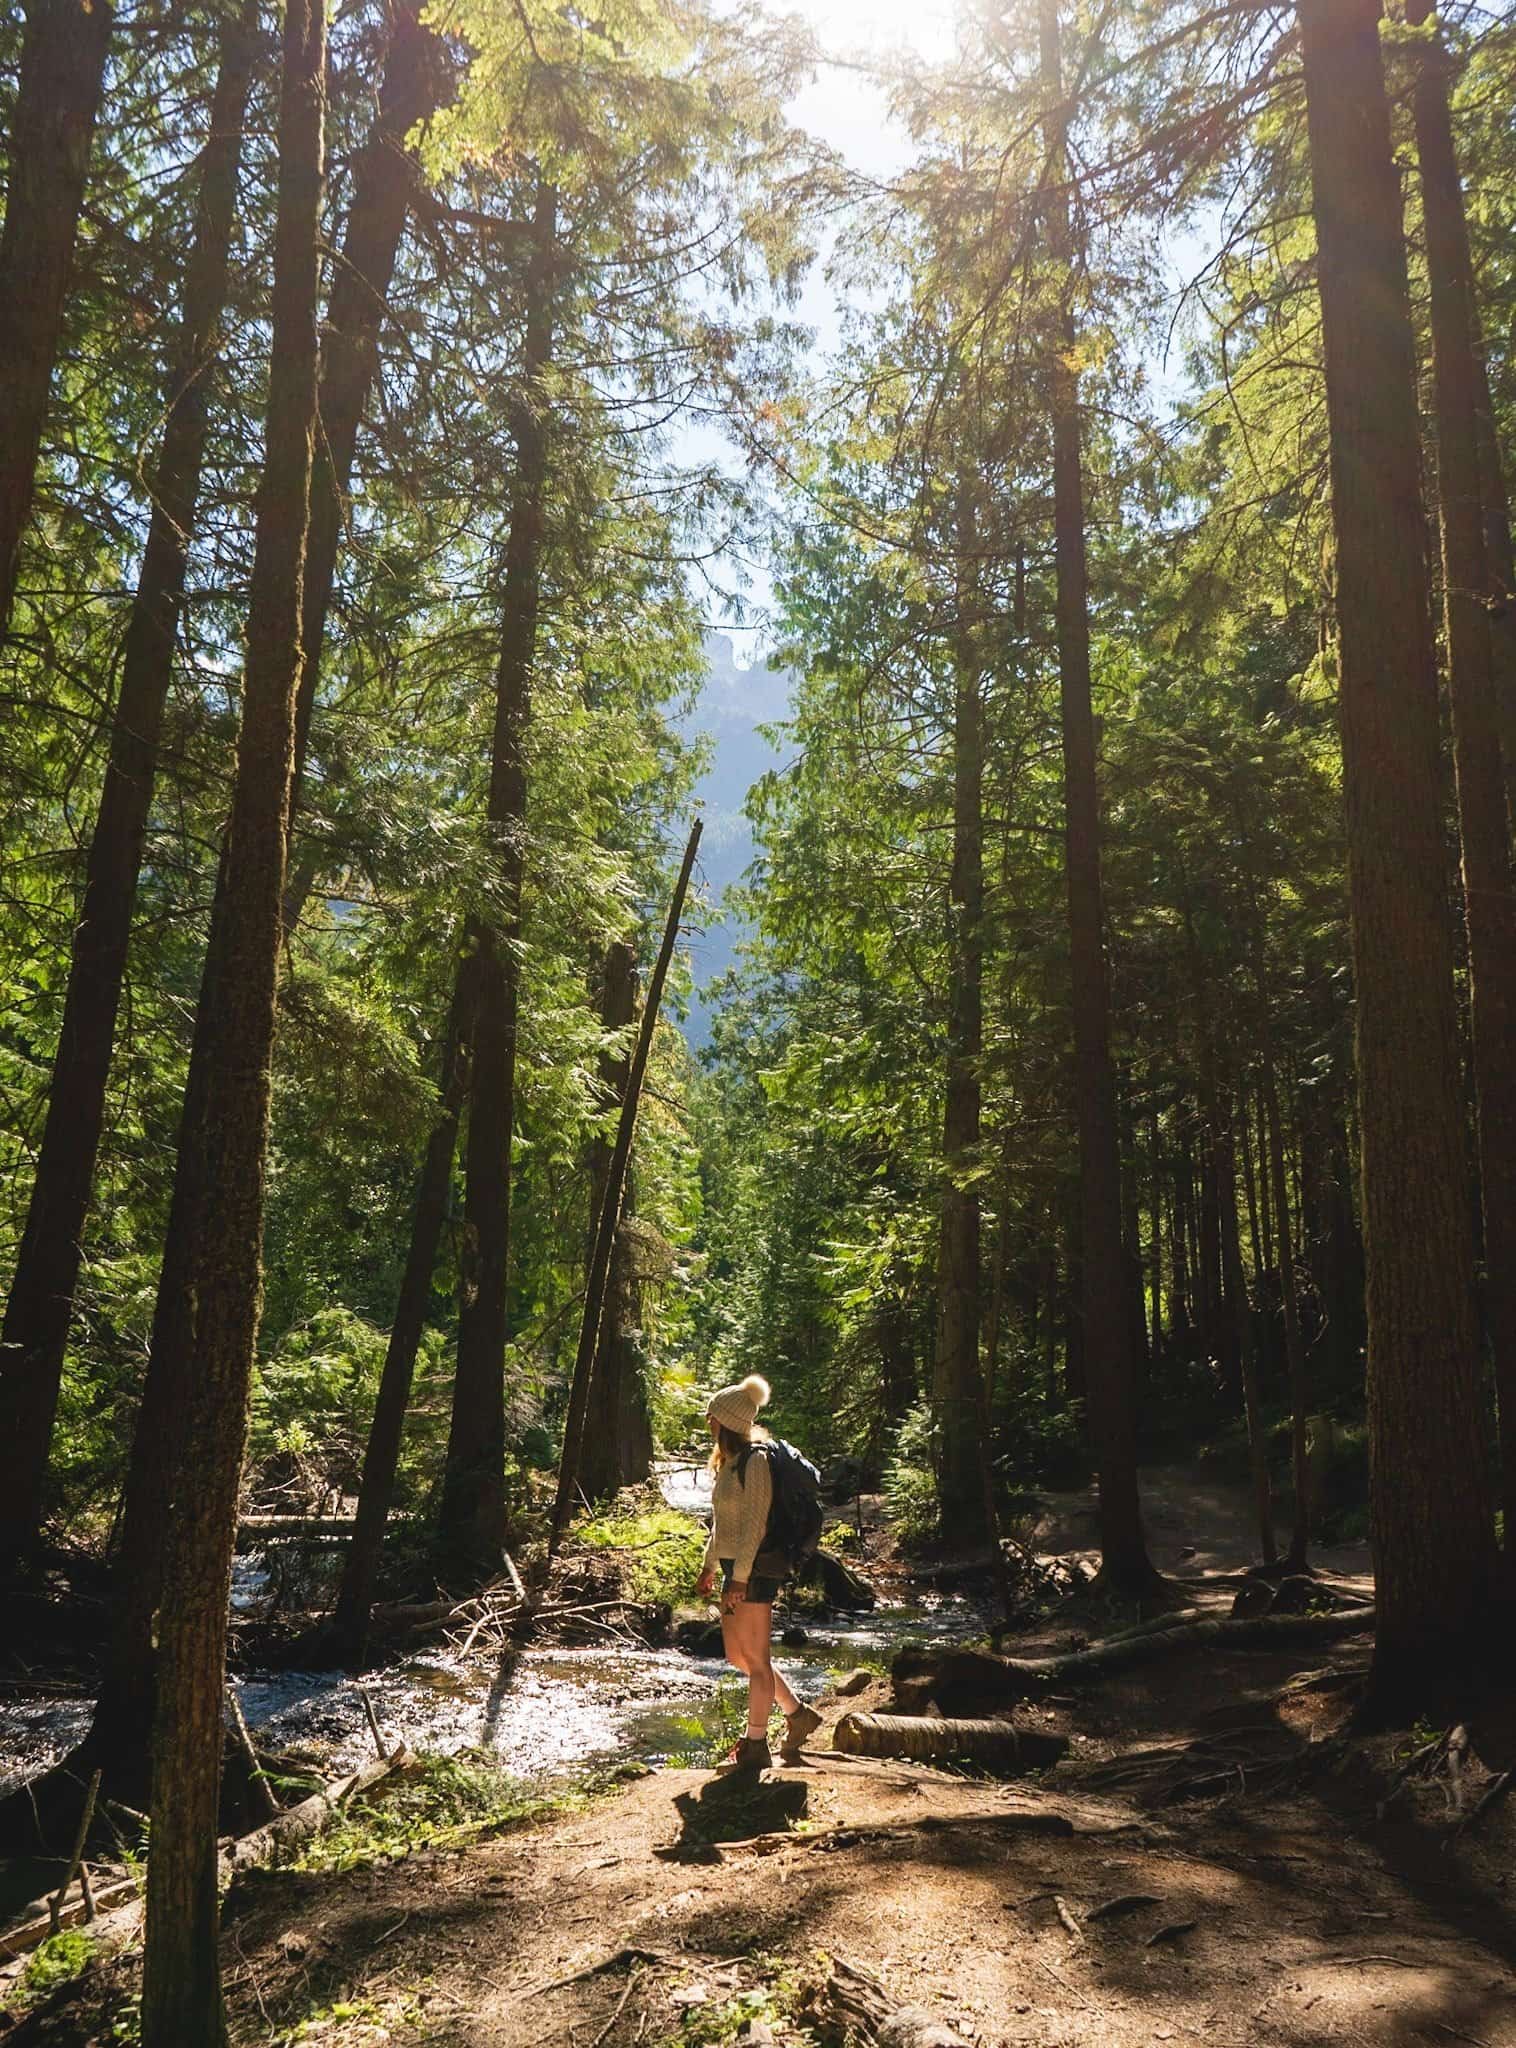
A little over a mile in, the trail will diverge a bit from the creek, although you’ll always be able to hear the peaceful sounds of it trickling in the distance.
The elevation gain along the path is pretty steady and can feel like a bit of a Stair Master workout (especially on a hot summer day), but about 1.5 miles from the Avalanche Lake, the path will blessedly even out.
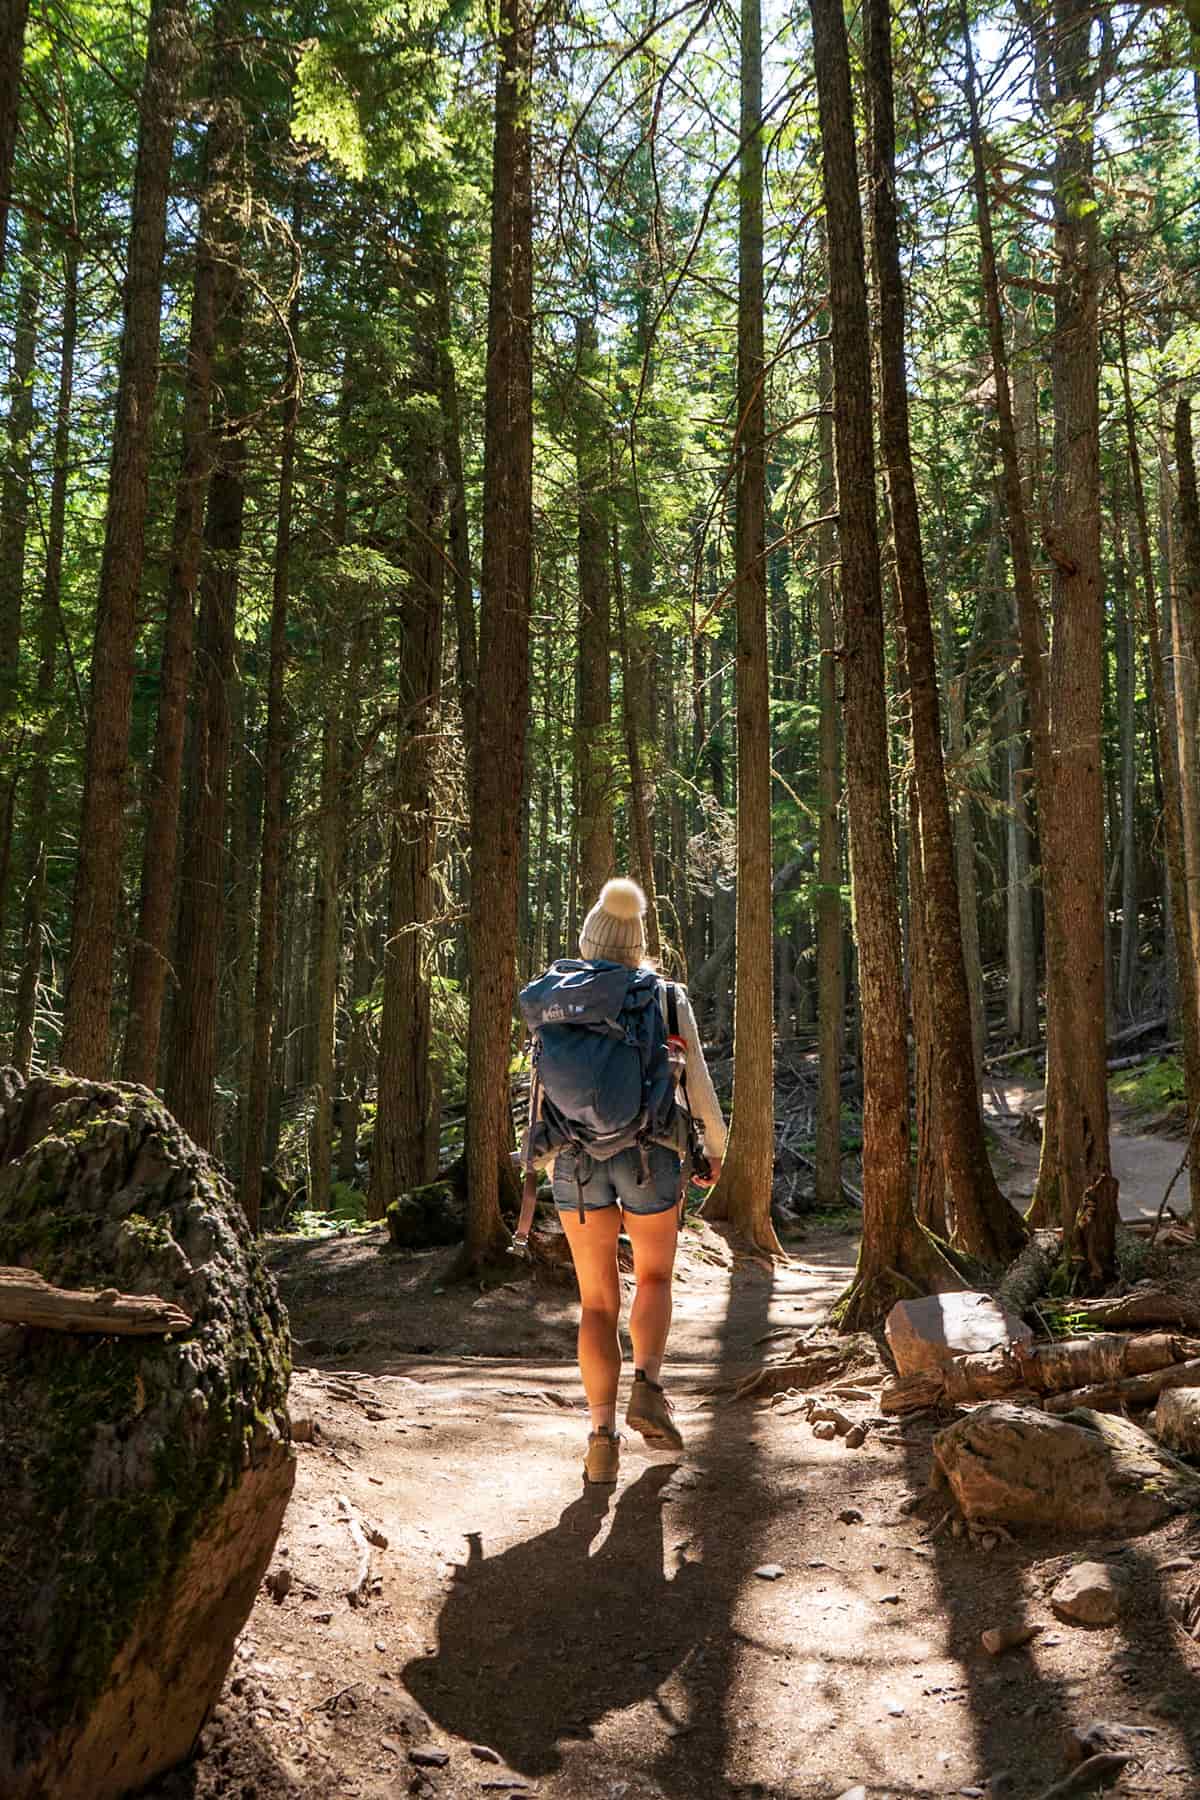
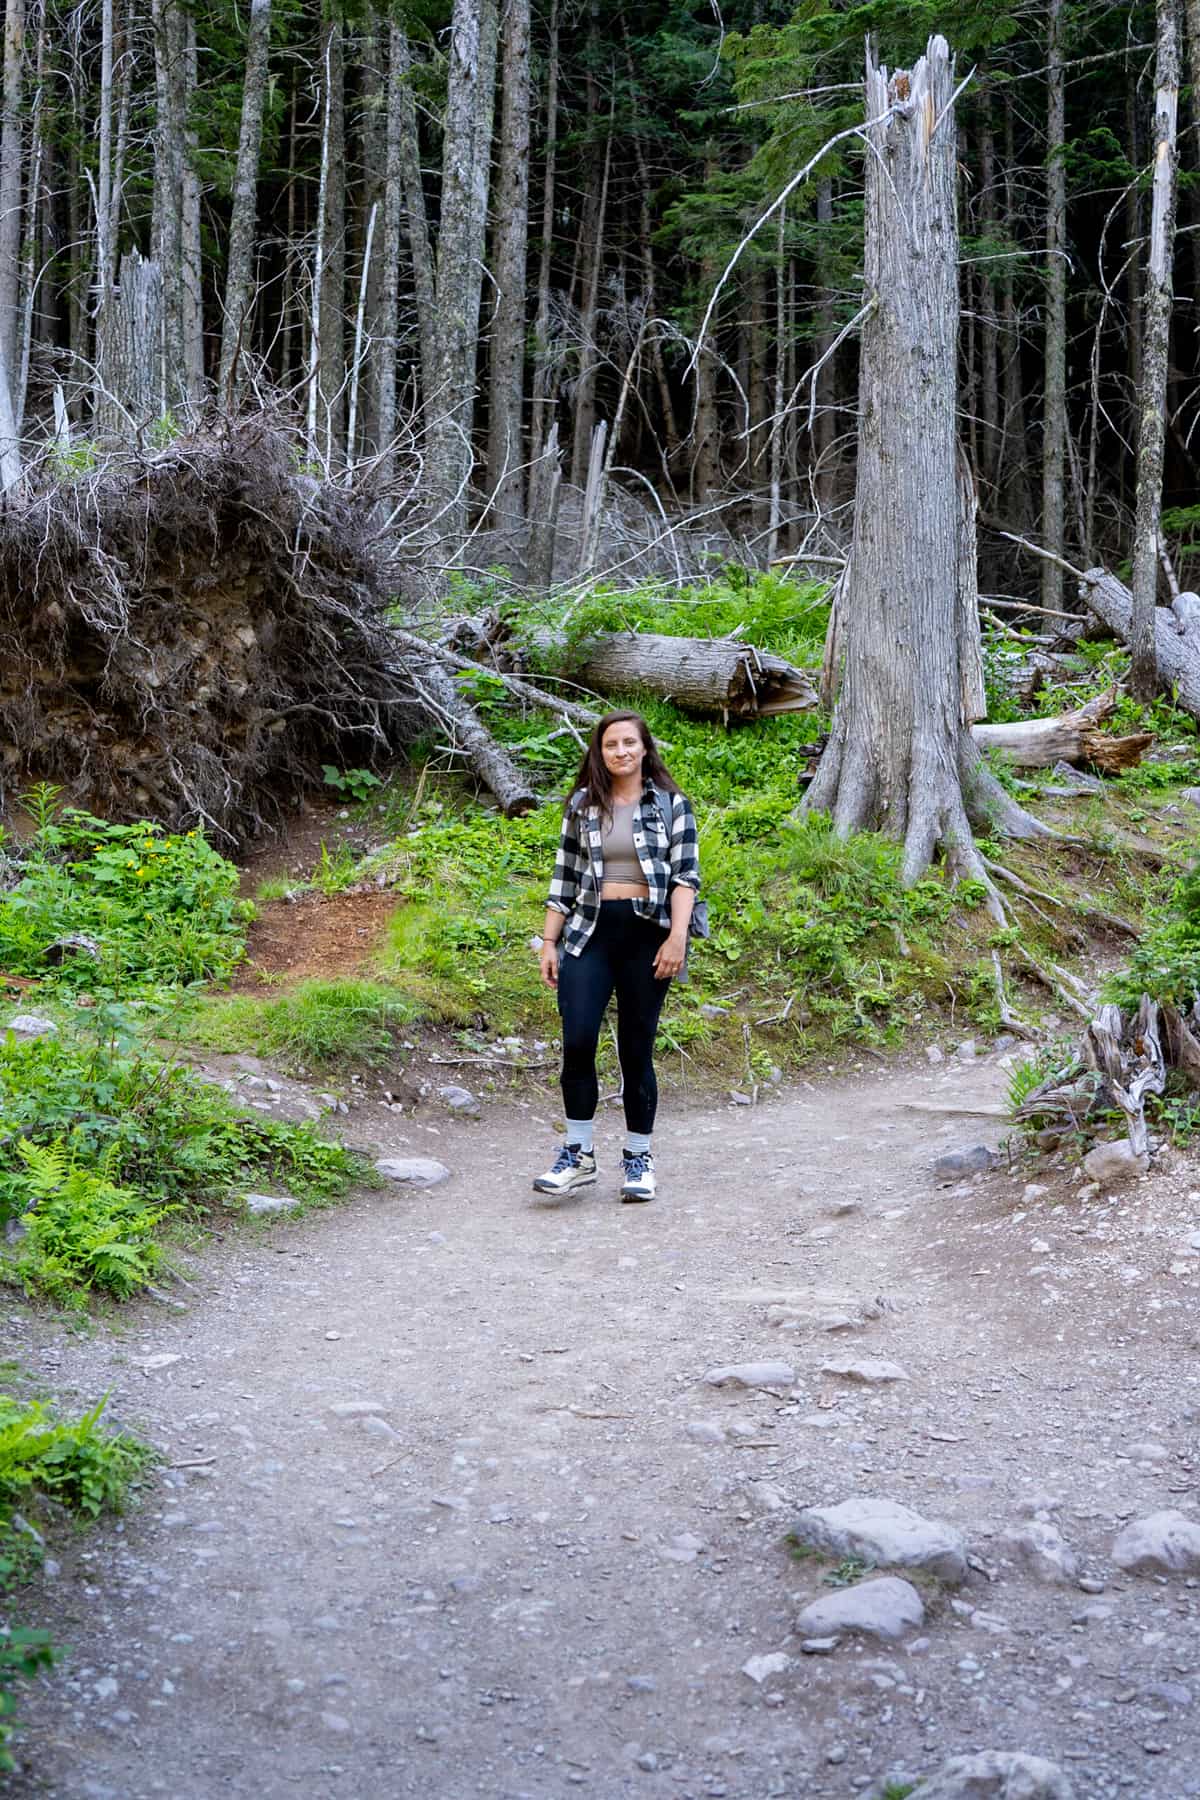
While the elevation gain can be tough in some sections, we saw hikers of all abilities on this hike- families with tiny children in tow to older hikers and people with bougie-looking hiking gear. So Avalanche Lake really is the perfect trail for every kind of hiker!
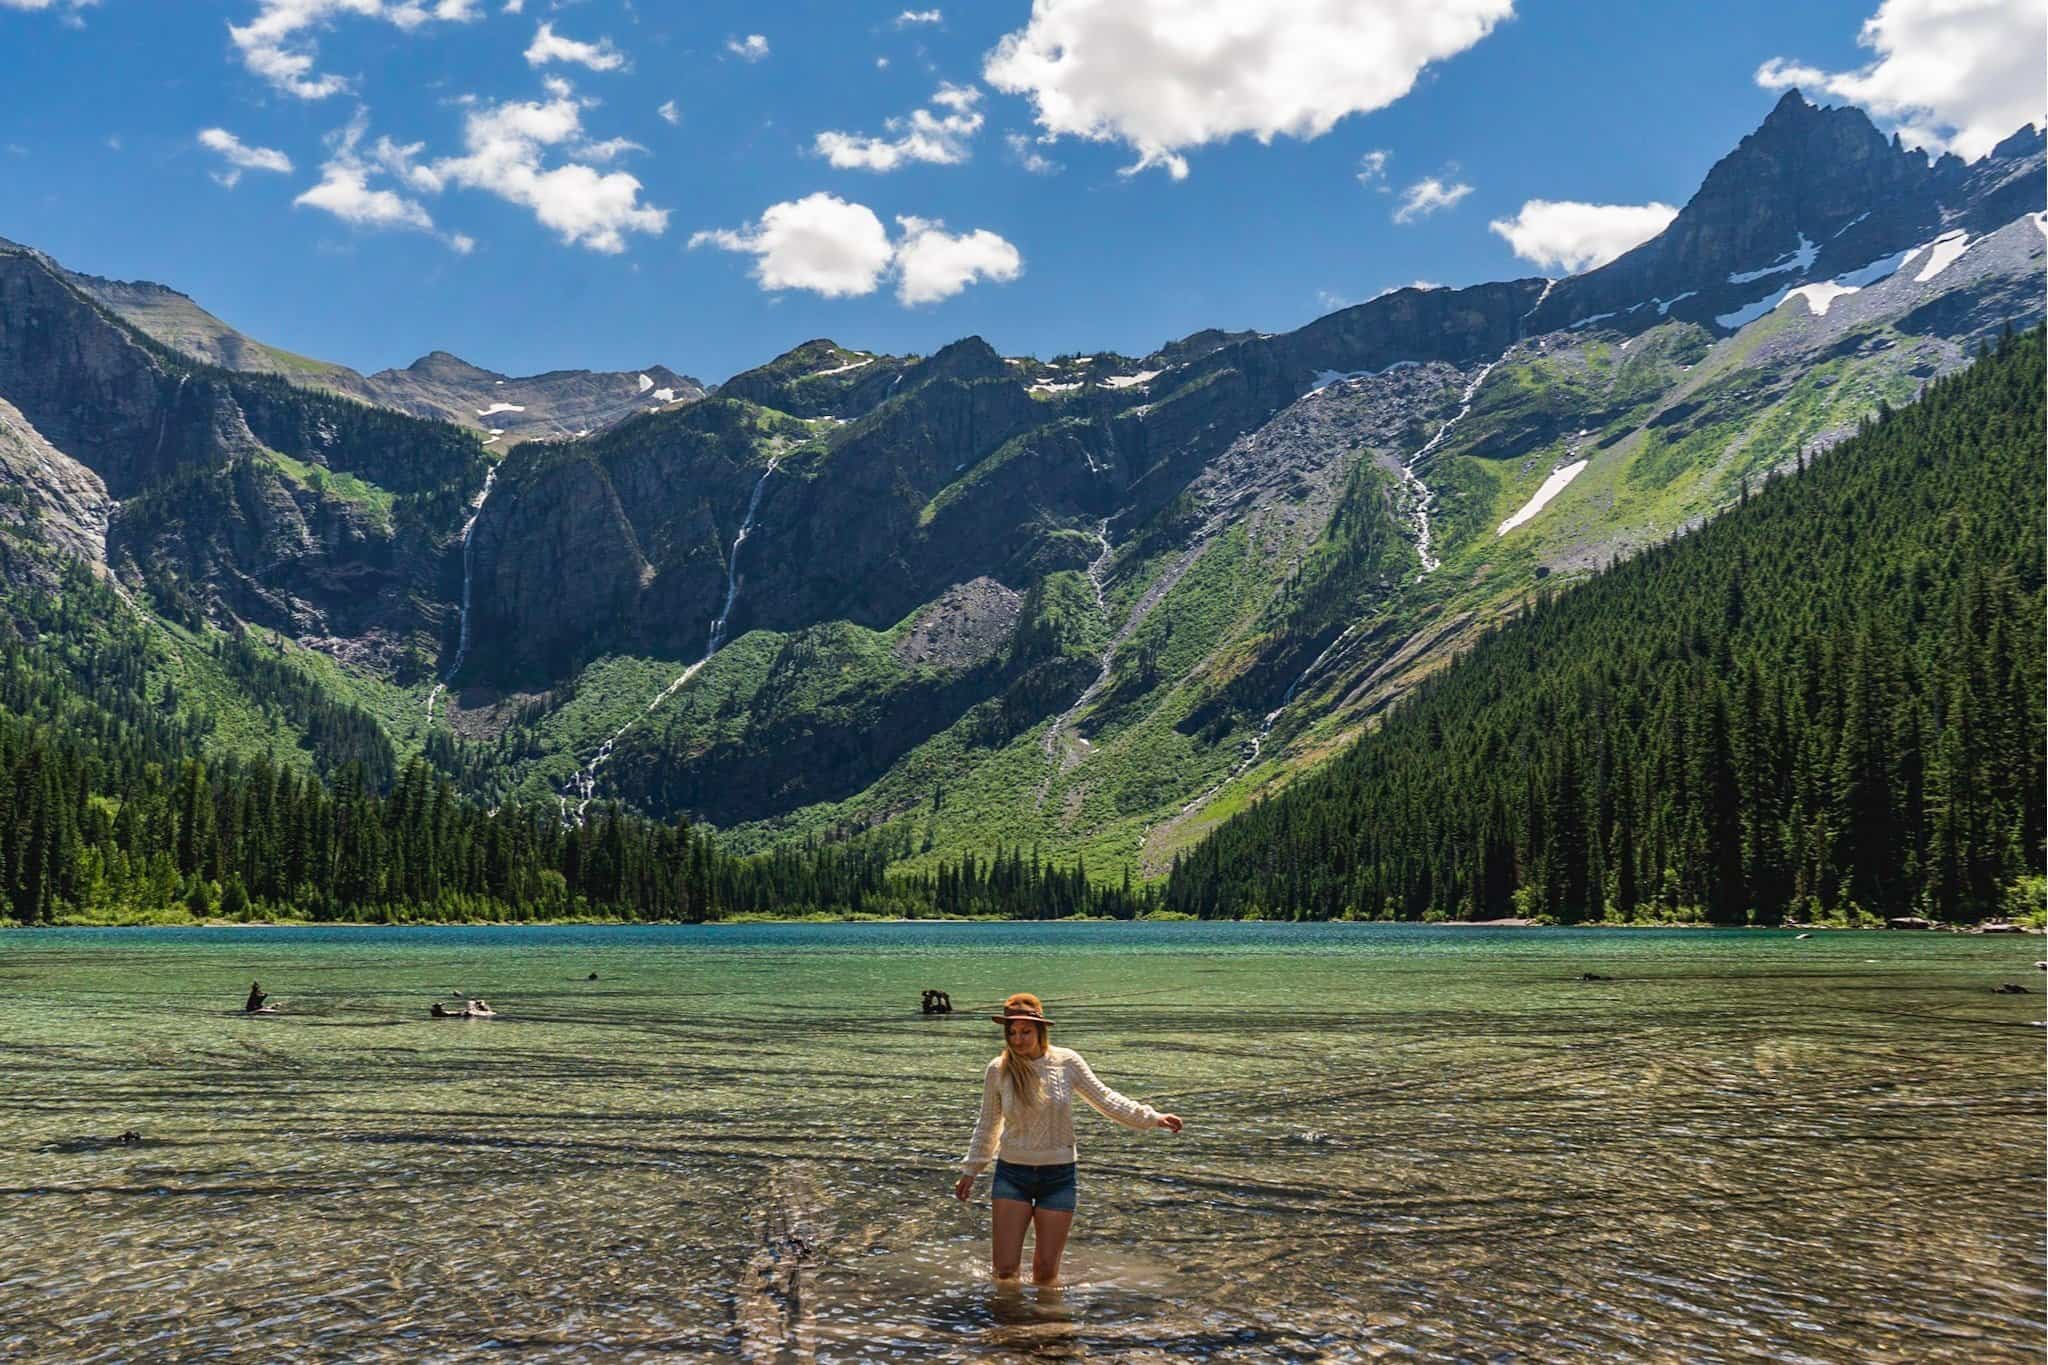
Continue along the path until you get a sneak peak of what you came for through the trees- Avalanche Lake! Make sure you walk past the shoreline strewn with fallen trees on the left (it’s kind of a fake-out reveal!) and continue a couple hundred yards further to a small beach that provides sweeping views, looking to the south, where Bearhat Mountain towers almost 4800 feet above.
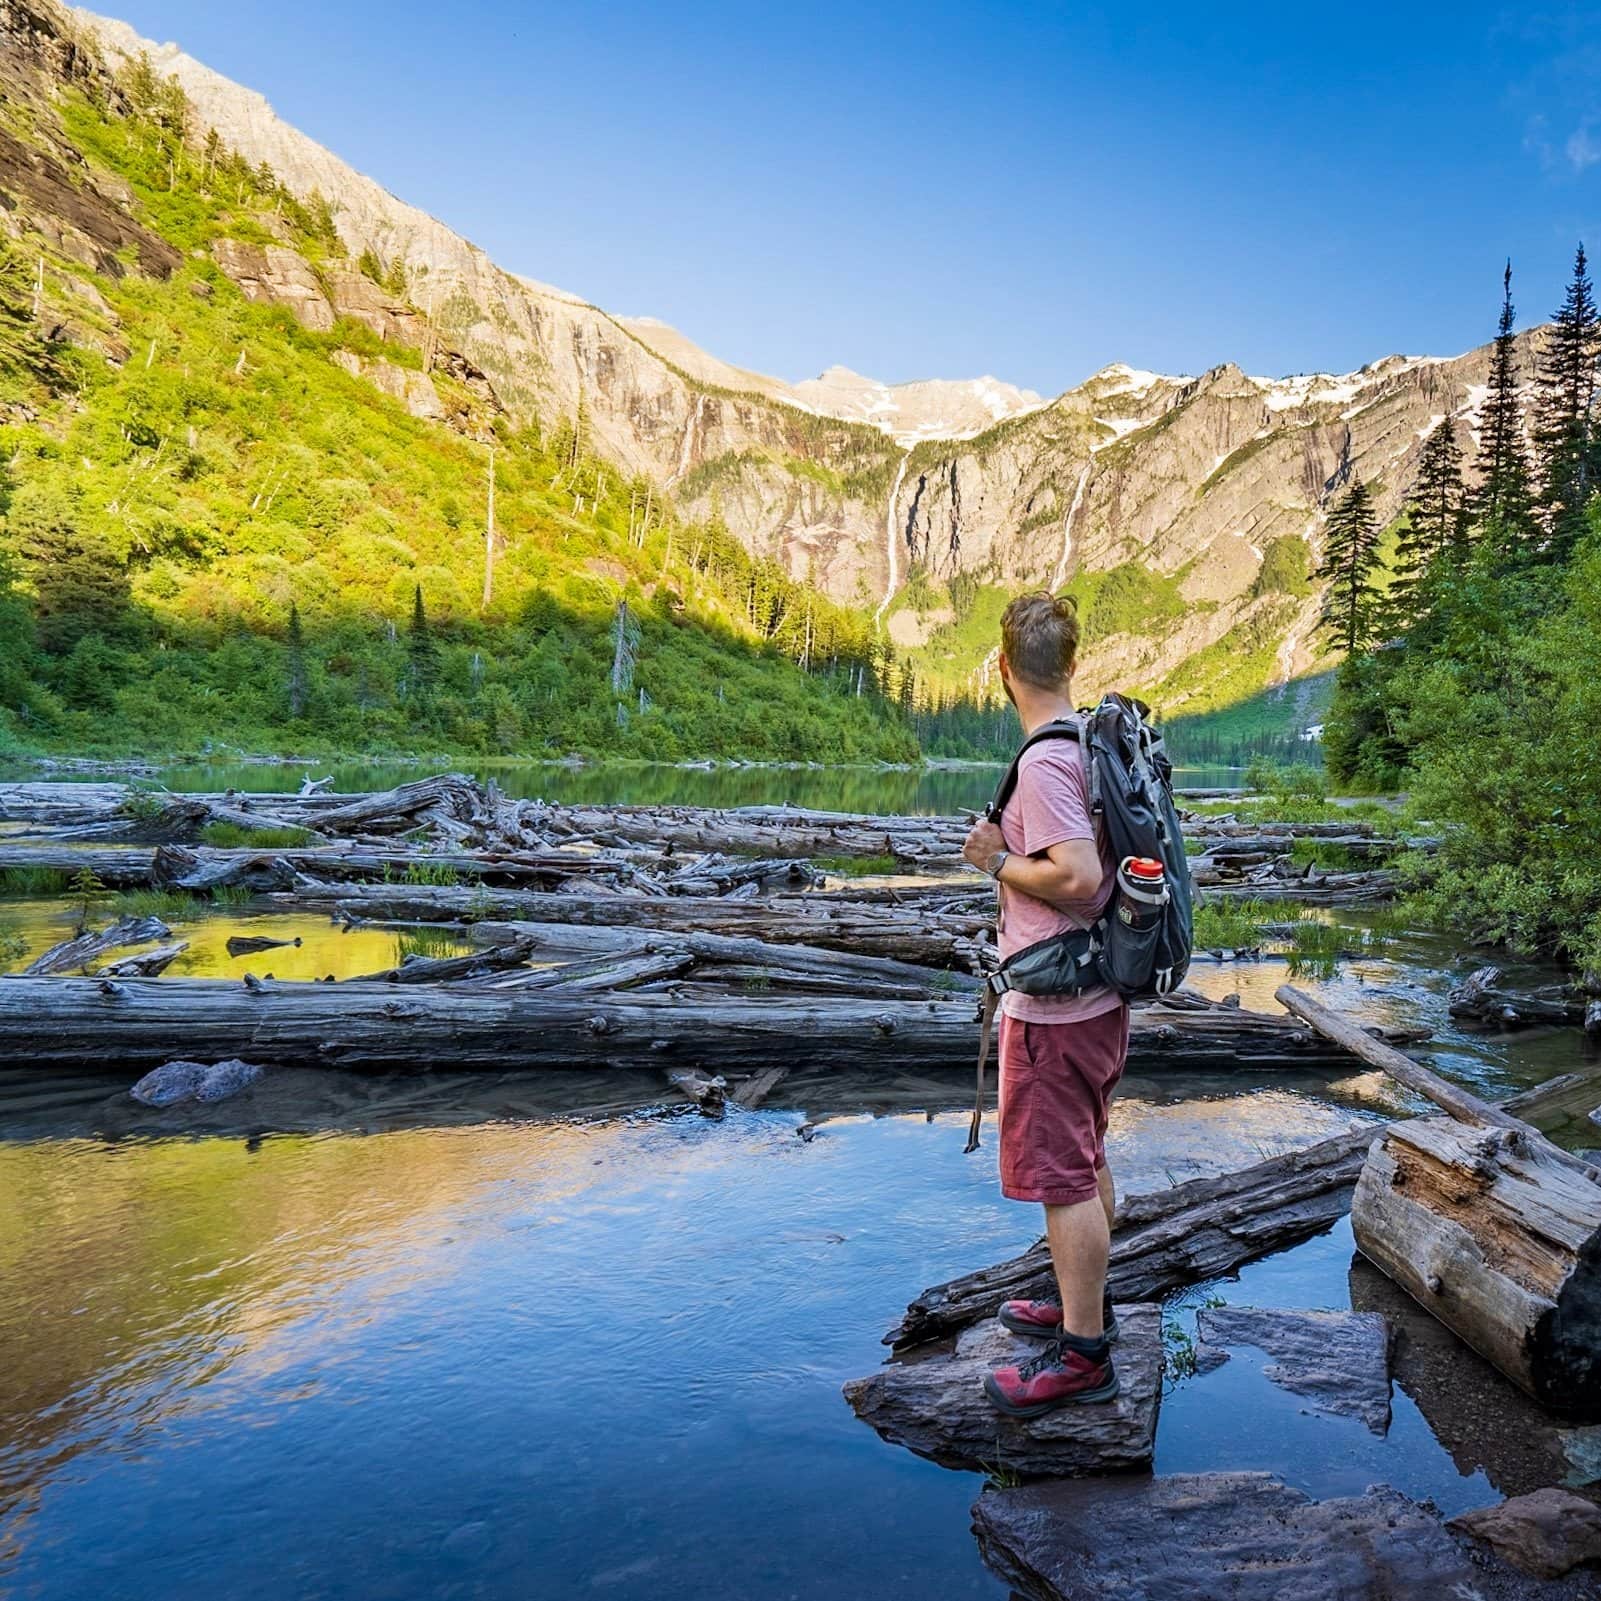
From spring through late summer, there will be several glacial-fed waterfalls cascading hundreds of feet down the mountain into the lake below. At this small beach, you can sit and admire the view, have a picnic, or just rest up for the hike back (which is, thankfully mostly downhill)- in fact, during one of our times here, we even saw a couple taking wedding photos!
You can either head back to the trailhead from here or, alternatively, if you want to get away from the hubbub of this viewpoint, you can continue on the trail to the right of the beach for another 0.7 miles to reach the southern end of the lake.
This area offers yet another little beach- it’s much quieter than the main beach area and provides some interesting perspectives of the surrounding mountains. No matter what beach you end at, if you do your hike during the summertime, be sure to dip your toes in the frigid waters before you leave- it will undoubtedly cool you right off!
When to hike to Avalanche Lake in Glacier National Park
The most popular time to hike to Avalanche Lake is during the summer and fall, from around July through late September.
Unlike many of the hikes in Glacier, Avalanche Lake is theoretically open year-round, with the annual closure of the Going-to-the-Sun Road only impacting the road immediately north of Avalanche Lake to St. Mary’s on the eastern side of the park.

That being said, because of Glacier’s elevation (and, you know, the whole “it’s located in northwest Montana” thing), the area gets really heavy snowfall in the wintertime (which, for this area of Montana, lasts from October through April) and the road to the trailhead may be closed due to snowy conditions. So before you head to the park, it’s always a good idea to check the Glacier Road Conditions page.
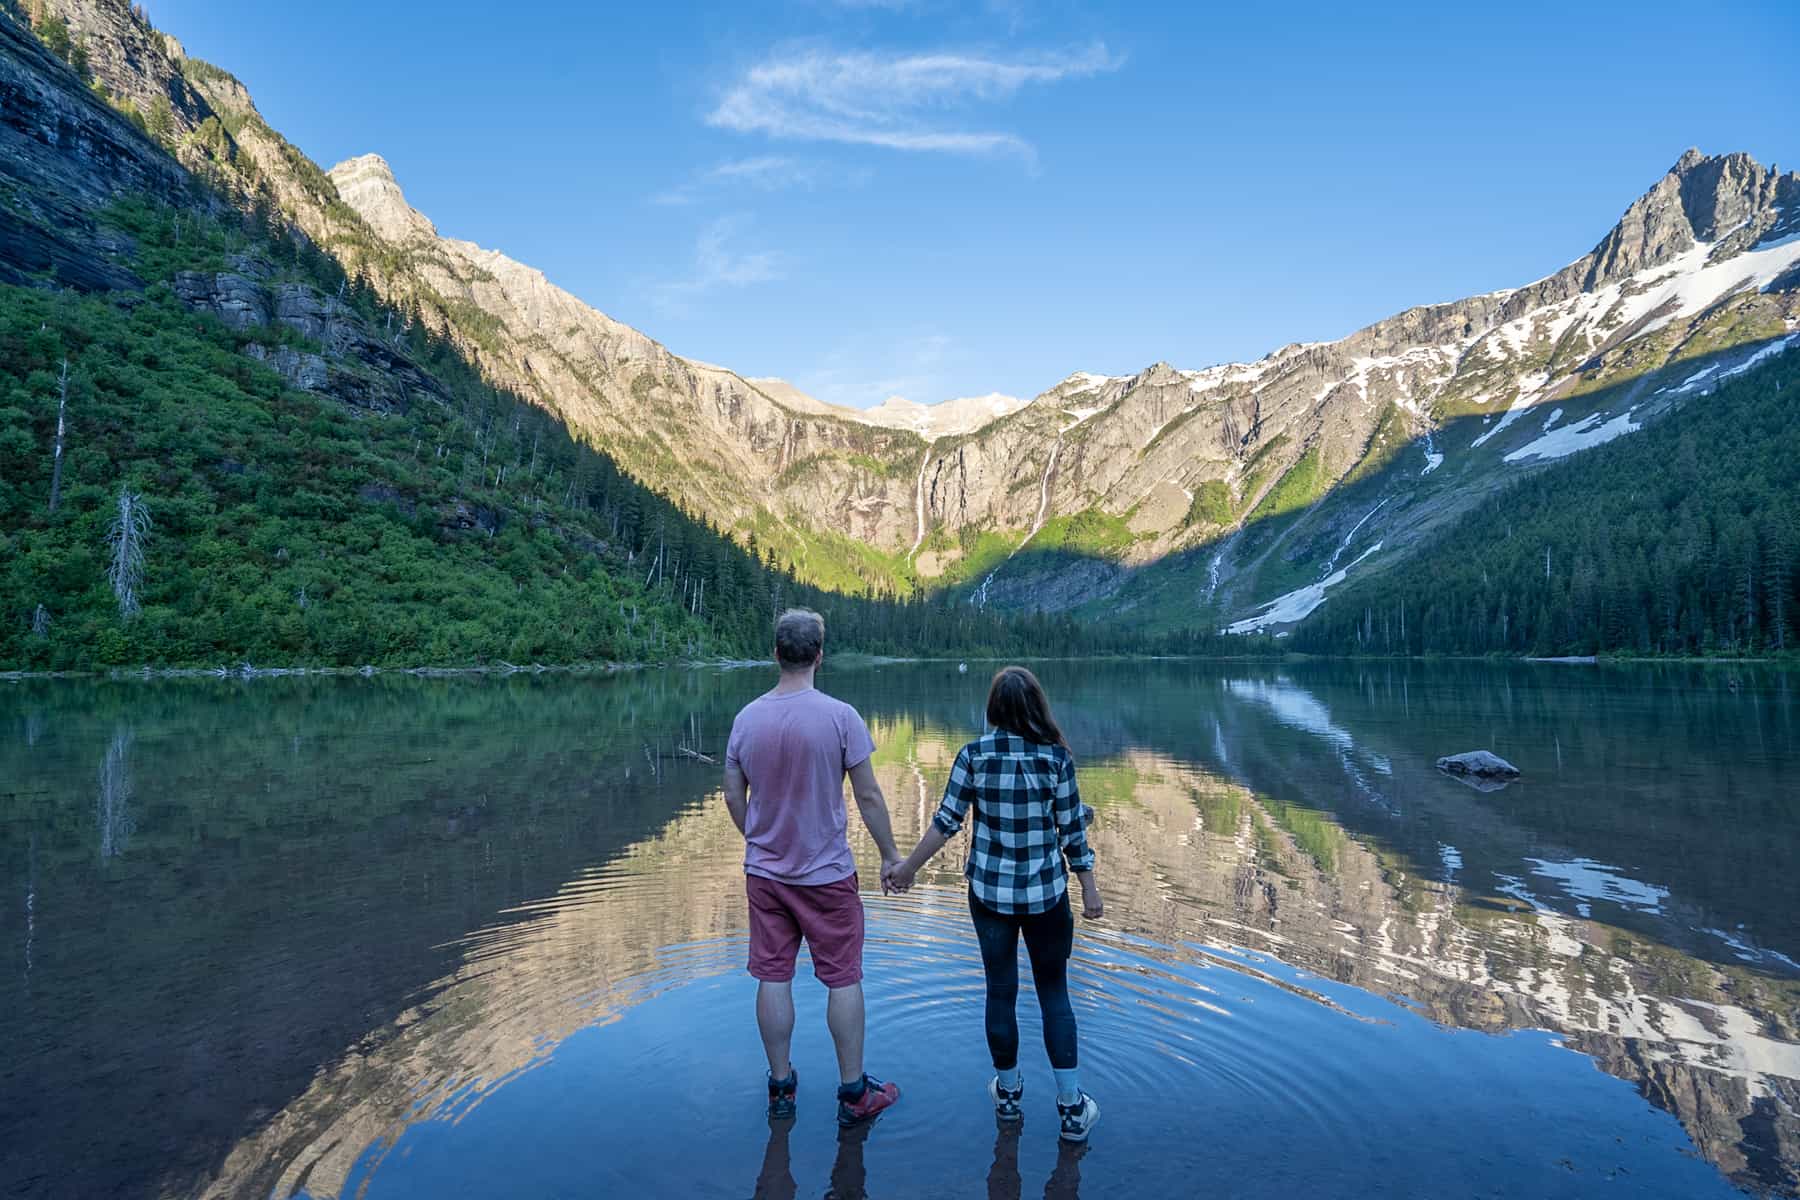
As for what time of the day to visit, the best time to get photos is in the morning or an hour or two before sunset.
During our first hike to the lake, we headed here around noon and unfortunately, the harsh angle of the sun at that time washed all of our photos out.

On our second time here, though, we hiked in the late afternoon and got some really cool reflections in the lake’s water and spectacular glowy light. Golden hour wins again!
Can you camp at Avalanche Lake?
While you’re not allowed to camp at Avalanche Lake, there’s a campground right by the trailhead, called the Avalanche Campground or you can alternatively book a stay at the nearby Lake McDonald Lodge.
Tips for hiking to Avalanche Lake
Have a back-up plan in case the trail is closed due to bear activity.
I’ve had two friends visit Glacier shortly after us and Avalanche Lake was unfortunately closed during both of their visits due to bear activity. This kind of goes for all of the trails in Glacier- remember, you’re just a visitor in the bears’ home!
Plan for it to take longer than you expect.
Theoretically, the hike should only take about two to three hours, but between exploring both of the beaches and taking hundreds of photos along the beautiful trail, Justin and I somehow spent a ludicrous FIVE hours on the trail the first time we visited.
While I’m sure that’s the higher end of the spectrum, I’d plan for the hike to take at least three hours (and longer, if you’re a photo enthusiast like us!).


Be wary of the chipmunks.
While there are bears in Glacier, there’s one animal that’s more of an active threat for you while you’re hiking Avalanche Lake- the fear-inducing chipmunk.
Okay, I obviously kid, but the chipmunks at Avalanche Lake can be quite aggressive about stealing your snacks. Remember to always follow the Leave No Trace principles, don’t feed the chipmunks (it messes with the ecosystem and just encourages their chipmunky bad behavior), and be sure to pick up any waste you may have generated.
What to pack for Avalanche Lake
Avalanche Lake is a fairly short day-hike, so, while you thankfully don’t need much, here are some things that will make your hike that much better:
Water
With its steep elevation gain, this trail can kick your butt- especially in the heat of summer.
So be sure to bring along plenty of water- I always carry one of these big Nalgene bottles on our hikes. Since they’re refillable, they’re better for the planet than disposable plastic bottles- plus, they’re kinder to your wallet!
Bear spray
There are both grizzly and black bears that call Glacier home. It’s unusual for either kind to be aggressive towards humans and it’s unlikely they’ll harm you, although mother bears have been known to be aggressively protective around their young.
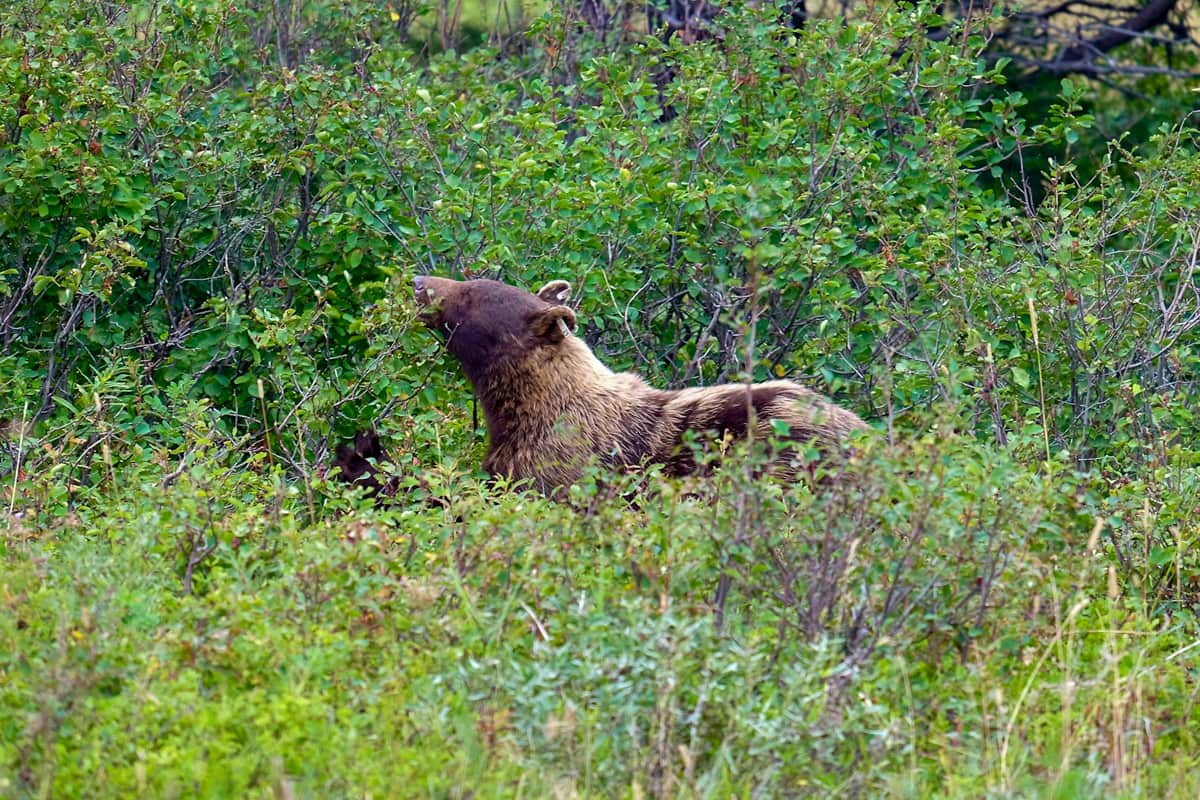
Because of this risk, I take bear spray (which is used much like pepper spray to temporarily disorient, but not injure aggressive animals) with me whenever I go hiking in bear country. Although we thankfully have never had to use it, we have this one.
Swimsuit
The water in the lake is icy cold, but we saw some people frolicking in the lake both times we visited.

So, if you’re visiting in the summertime and are a hearty soul, don’t forget your swimsuit (like this one for women and this one for men)!
Offline maps
Cell signal here sucks- be sure to download offline maps of the area and the trail on both the Google Maps and All Trails apps before you hit the road.
Pssst… you'll need the AllTrails+ version of the app to download the offline trail map. Luckily, you can get a 7-day free trial, PLUS our awesome readers get a sweet 30% off discount for their first year—just use the code “Uprooted30” at check out!

If you’ve been thinking about upgrading your AllTrails account to the paid version (I know it took me, like, five years to make the jump), we wrote a whole post about whether an AllTrails+ account is worth it.
Avalanche Lake in Glacier National Park is one of the best hikes I’ve done that’s so accessible to all hikers- and I hope you love it too! Let me know if you have any tips for the trail- or about any crazy chipmunk encounters- in the comments below!
Thank you for reading our post! Check out our latest stories here and follow us on Instagram (@JustinAndJess_), YouTube, TikTok, or on Facebook to see what we’re up to next!
