

The Narrows is the most iconic hike in Zion National Park, leading you directly through the turquoise waters of the north fork of the Virgin River, sometimes in chest-deep water, as you trek between the towering walls of Zion Canyon. As you might imagine, this isn’t really a hike that you should just show up at—between getting to the trailhead to what to wear as you walk through the river, this is definitely a trek that takes a bit of pre-planning.
My husband, Justin, and I recently hiked The Narrows trail and figured out tons of tips and tricks along the way to make your experience trekking through the Virgin River that much better. Here’s everything you need to know about The Narrows, the most unique hike in Zion National Park.
This post may contain affiliate links. If you make a purchase through them, we may receive a small commission, for which we are extremely grateful, at no extra cost to you.
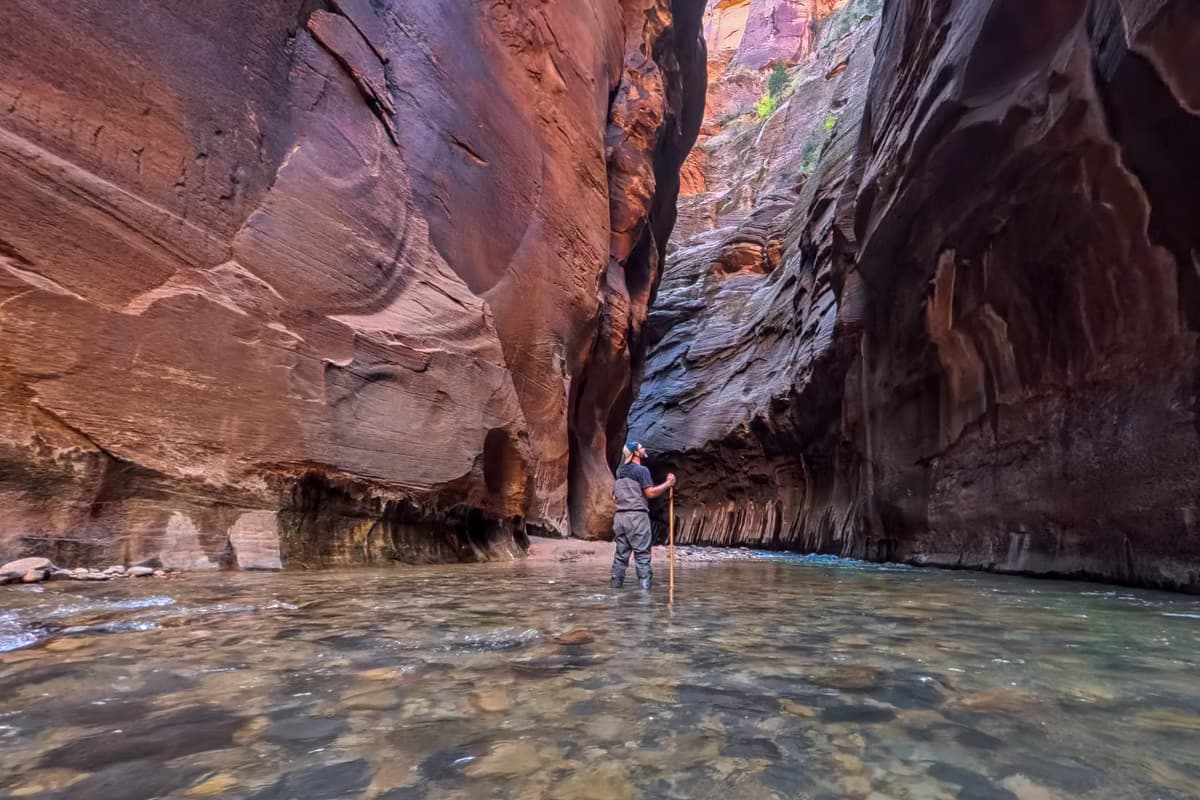

About The Narrows in Zion National Park
As mentioned above, The Narrows trail leads directly through the freezing cold waters of the Virgin River, as you slip and slide over bowling ball sized river rocks and walk through the narrowest area of Zion Canyon.
One of the cool things about The Narrows is that it’s kind of a choose-your-own-adventure. You can hike as little or far as you want (you don’t even need to hike in the water if that’s not your jam!).
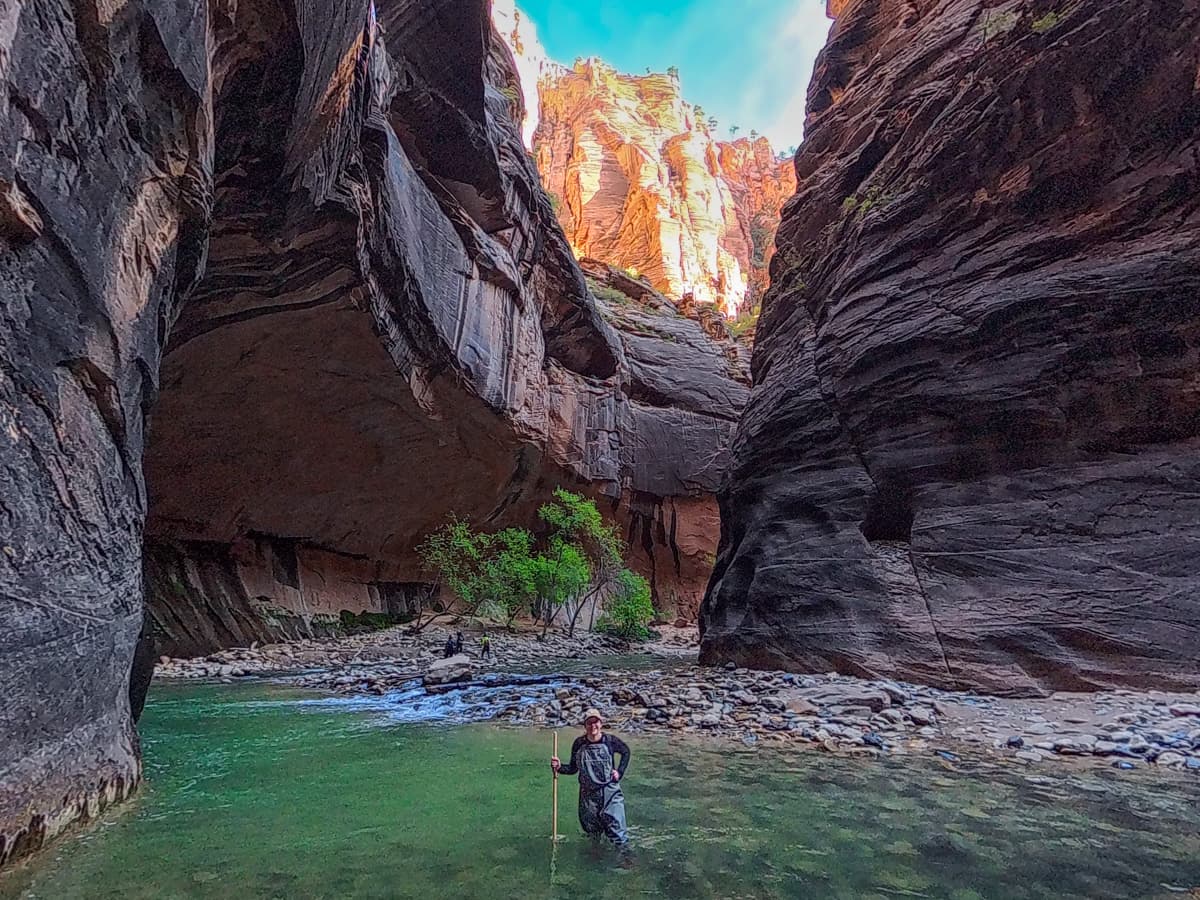
Here are the stats of the full trail:
- Length: 9.4 miles
- Elevation gain: 334 feet
- Difficulty: Challenging
- Do you need a permit? No, unlike some hikes in Zion, like Angel’s Landing or The Subway, you do not need a permit to hike the most popular route of The Narrows.
- Trail map
It’s worth mentioning that there’s actually two ways to hike The Narrows. The vast majority of hikers do it “bottom up” (i.e., starting from the Temple of Sinawava and then hiking upstream until you want to turn around), which is what we’re covering in this article.
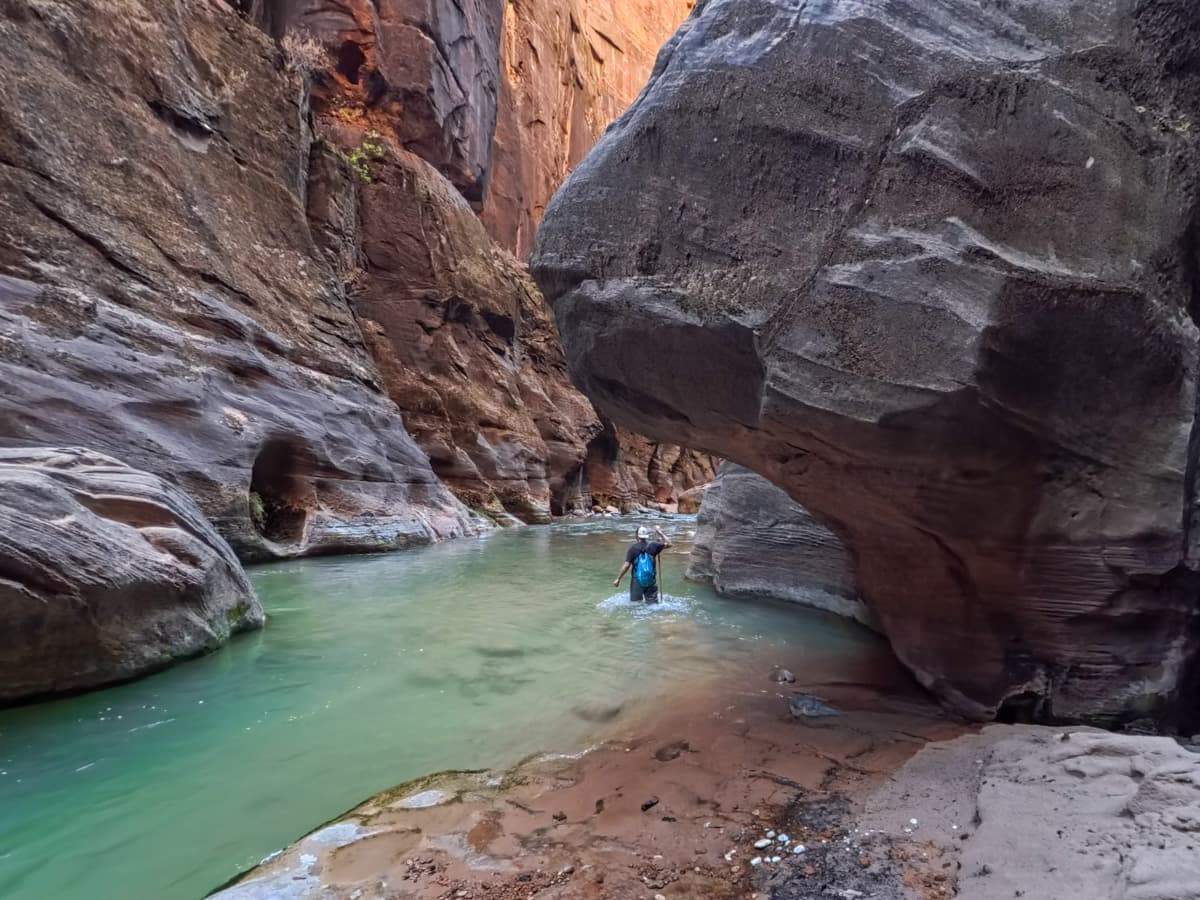
You can alternatively hike it “top down”, which is a 16 mile point-to-point hike, starting from Chamberlain’s Ranch and heading downstream. This route requires technical canyoneering skills and a permit and, accordingly, is much less popular than the bottom-up option.
How to get to The Narrows trailhead
The Narrows trailhead is located here in the main Zion Canyon area of the park.
So, obviously, first, you need to get to Zion!
Getting to Zion National Park
Zion is located near the town of Springdale, in southwest Utah.
If you’re flying here, your best bet is flying into Harry Reid International Airport in Las Vegas, picking up a rental car, and making the two hour and 20 minute drive to Zion.
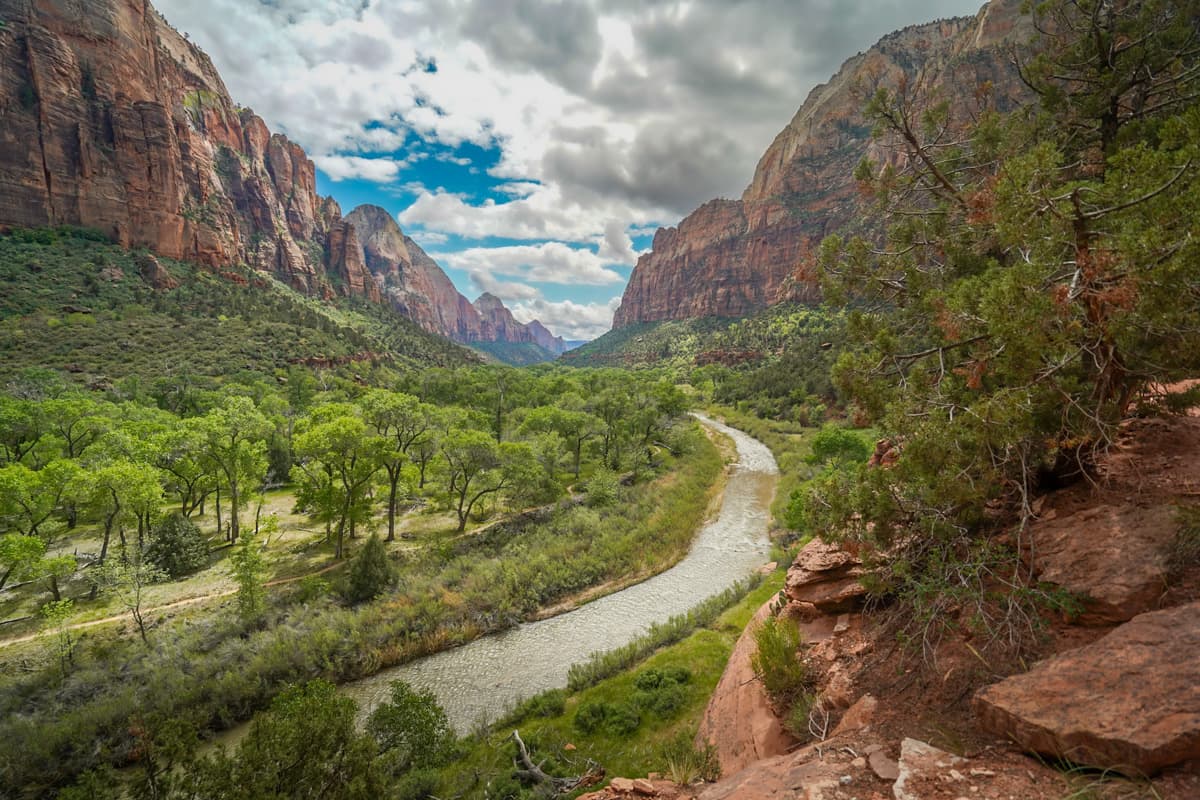
Alternatively, Utah was absolutely MADE for road trips—we’ve visited Zion three times and it’s always been part of a longer road trip! If you have a week or longer to play around with, I’d suggest hitting Zion as part of a road trip to Utah’s national parks. They’re all incredibly unique and BEAUTIFUL—in my opinion, it’s one of the best road trips in the U.S.
Zion charges a $35 entrance fee, per private vehicle, which is good for up to a week in the park. However, if you’re going to at least three national parks in the next year, I’d strongly recommend picking up an America the Beautiful Pass, which costs $80 (for U.S. residents) and gets you into all of the national parks, plus 2,000 federally managed sites, for an entire year for free!
Getting to The Narrows Trailhead
Once you’ve reached Zion, getting to The Narrows trailhead will depend on what time of year you’re visiting.
Taking the Zion shuttle
During the park’s busiest seasons (i.e., from March through November and during the holiday season near the end of December), the park closes the road to the trailhead, Zion Canyon Scenic Drive, to private vehicles and, instead, offers a free shuttle service to visitors to get around the canyon.

The Narrows trailhead is located at the very last stop on the shuttle, Stop #9, The Temple of Sinawava. The ride takes about 45 minutes one-way.
You do not need a ticket to catch the shuttle.
Instead, you can just wait in line and board it at the shuttle stop, located at the park’s main visitor center. You can also grab the shuttle from any of the other shuttle stops along Zion Canyon, like if you’re staying at Zion Lodge (the only accommodations located inside the park) or heading here after another hike. You can find a shuttle map here.
Be mindful of the shuttle’s operating schedule during your visit. The first shuttle typically departs from the visitor center at 7 AM, with the last shuttle departing the Temple of Sinawava at 8:15 PM from mid-May through mid-September and 7:15 PM during the early spring and fall.
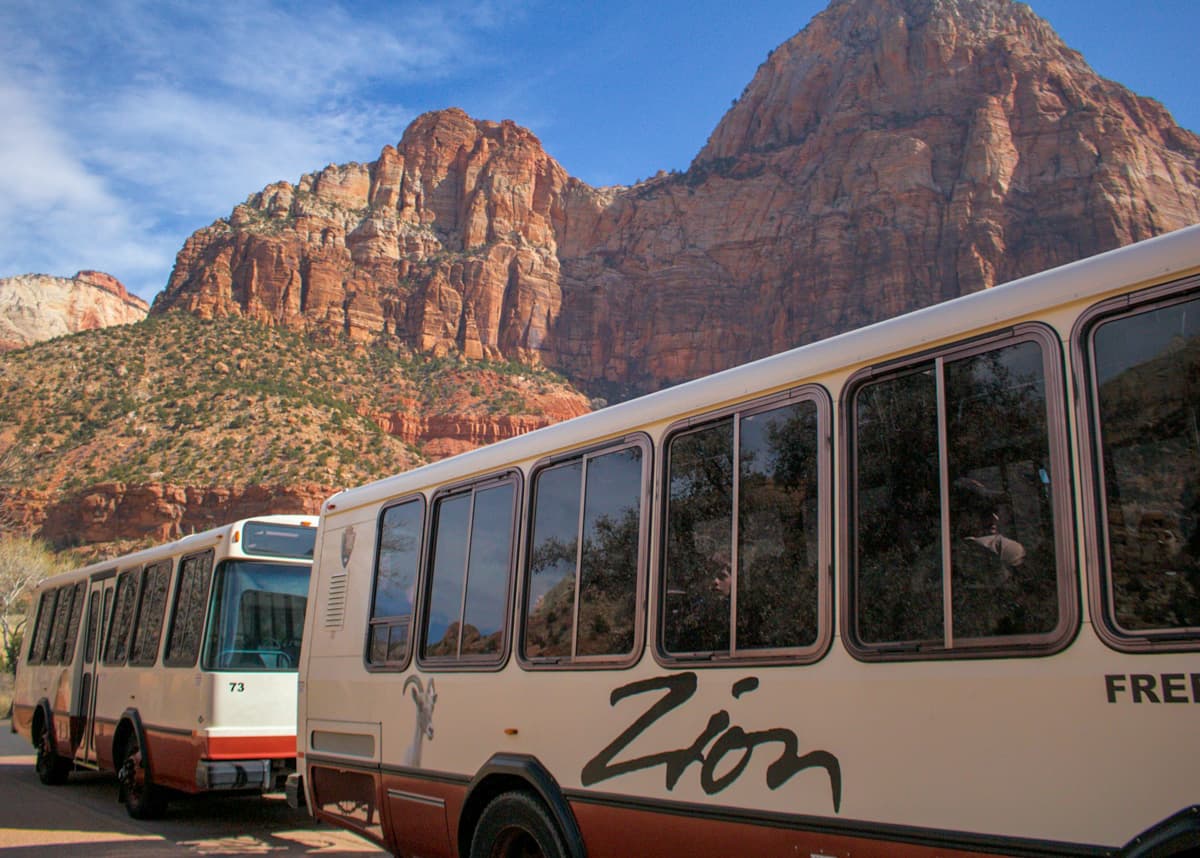
Double check when the last shuttle heads back to the visitor center and try to get to the shuttle stop WELL before that time. If the last shuttle fills up before you get on, you will be left at The Narrows trailhead and your only option will be to walk 8 miles back to the visitor center (yes, really!).
Insider tip: Zion is the second most visited national park in the United States and can attracts Disneyworld-level crowds, especially during timeframes like spring break or holidays.  And, with such insanely large crowds, comes incredibly long lines for the shuttle.

During our most recent trip to Zion in late March, we got to the park around 7:15 AM, hoping to catch one of the first shuttles—but wound up having to wait for about an hour in line for it!

So, unless you enjoy waiting in line for hours on end, I’d strongly recommend getting here at or before 7 AM to beat the crowds!
Driving to the trailhead
From late November through early March, Zion Canyon Scenic Drive is open to private vehicles, so you’re free to drive directly to the trailhead. There’s parking for about 80 cars in this lot.
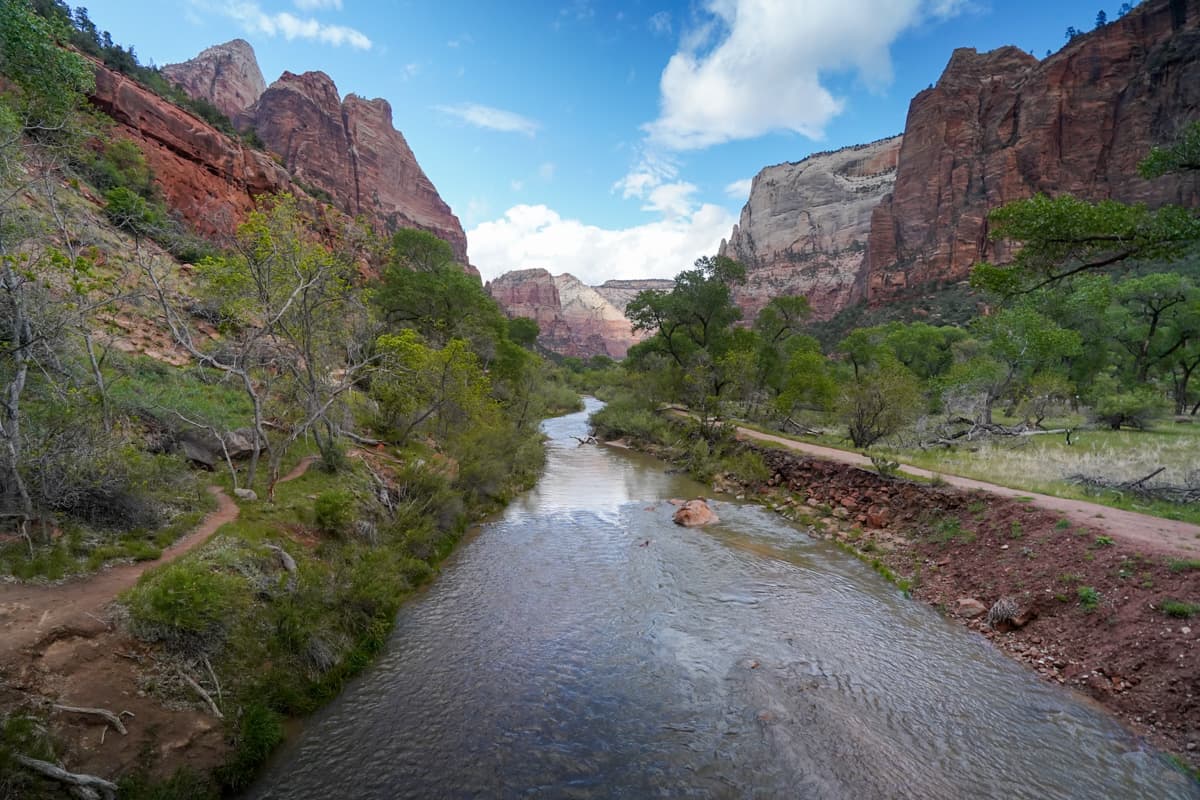
I’ve never visited The Narrows during this timeframe, but I’ve heard that it’s not unusual for the parking lot to be completely filled by 8 AM. So, again, getting here early is key!
Biking to the trailhead
Another popular option, regardless of the time of year, is to bike to The Narrows trailhead. While Zion Canyon Scenic Drive is closed to private vehicle traffic most of the year, you’re free to ride bikes down it!
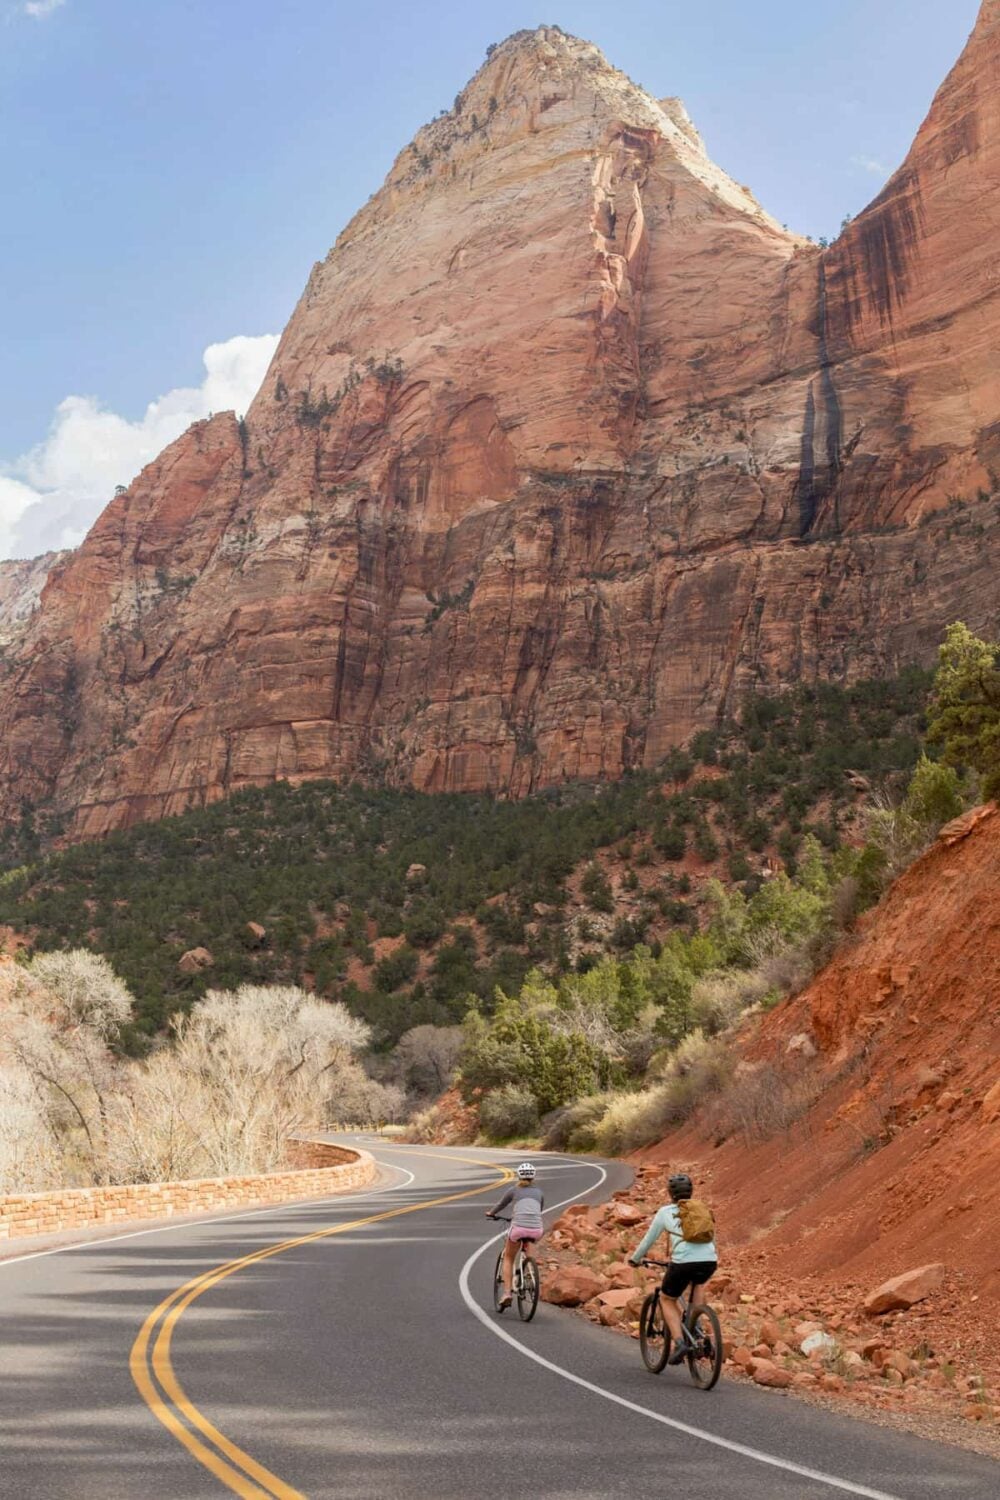
If you don’t have your own bike, there are several outfitters in the neighboring town of Springdale that offer regular and electric bikes to rent, like Zion Peddler and Greater Zion eBikes.
Parking in Zion National Park
When the Zion Canyon Scenic Drive is closed, most visitors wind up parking in the main visitor center lot, which holds around 350 cars.
However, this lot regularly gets filled before 8 AM. During our most recent visit, we snagged one of the last parking spots around 7:15 AM—on a weekday! So, again, getting to the park as early as possible is key.
If there aren’t any spots available, you can definitely make laps around the lot until one opens up—but we’ve had to wait almost an hour in the past to score a spot this way!
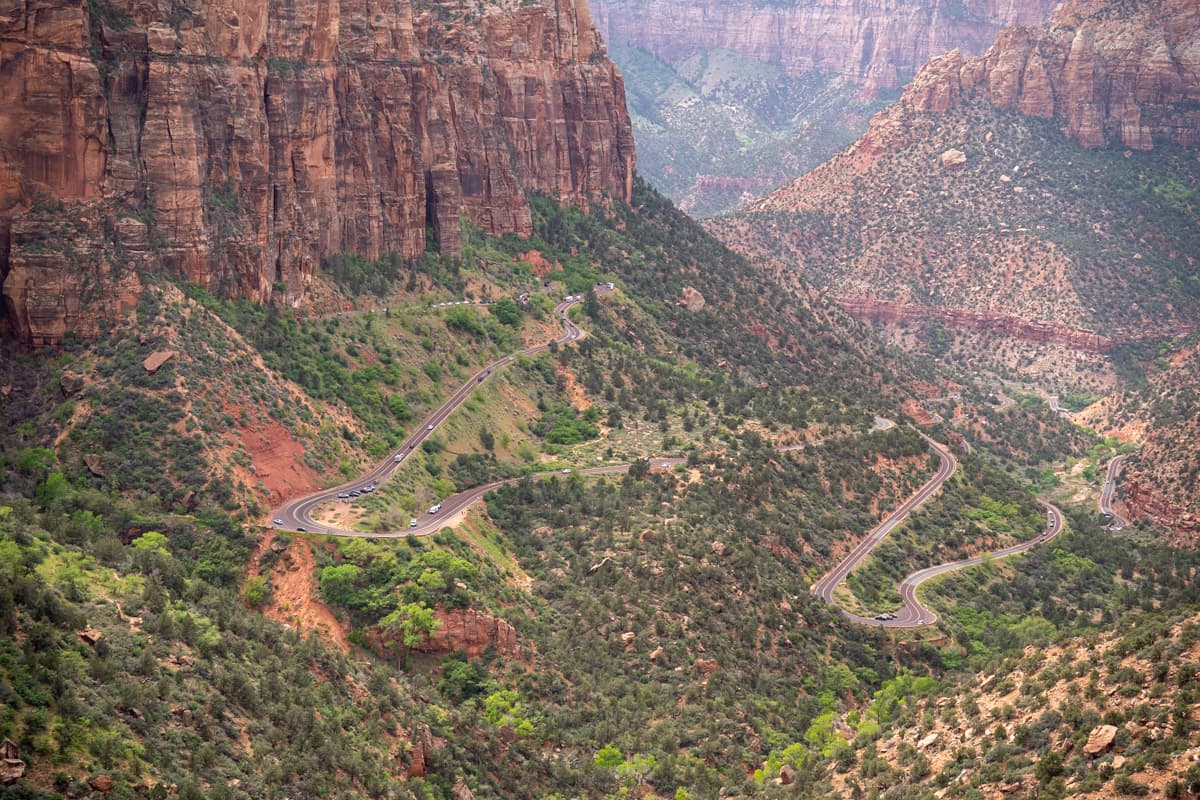
If the parking lot is full and you don’t want to wait around for a spot, there’s paid parking in the neighboring town of Springdale (you can see a map of the parking lots here).
Some places in Springdale are close enough to just walk to the shuttle stop at Zion’s visitor center, but, if not, there’s also a free shuttle around the town of Springdale that you can take into the park that operates from March through November. Here’s a map of the stops.
What to wear for The Narrows
Okay, so the question on everyone’s minds—what the heck do you wear to hike through freezing cold water?!
Like everything else, it depends on the time of the year!
Summer (May through September)
During the summer months, both the air and water temperature are usually warm enough that you don’t really need any super special gear, like waterproof waders.
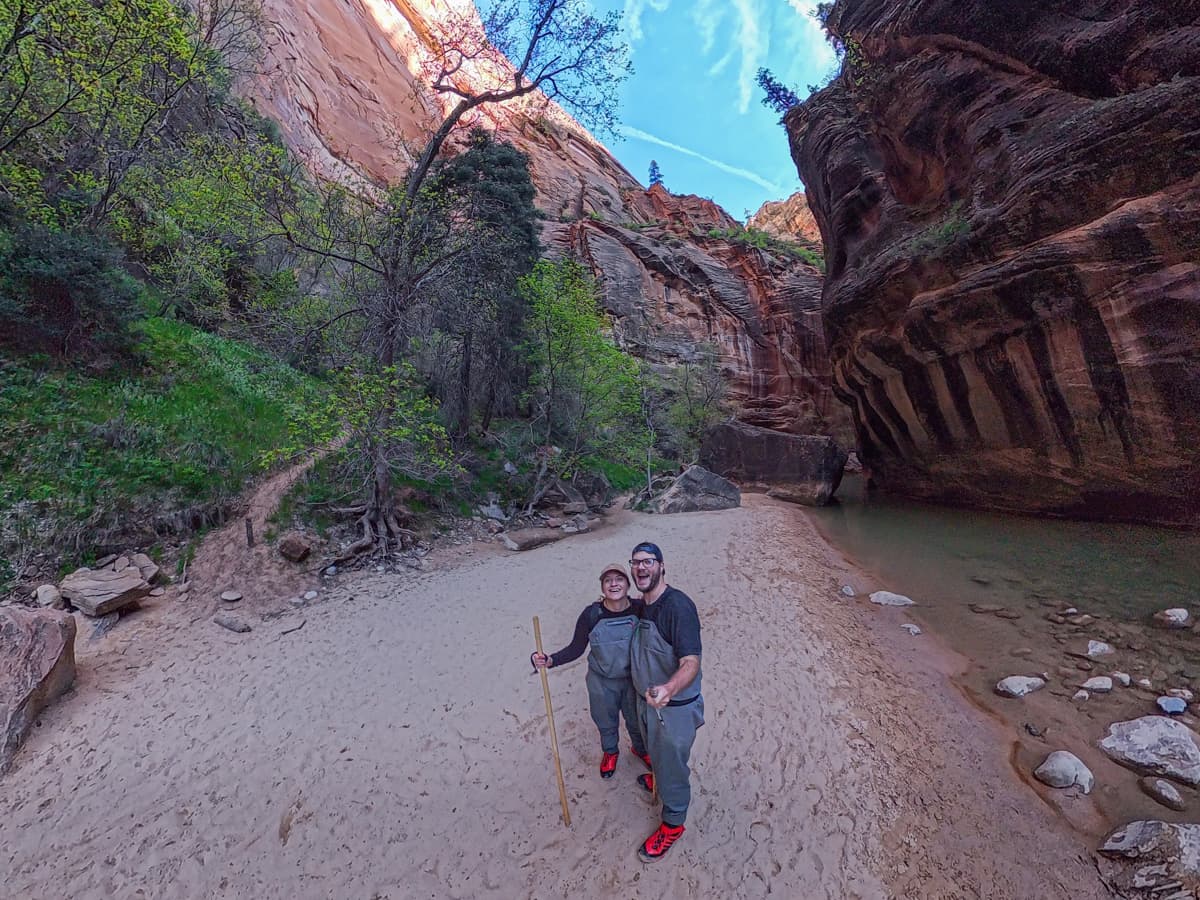
But you still need to plan ahead a bit! Here’s what I’d recommend wearing:
- Closed toed shoes that have good traction and ankle support (i.e., hiking boots) that you don’t mind getting wet
- Socks—either Neoprene or regular hiking socks
- Light, quick dry clothing (preferrably shorts)
- Baseball hat (or other brimmed hat) to keep the sun off your face
- A hiking stick works best, but at least one trekking pole will due the trick
- Dry bag that you can use as a backpack (I’d throw a warm layer in your pack as it can get surprisingly cold in the canyon!)
Although it’s popular for hikers to wear hiking sandals, like Chacos or Tevas, on the trail, I’d strongly advise against it. You’re hiking on enormous, slippery river rocks for almost the entire trail, so it would be super easy to stub your toe, rip off a toenail, break a toe—you get the drift.
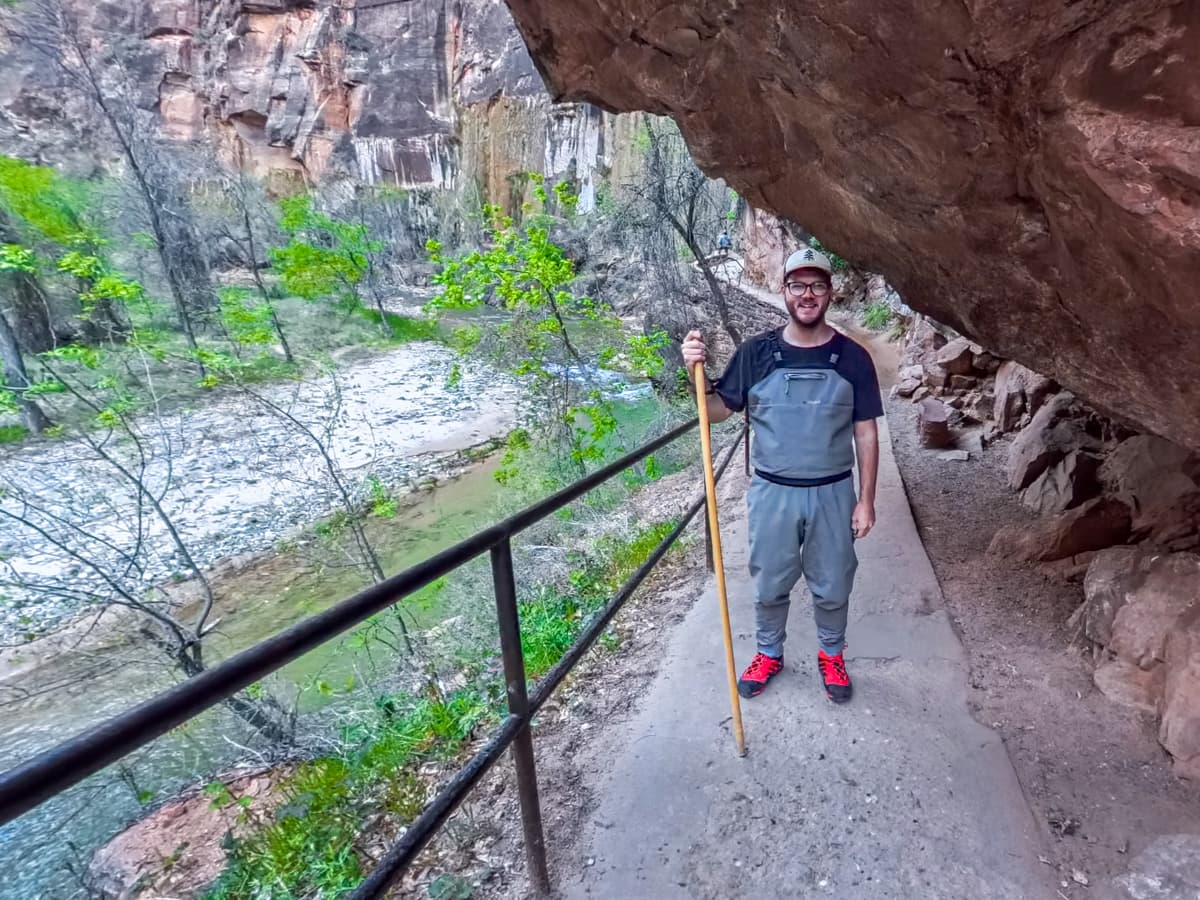
Alternatively, you can also pick up a rental package of gear at one of the outfitters in town, like Zion Outfitter. During warmer weather, these packages will include canyoneering shoes (grippy shoes that drain water quickly), Neoprene socks to keep your feet a bit warmer, and a hiking stick. You should expect to pay about $35 per person per day for these rental packages.
I’m personally not totally convinced you need the canyoneering shoes and Neoprene socks when you’re visiting in the summertime.
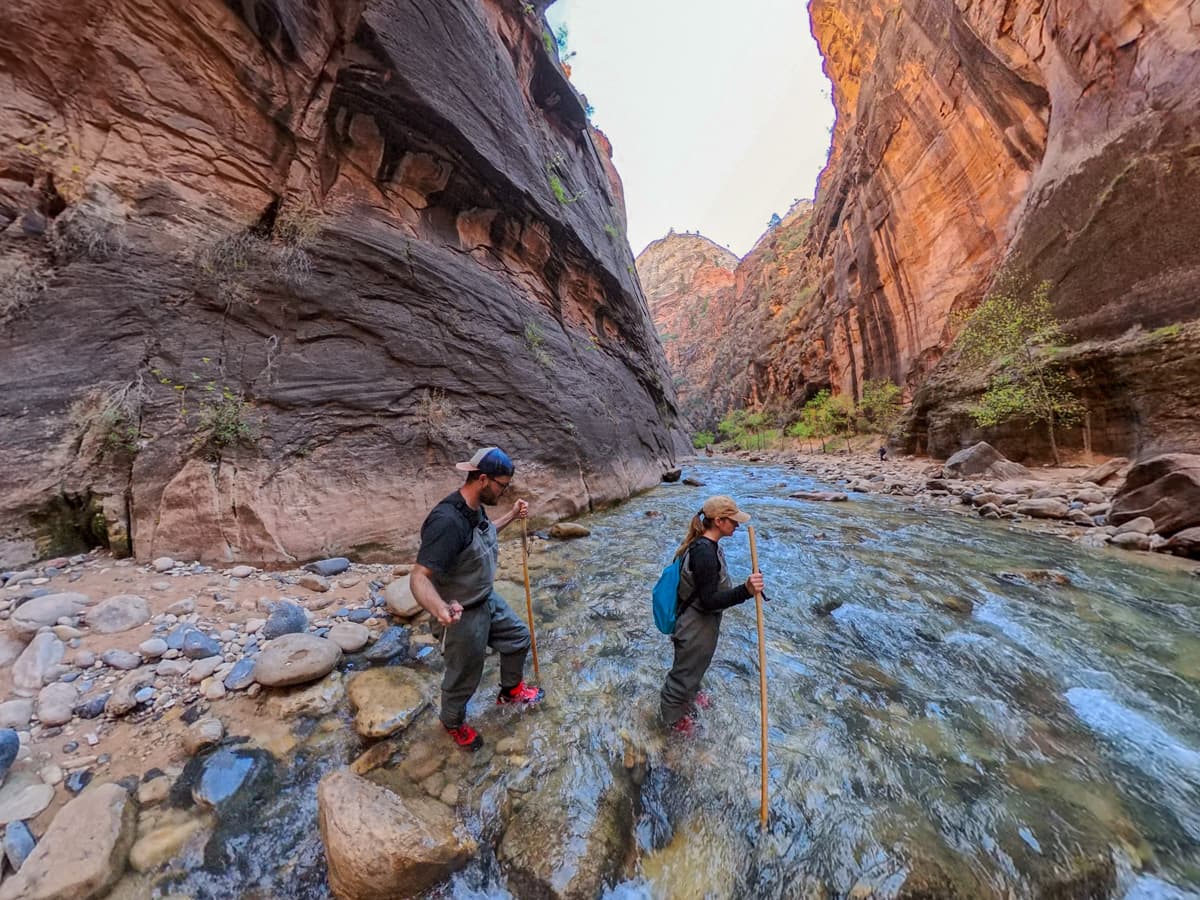
During our most recent visit to Zion in March, we wound up renting gear when we hiked The Narrows (including a waterproof waders, canyoneering shoes, Neoprene socks, and a hiking stick), but did not rent any special gear when we did The Subway Trail, which similarly has you hiking through water of the Left Fork of the North Creek.
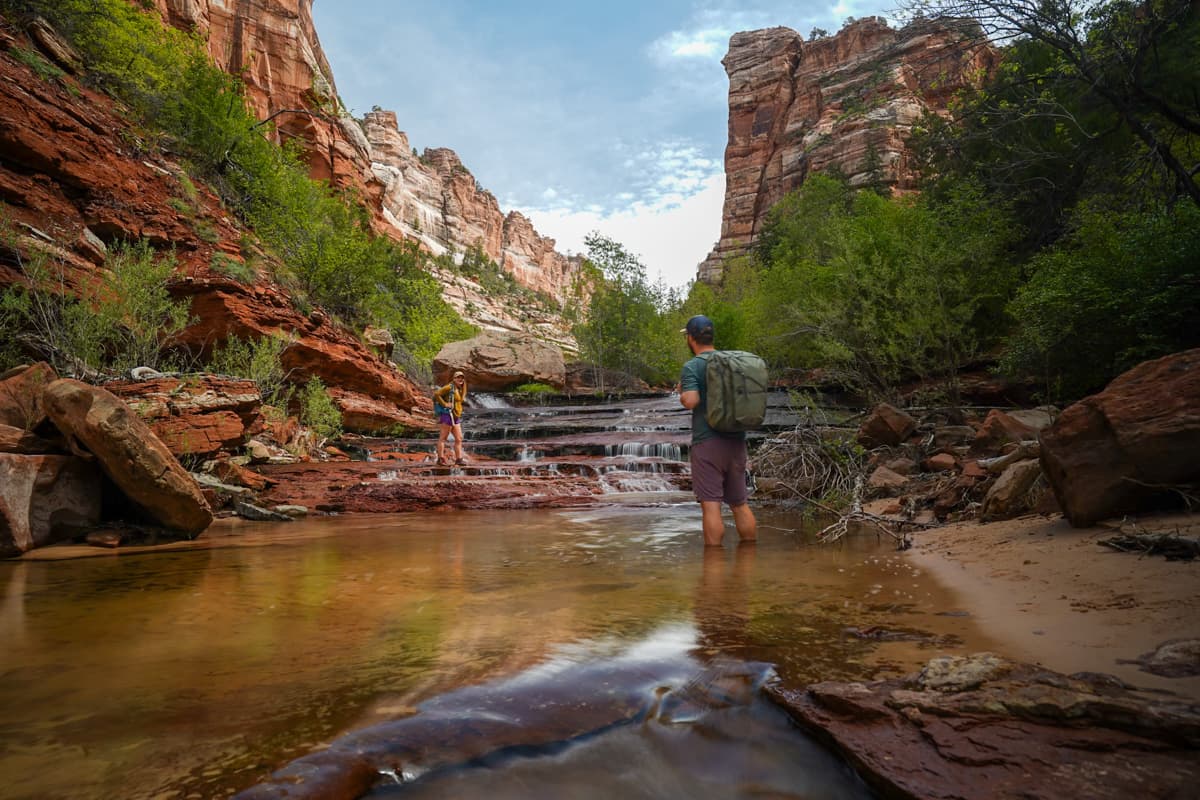
It’s not an apples-to-apples comparison, as the water was much less deep and less cold, as compared to The Narrows Trail, but we got away with just using our hiking boots and some wool hiking socks just fine!
October through April
During the cooler months, the water temperature of the Virgin River can get downright frigid, often ranging from 38° F to 45° F. Add in the fact that the trail is mostly shaded for the vast majority of the day and hiking The Narrows in the colder months can actually be downright dangerously cold. Multiple people have actually died along the trail from hypothermia.
Additionally, the water level can be much higher and the current much stronger, especially during spring with snowmelt.
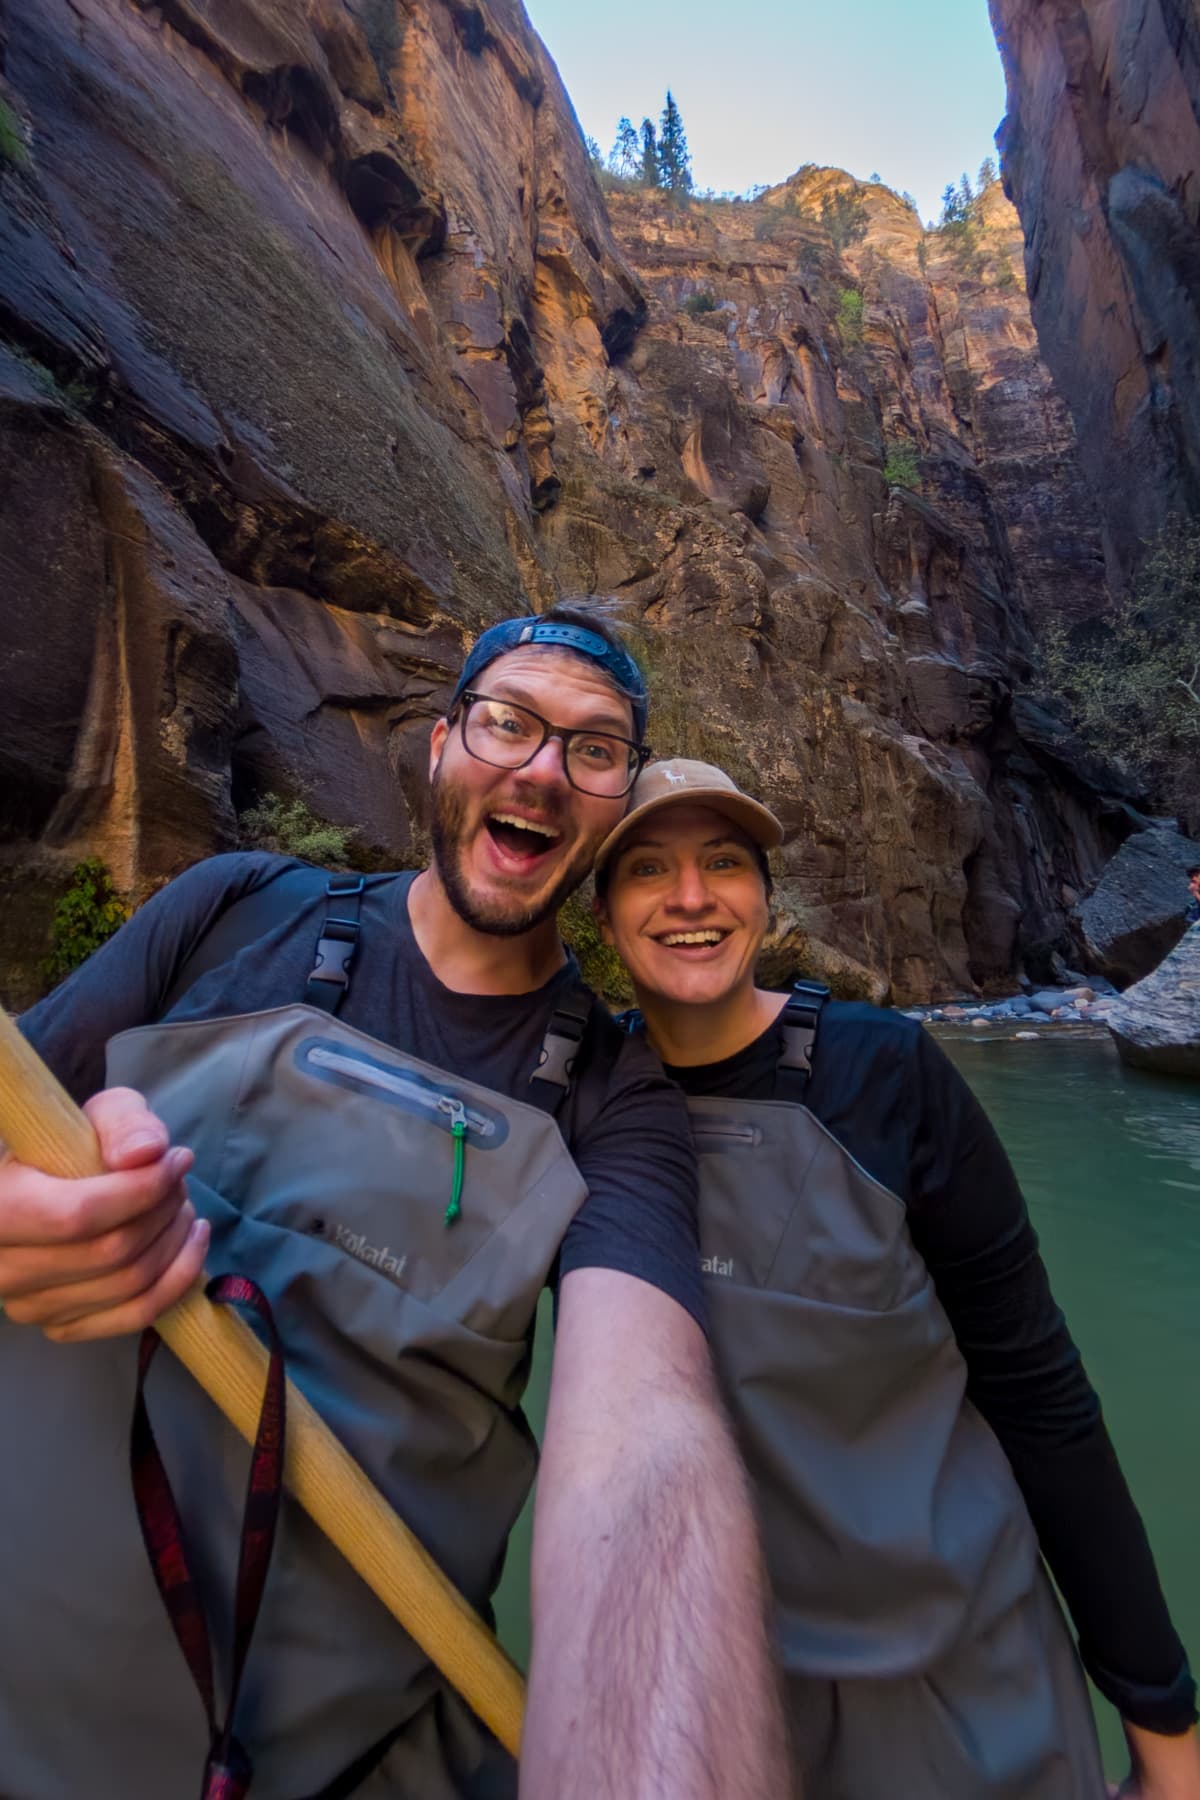
With that in mind, I’d recommend wearing:
- Something waterproof, like a drysuit or waders, that will keep your body protected from the frigid waters
- Closed toed shoes that have good traction and ankle support that you don’t mind getting wet
- Neoprene socks (I don’t think you need these, but they’re definitely nice to have!)
- A long sleeve shirt and pants made from quick dry clothing underneath your waterproof layer (e.g., I wore yoga pants and a base layer top)
- Warm layers that you can throw on if you get too cold, like a beanie or a zip up fleece that isn’t too hard to put on under your waders
- A hiking stick works best, but at least one trekking pole is fine, too
- Dry bag that you can use as a backpack
If you don’t want to buy the waders and Neoprene socks yourself, you can also rent cold weather gear packages from outfitters in Springdale, which will typically come with waders, canyoneering shoes, Neoprene socks, and a hiking stick. Packages typically start around $55 per person per day.
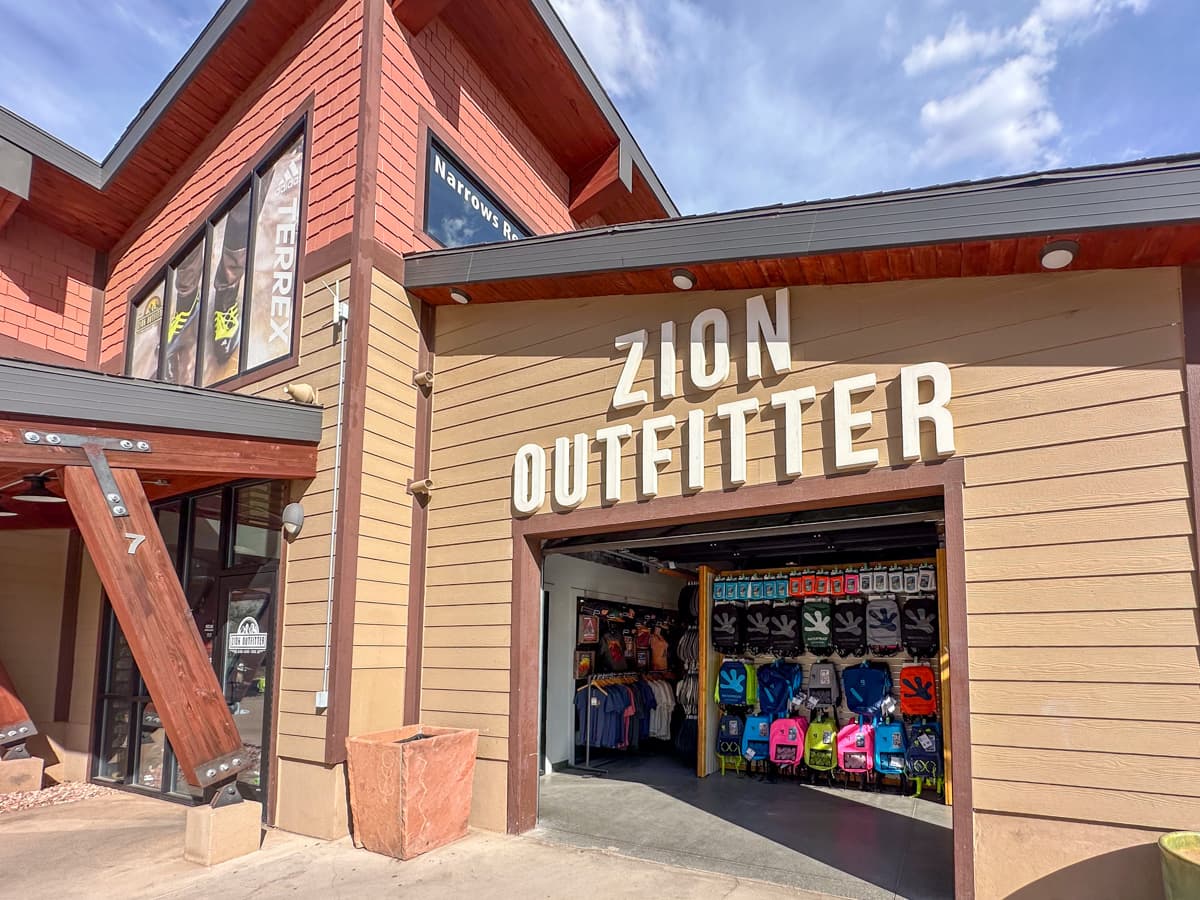
We rented our gear from Zion Outfitters and were definitely happy that we had waders. I actually wound up falling in the water a few times towards the end of our hike and, after getting soaked, was absolutely FREEZING. We definitely wouldn’t have been able to hike as far or as long as we did without our waders and would’ve been WAY more uncomfortable during our trek.
Insider tip: If you wind up renting gear from an outfitter in Springdale and have at least 2 days in Zion National Park, I’d strongly recommend picking up your gear the evening before you plan to hike, so you can hit the trailhead bright and early.

Most of the outfitters don’t open until 7 or 8 AM, so, if you pick up your gear on the day of your hike, you won’t be able to make it to the trailhead until at least mid-morning (when the crowds have already descended!).
When to hike The Narrows
You can hike The Narrows throughout the year, but different timeframes come with their own unique pros and cons.
IMPORTANT NOTE: Regardless of when you visit, it’s extremely important to check the weather forecast of Zion National Park and the surrounding area (i.e., a 30 mile radius in every direction) for possible rain.

Rain in the surrounding area (not just in Zion itself) can cause dangerous flash flooding in The Narrows and, in fact, has caused the deaths of six hikers since 1998. Accordingly, if there’s any rain in the forecast in this area, I’d suggest skipping The Narrows and rescheduling for a totally clear day.

Rangers will close the trail when the water level or current is too dangerous, but you also need to proactively assess if the weather will be dangerous while you’re already out on the trail. There’s a flash flood forecast board posted near the trailhead, but PLEASE do your own research beforehand and only head out on a clear day.
Fall
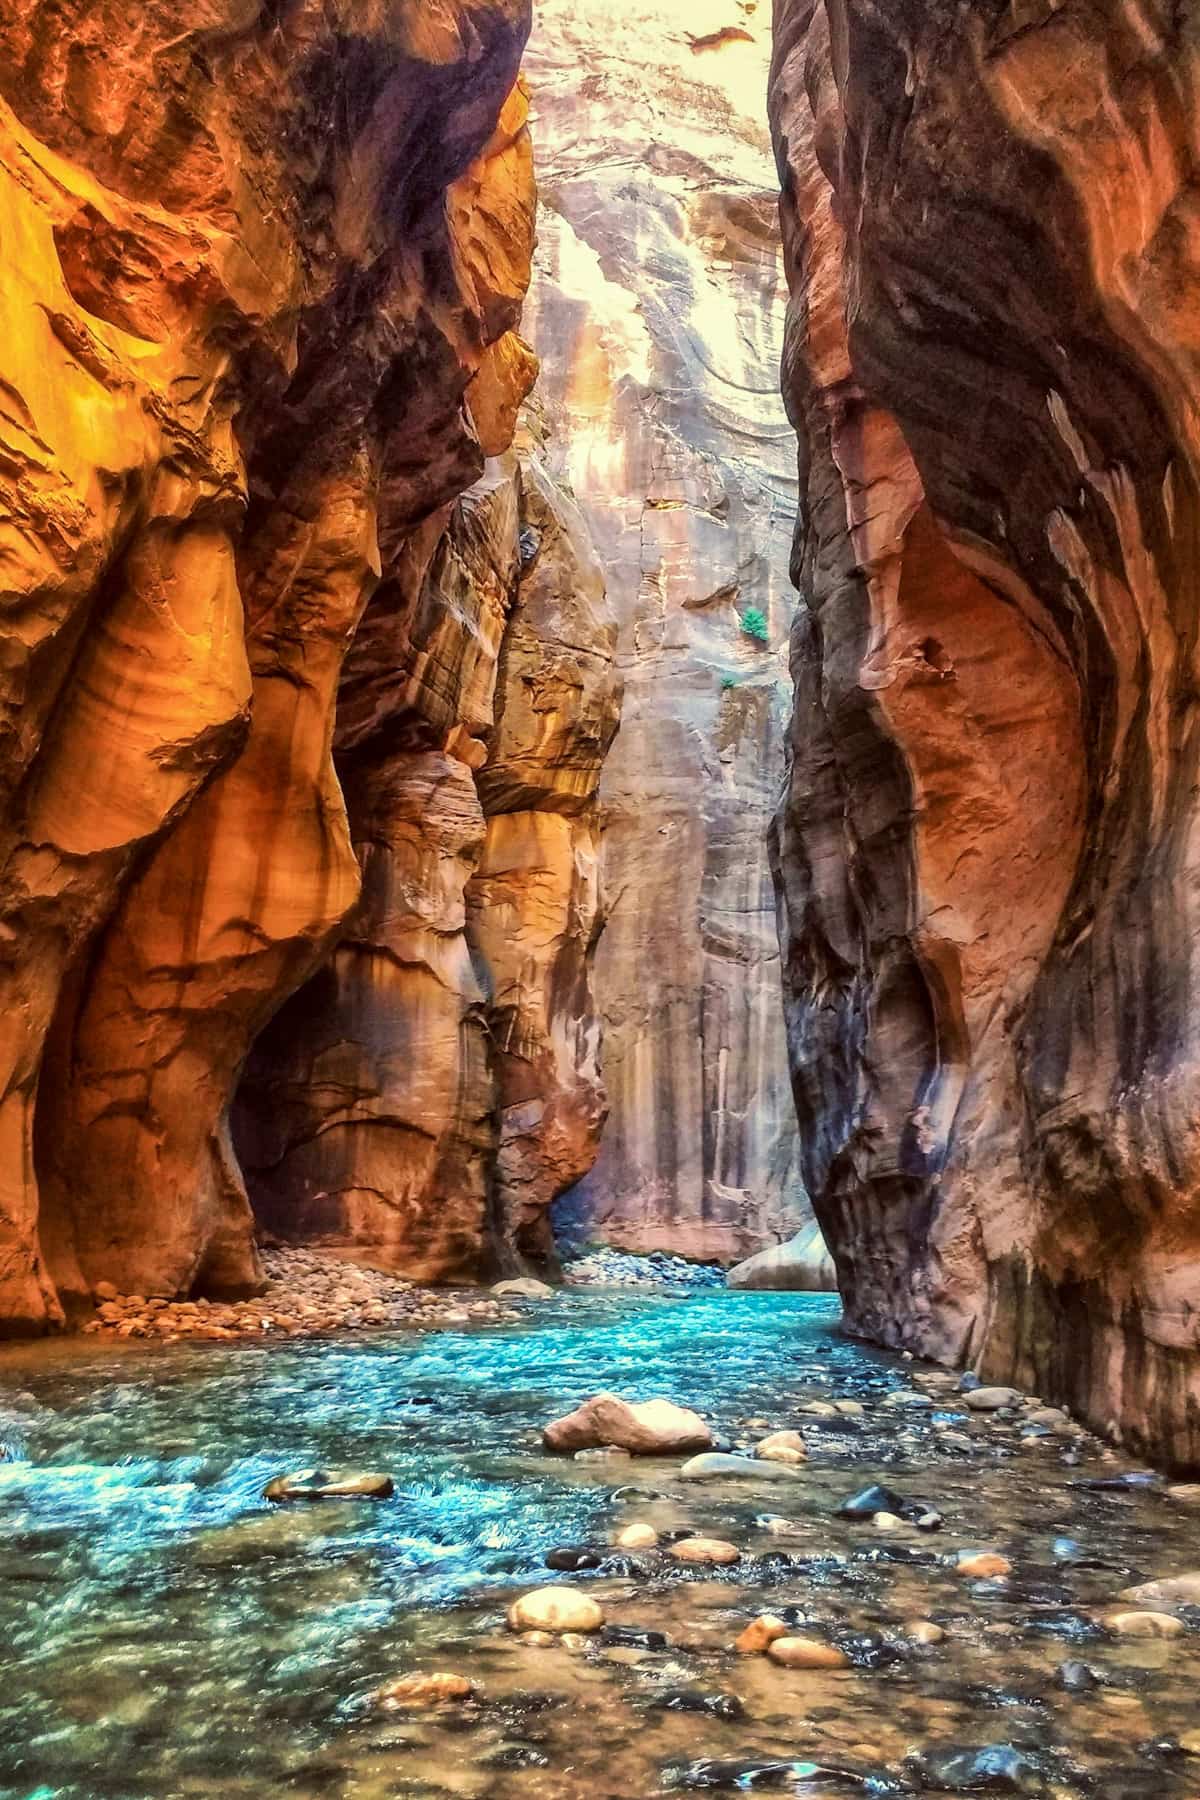
Fall is largely considered the best time of year to hike The Narrows, with pleasantly warm air temperatures, plus lower water levels and crowds.
Winter
This is the least crowded time in Zion, but winter in Utah can get surprisingly frosty, with the air and water temperatures dropping to near freezing. I would not hike during this timeframe without waterproof clothing, like waders or a drysuit, to protect you from hypothermia.
Spring
This is the worst time to hike The Narrows. The water level is at its highest and the current its strongest, due to springtime snowmelt, plus the water temperature is FREEZING. Add in the crowds from spring break, and it becomes pretty obvious why you might want to skip hiking here in the springtime.
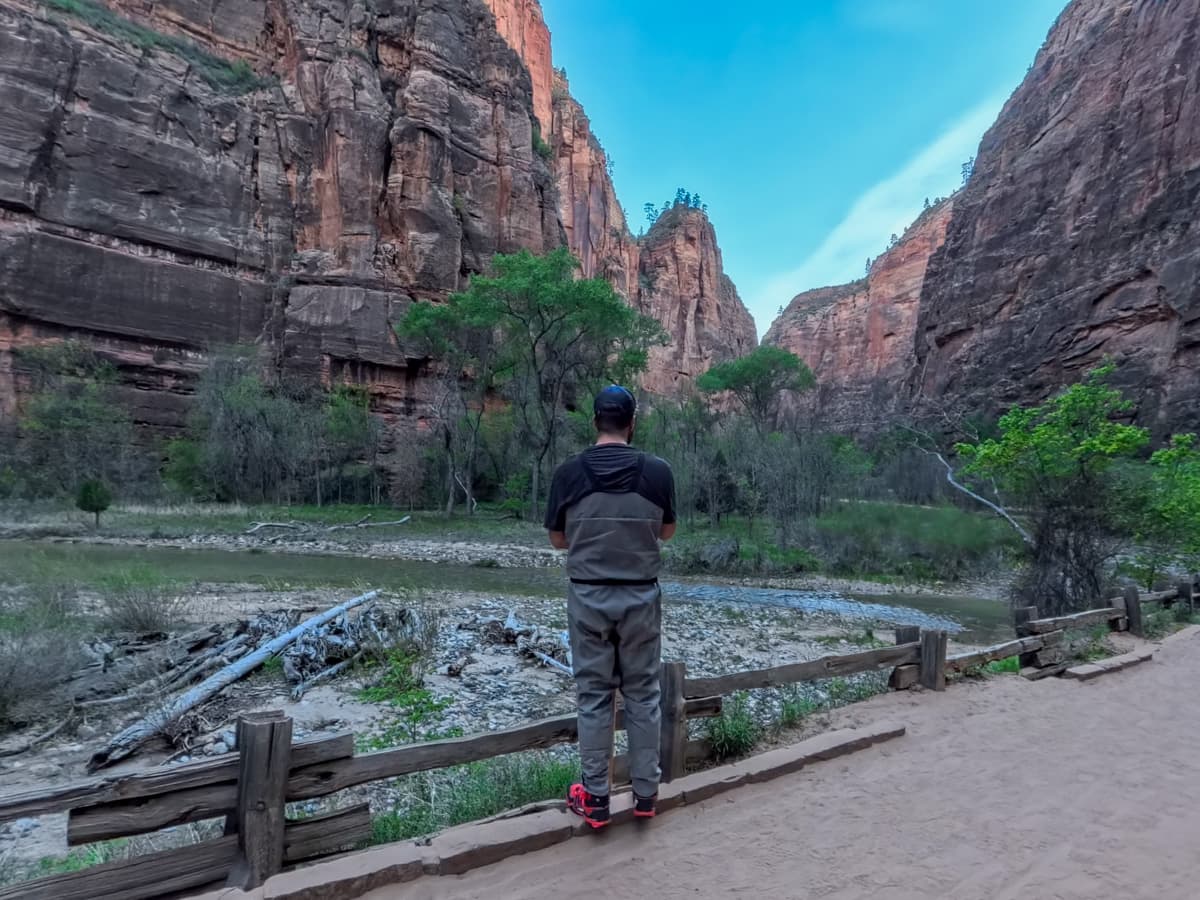
That being said, we hiked The Narrows in late March and loved it!
Yes, the water was cold, the current was strong, and there were insane crowds. But our waders did a good job of keeping us dry and warm (until I fell into the water, that is!) and we were able to escape the crowds by starting early and hiking past the first few miles of the trail.
So I definitely wouldn’t completely discount spring—just be prepared to wear the appropriate gear and I might steer clear if you’re hiking with kids, who might struggle with the water levels and the current.
Summer
Summer is the second best time to hike The Narrows, with the cool waters of the Virgin River feeling refreshing against the hot air temperature.
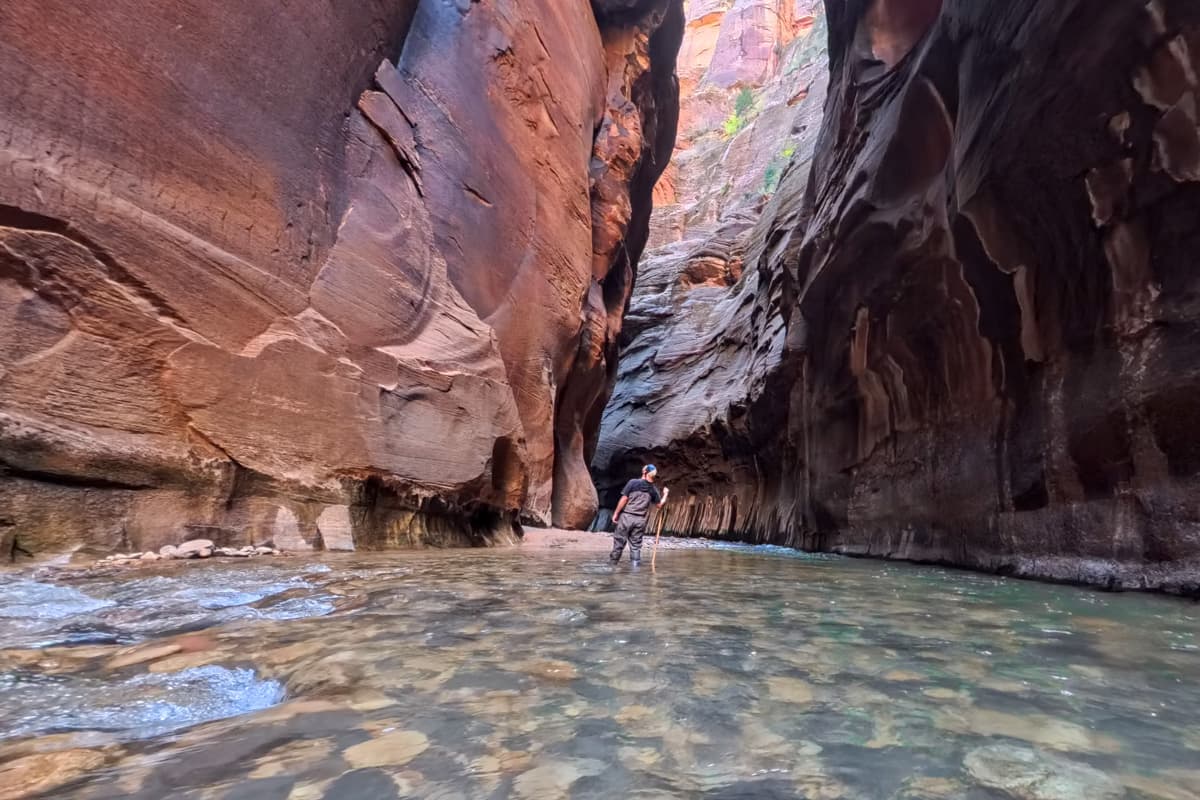
However, this is the most crowded time of the year in Zion and it’s also the rainiest period (especially from July through September), which can lead to dangerous, potentially life-threatening flash flooding.
What to expect while hiking along The Narrows
From the trailhead to the end of the Riverside Walk
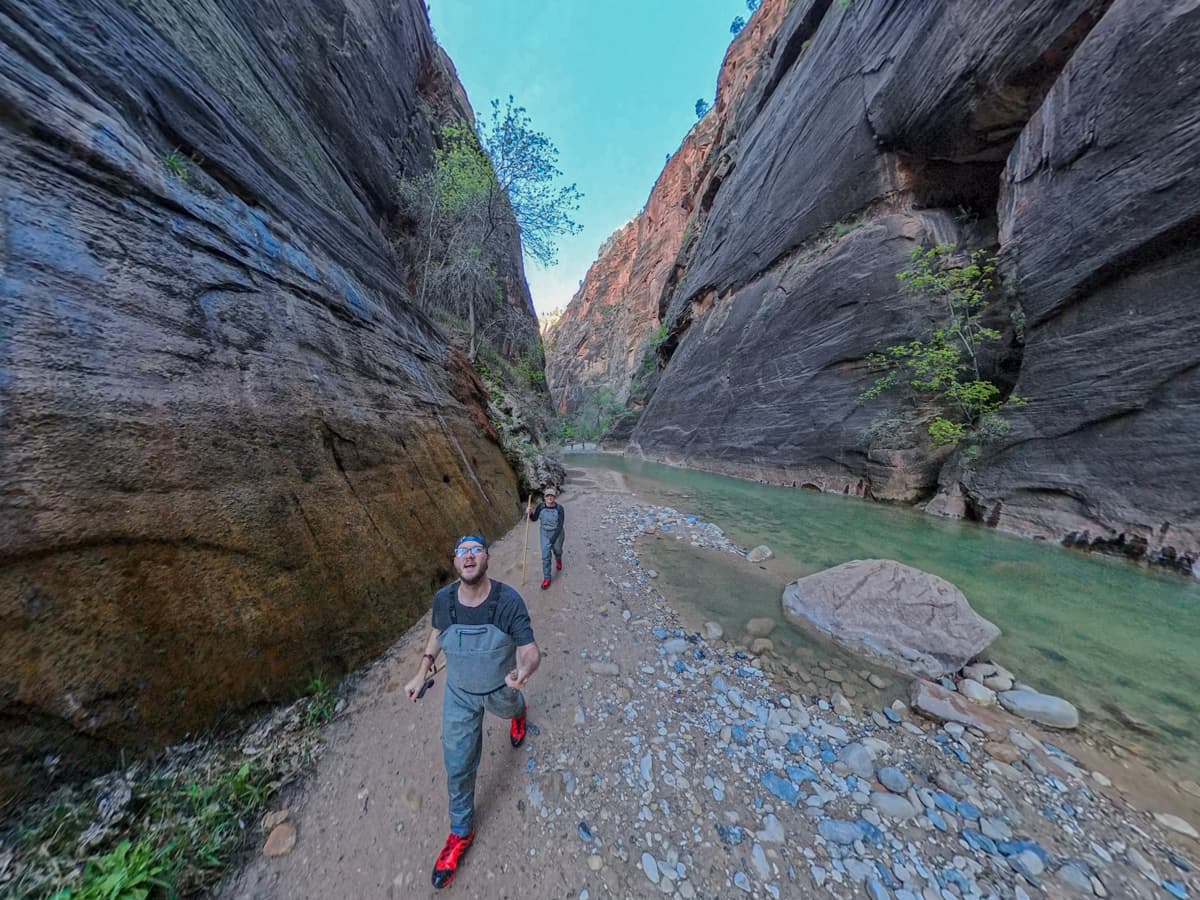
Once you reach the Temple of Sinawava shuttle stop, you’ll follow a pathway onto the Riverside Walk trail. This ADA-accessible pathway, which is sandwiched between the eastern wall of the Zion Canyon and the Virgin River, gently climbs upward for about a mile.
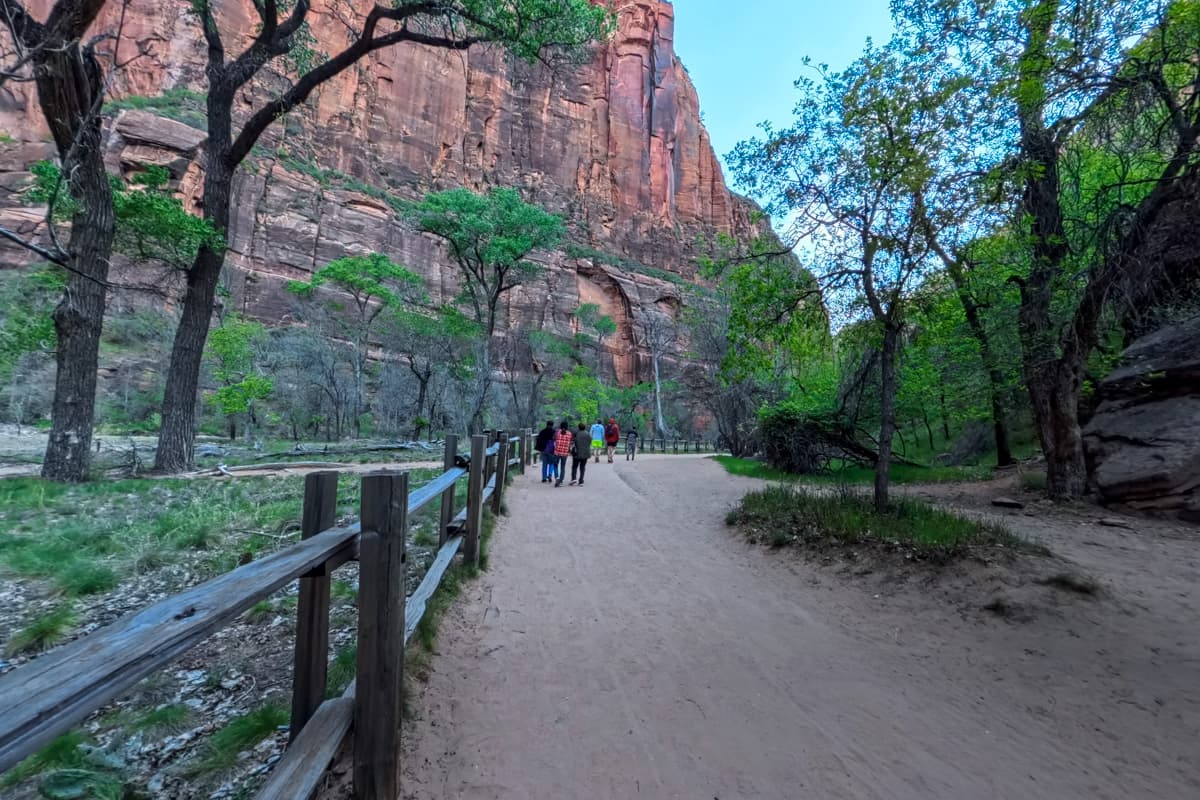
If you’re nervous about hiking The Narrows, have mobility challenges, or just don’t want to get wet, this is a great option to still get a little taste of what The Narrows is like without having to actually get in the water!
Entering the Virgin River to Wall Street
At the end of the mile-long Riverside Walk pathway, there’s a few stairs down into the Virgin River, where you officially start The Narrows.
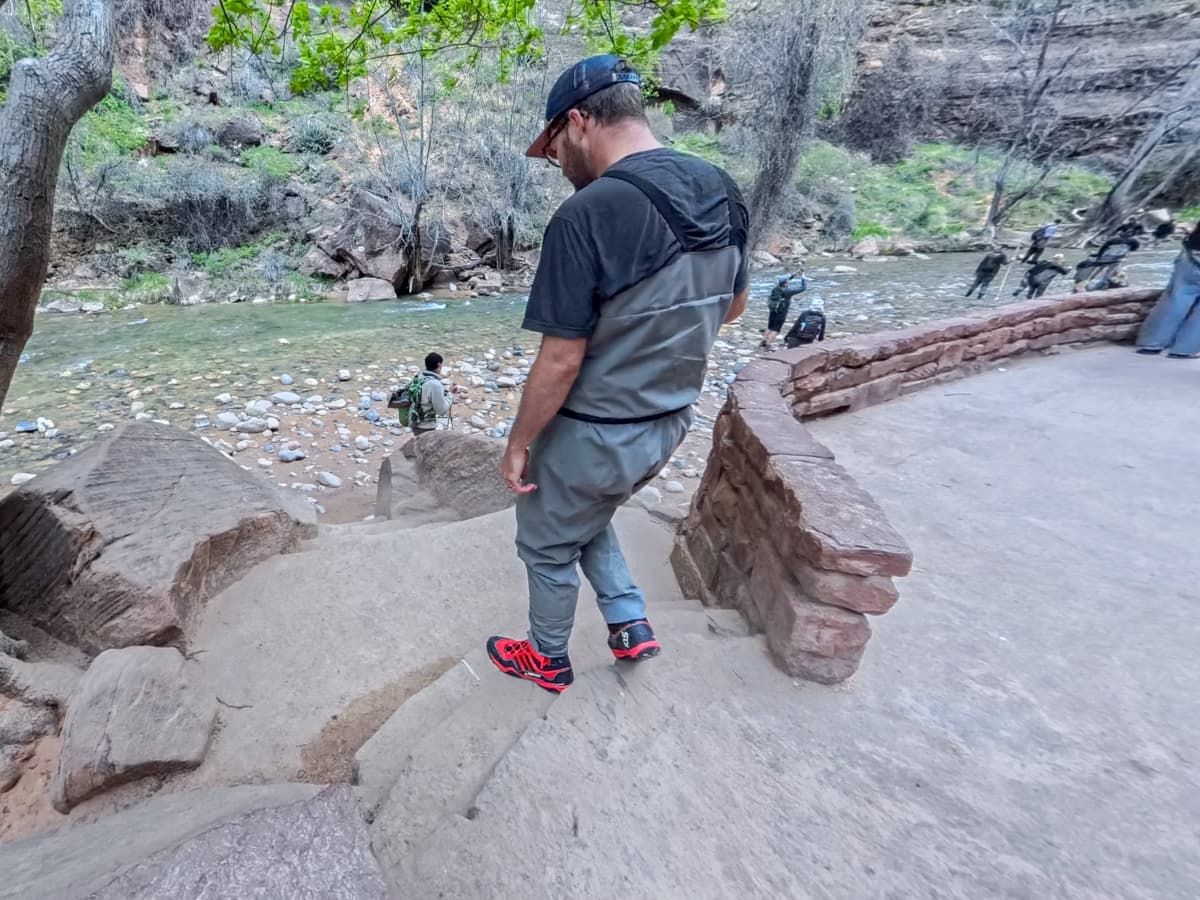
At the beginning of the trail, the water is usually pretty shallow and the canyon walls are wide. There are also lots of little areas of dry land scattered throughout the river to give you a bit of a break from walking directly in the water.
As you go further and further back in the river, the river rocks get bigger and more challenging to walk across, the water gets deeper, and there are less dry portions of the riverbed that you can walk on.
Accordingly, it seems like the VAST majority of hikers only hike about a mile or so down river, before turning around to head back to the trailhead.
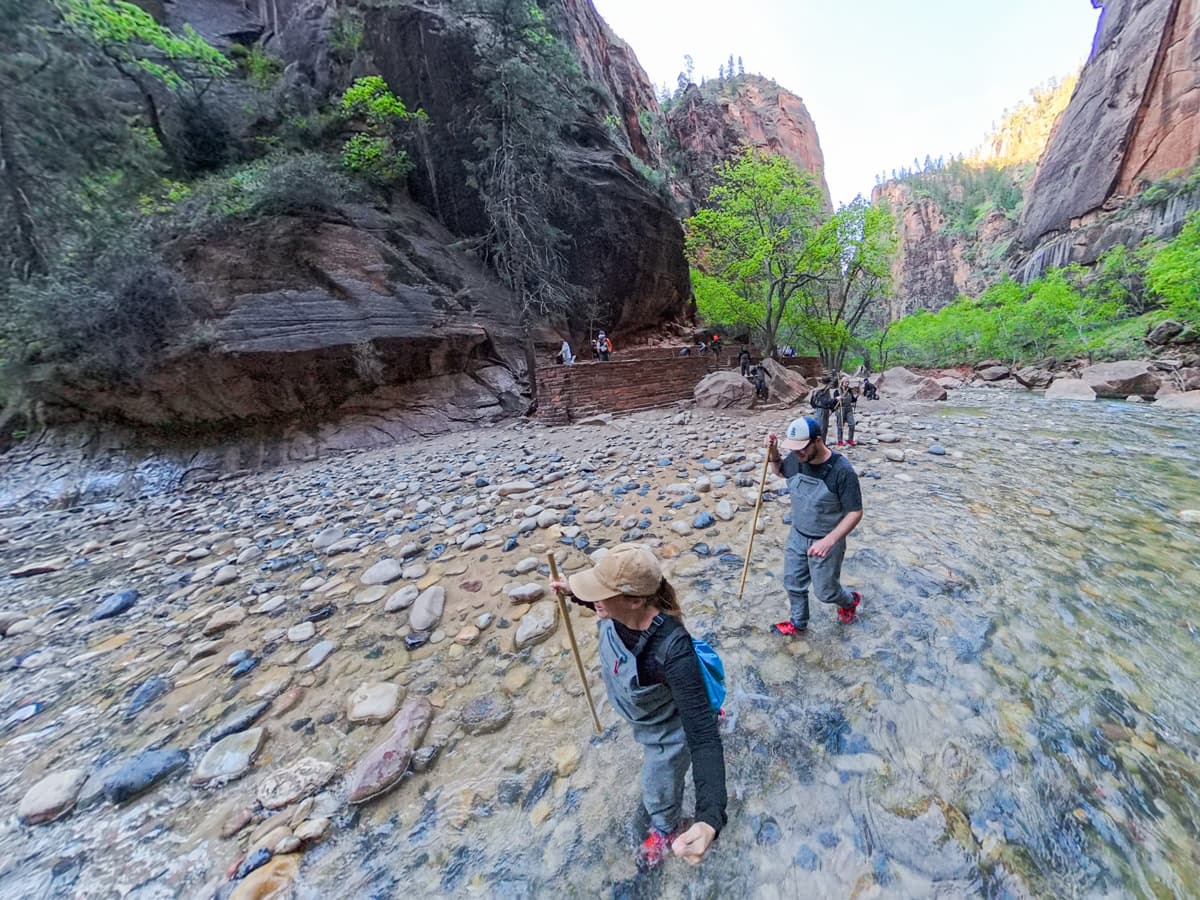
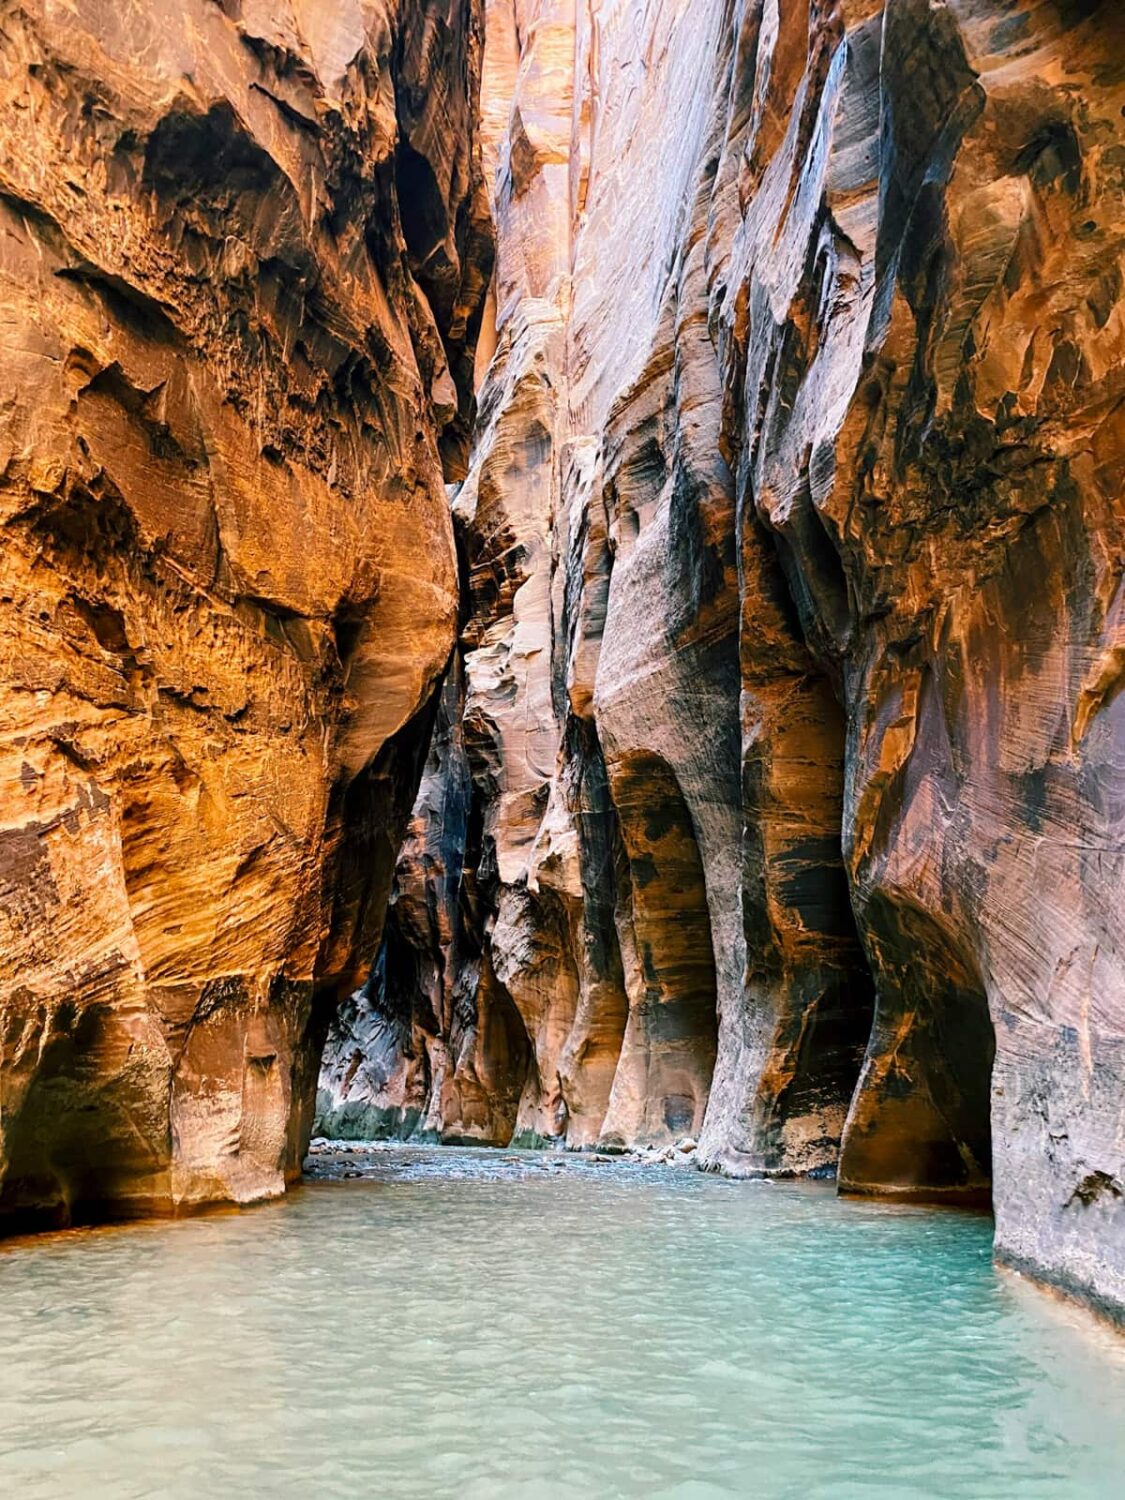
You can definitely get a pretty good taste of The Narrows by just walking this portion of the trail, with the curving walls of the canyon towering overhead. However, lots of people want to make it to the Wall Street portion of The Narrows, where the canyon gets even narrower (certain sections are as narrow as 22 feet wide!).
You’ll reach the Wall Street section of the trail about 2.6 miles in from the trailhead, once you pass the Orderville Canyon on your right-hand side.
Wall Street to Big Springs
Once you reach the Wall Street section, the views of the canyon walls get more and more spectacular, as they narrow and curve above you. There are also lots of cool “landmarks” in this section, like a dripping fern-covered grotto and the “Floating Rock”, a huge 45 foot tall boulder.
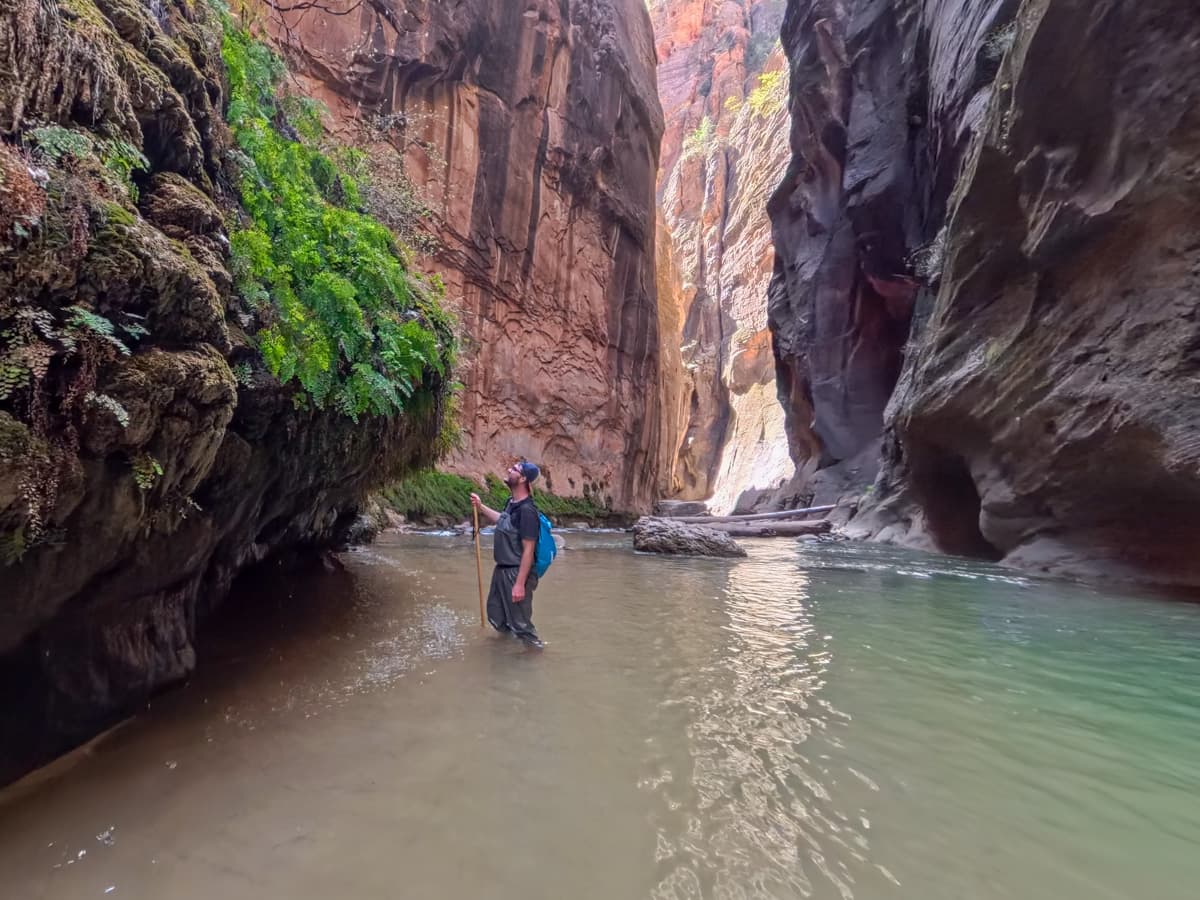
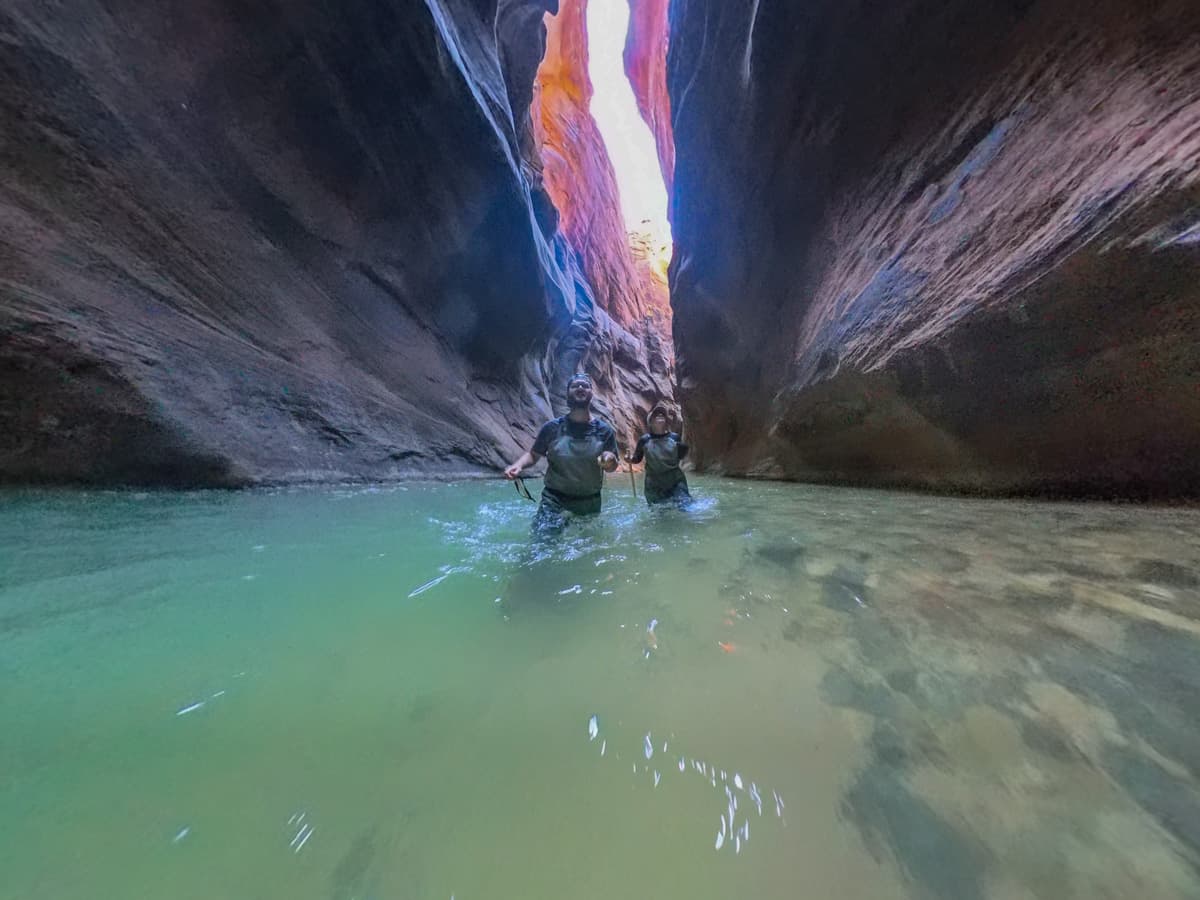
It also gets trickier (at least, it was for us!) to navigate certain areas of this section. When we hiked it, there were spots where the water was almost shoulder deep in even the shallowest sections of the river and other areas with thick, quicksand like mud.
Be careful and don’t be ashamed to turn around. We eventually wound up turning around about 4.5 miles into the trail, because we would have needed to start swimming in order to continue upstream, which felt unsafe and, frankly, unfun.
As you near the end of the Wall Street section, the river widens again and you’ll see a mossy waterfall, called Big Springs, on your left hand side 4.7 miles into the trail. This is the turnaround point, as you’re required to have a wilderness permit past this area.
To return to the trailhead, simply retrace your steps back through the canyon. And good news—it’s MUCH easier to hike this way, since you’re hiking downstream!
What to bring to for hiking The Narrows
Drybag
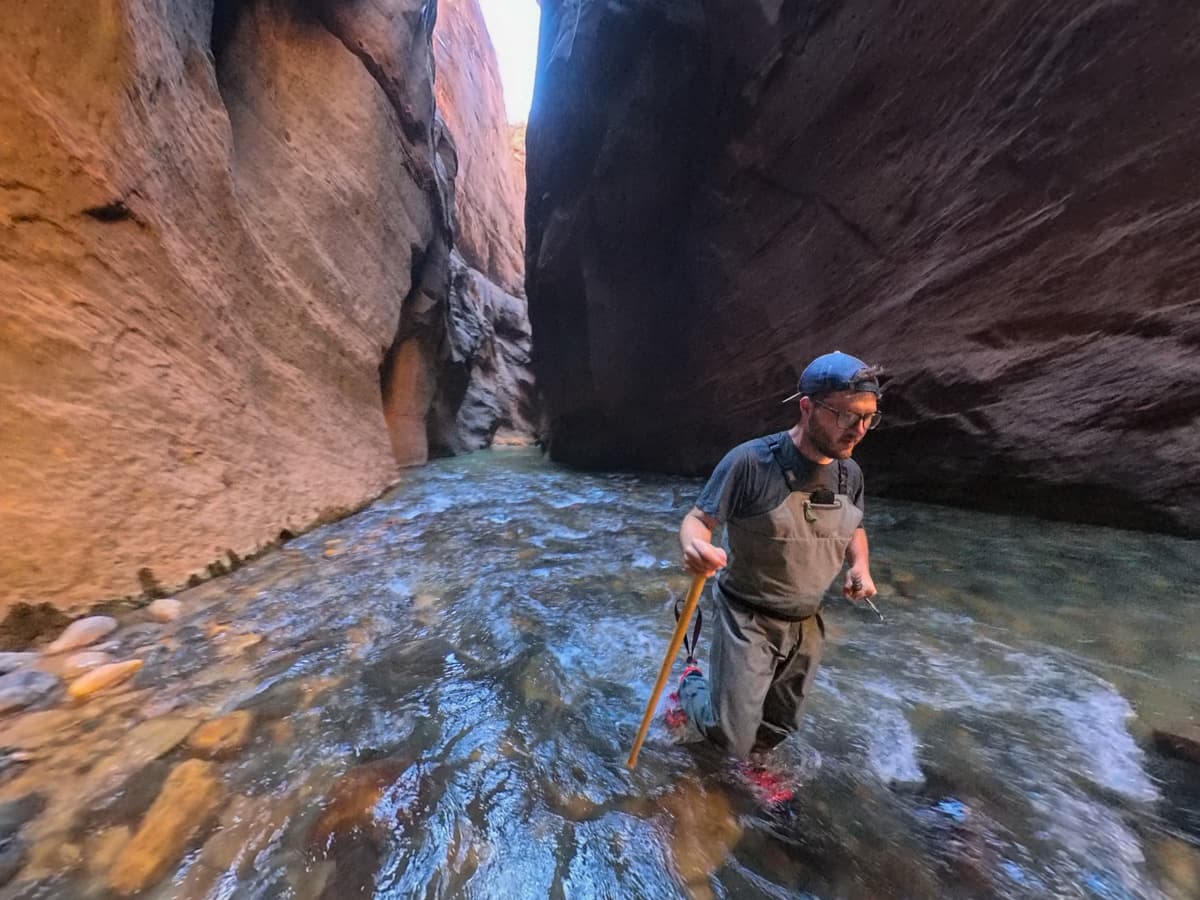
During parts of the year, the water might not be deep enough to require that you have a drybag. However, as mentioned above, it came up to our chest in certain sections, so we absolutely NEEDED to have a completely waterproof backpack.
We’ve had this one for years and it’s worked great!
Water
Make sure you bring plenty of water! We’re usually huge fans of packing light on water and using our Sawyer Squeeze to filter water, as needed. However, you can’t safely drink the water in the Virgin River (even if it’s filtered), given the presence of toxic cyanobacteria.
We each have one of these comically enormous Nalgene bottles that keep us nice and hydrated on the trail!
Hand sanitizer
Because of the toxic cyanobacteria, you should use hand sanitizer before you eat food while hiking on the trail.
Snacks
It depends how far you go down The Narrows, but, if you hike the full trail, it can take up to eight hours (you hike much slower than you normally would, due to the slippery and uneven rocks and fighting against the current).
It took us about six hours, roundtrip and we were absolutely STARVING, since we forgot to bring snacks!
Towel
There are no bathrooms along the trail.
If you need to pee as you hike The Narrows, the National Park Service asks that you relieve yourself directly in the water, as the limited areas of dry riverbed would start to smell if all visitors peed on those areas. This is actually counter to typical outdoor guidance, which is to pee at least 200 feet away from any water source.
If you’re a dude, it’s not that hard to do discreetly, even if you’re wearing waders with a bib, as you can just face the canyon wall and pee directly into the water.
However, if you’re a lady, I’d suggest bringing a towel that a friend can hold up around you to offer some extra privacy if you have to go, as your butt will just be hanging out for other hikers to see! Alternatively, I have an outdoorsy girlfriend, who swears by the Shewee, which is a portable urinal that helps ladies pee whilst standing up.
Wagbags
Again, since there are no bathrooms along the trail, you need to plan ahead.
If you have to go #2 along the trail, you’ll need to use a wag bag, which is a portable kit that helps you clean up and carry out human waste, on one of the dry sections of the riverbed. PLEASE do not just leave your waste, including toilet paper behind.
We’ve used these wagbags for backpacking trips and they work great! And, again, having a towel that a friend can try to wrap around you for a bit of privacy is better than having to poop in front of hundreds of strangers hiking past.
Sunscreen
Most of the trail is shaded by the canyon walls, but some areas, like along the Riverside Walk or the beginning of The Narrows, are exposed to the sun.
Insta360 or waterproof camera
A waterproof cell phone would work just fine. However, I’d recommend being super careful with it, as it would be easy enough to drop it and have your very expensive and important device be swept away by the Virgin River.
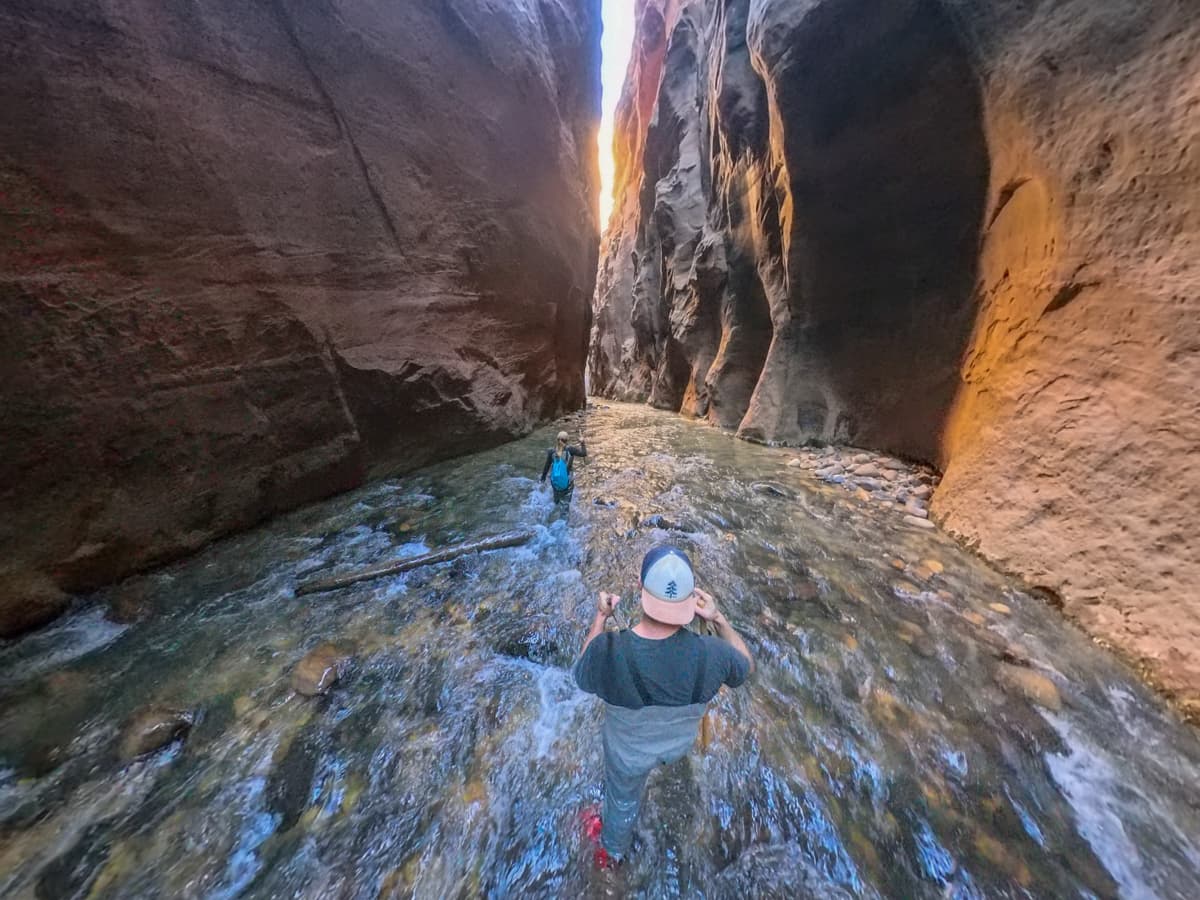
We used our Insta360 and got some SUPER cool footage and photos, plus felt more safe holding on to it, given that its magic stick comes with a wrist strap.
Things to know about hiking The Narrows
There are no bathrooms along the trail.
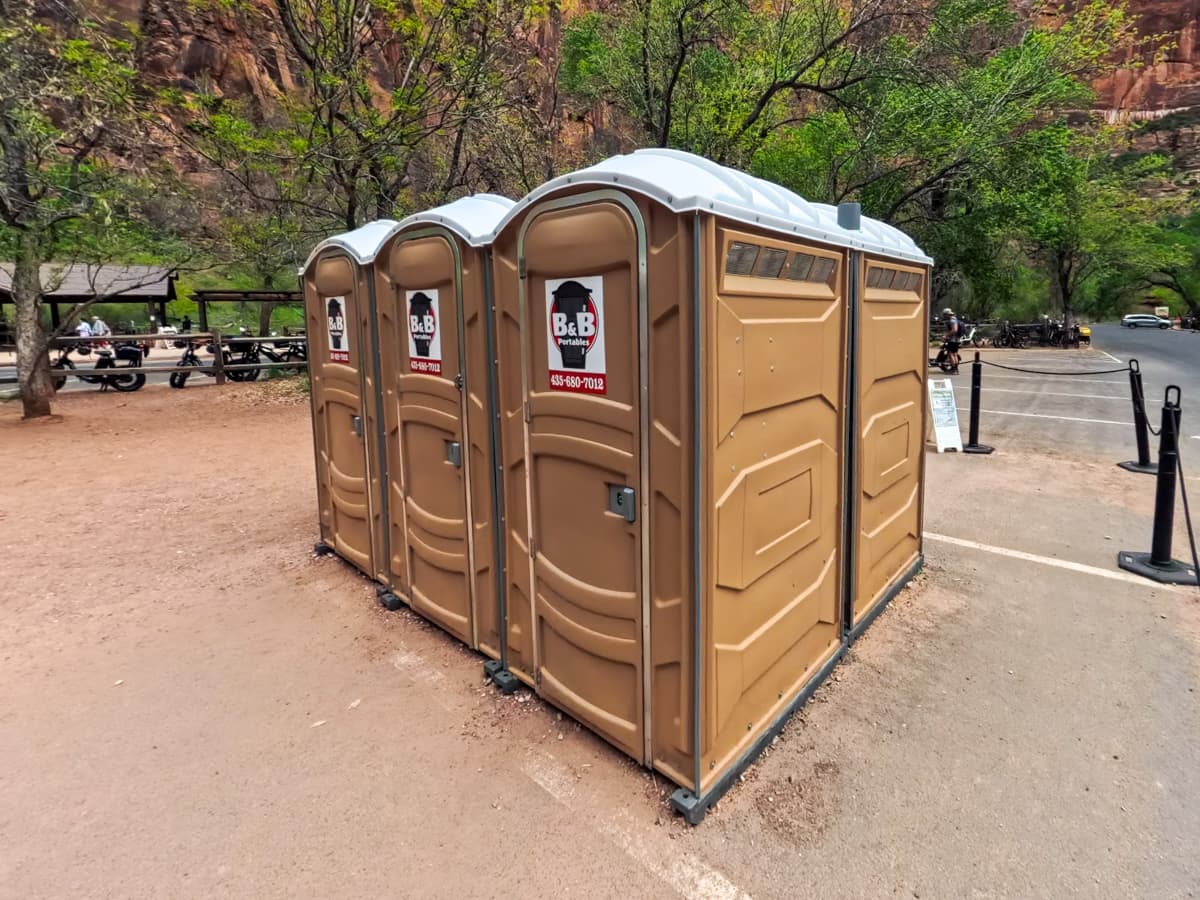
As mentioned above, there are no bathrooms along the trail. There are, however, several porta potties at the trailhead, so be sure to go before you start your hike.
There is toxic cyanobacteria in the Virgin River.
There are several types of toxic cyanobacteria found in the Virgin River, including anatoxin-a, microcystin, nodularin, and cylindrospermopsin.
The park’s official website offers wishy-washy guidance on how dangerous cyanobacteria is. However, when we were in the park, a ranger told us that it was fine to walk or wade in it, but not to drink it or otherwise get it in your mouth or nose.
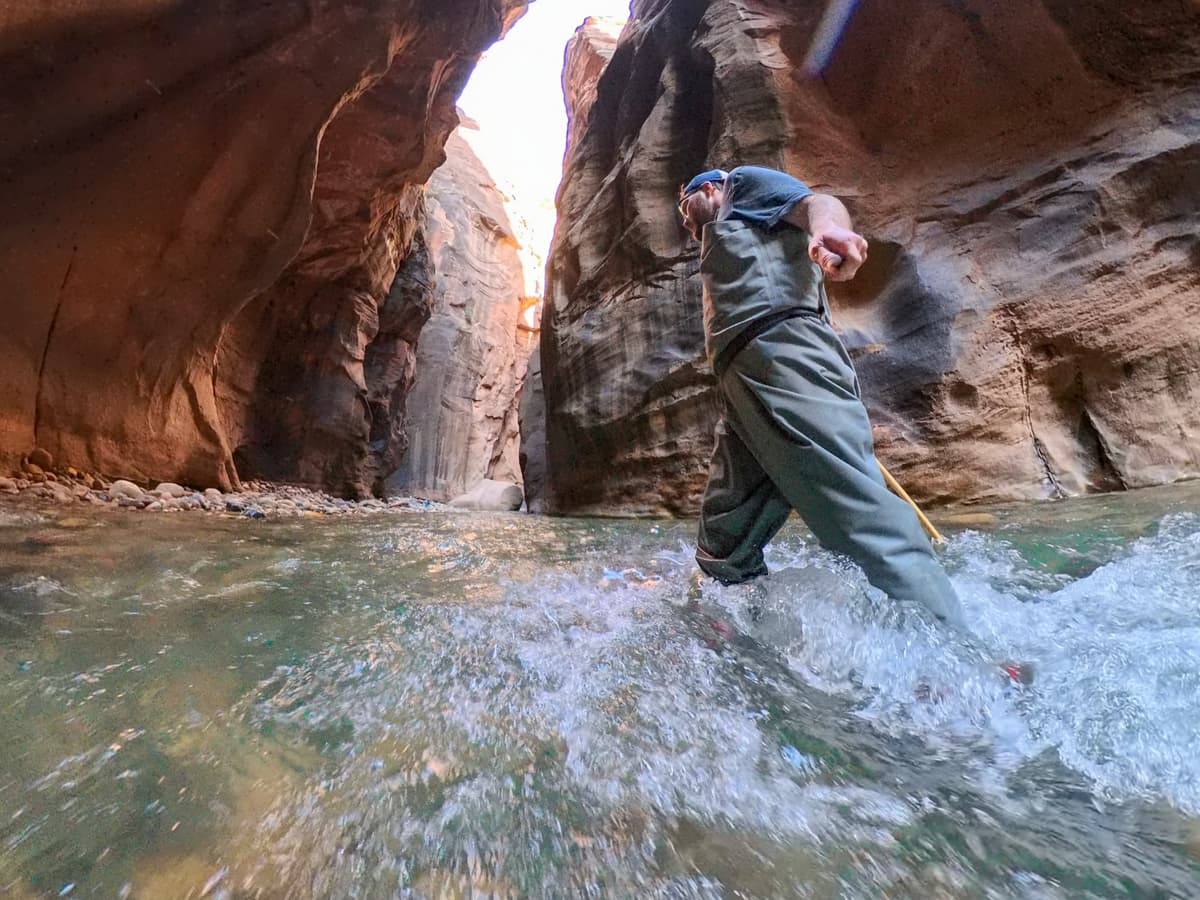
We personally didn’t experience any negative side effects, even though we hiked in extremely deep sections of the Virgin River.
However, consuming toxic cyanobacteria can lead to a wide array of symptoms, ranging from rashes and diarrhea to slurred speech and seizures. Small children are especially susceptible to these issues, so keep a watchful eye on any kiddos and make sure they’re not getting any of the water in their mouth!
Be careful hiking with small children on the trail
Speaking of kiddos, we saw lots of families with young children hiking on the trail.
This hike would be such an epic family adventure, but I would also be SUPER careful with children here and recommend considering another hike with really little kids (probably around 5 years or younger). I’m a full-grown adult woman and had sections on the trail, where I had water up to my shoulders and was pushed over by the current. So I really can’t imagine tackling this trail as a teeny kid!
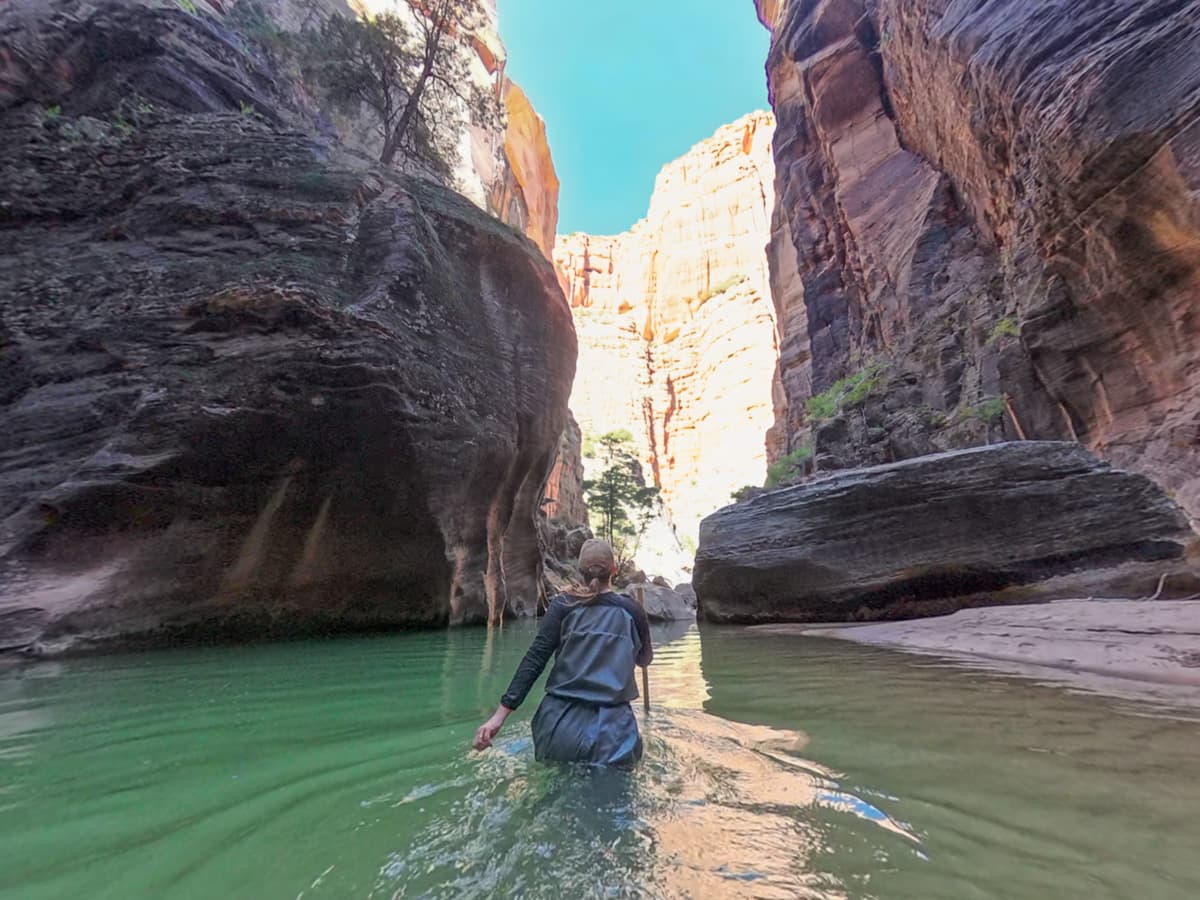
I’d recommend chatting with a ranger at the visitor center before you decide to hit the trail or rent any gear to check on the water levels and the flow rate to help determine if it’s safe to do with kids.
For what it’s worth, we saw lots of families that did the Riverside Walk and then primarily hung around the shallow areas of the Virgin River where hikers first start the actual Narrows trail. This might be a great option if you have really small children or if you’re visiting during a timeframe where the flow rate is too high to safely hike the trail.
Start early and hike past the first few miles
If you’re trying to beat the crowds, I can’t stress enough how important it is to try to get to the trailhead as early as possible. Additionally, I’d estimate that about 75% of visitors only hike about a mile or so down the river, so the further you hike down the canyon, the fewer other hikers you’ll encounter.
During our visit to The Narrows, we got in line for the shuttle around 7:15 AM and made it to the trailhead around 8:45 or so. The start of the trail was absolutely PACKED with people, but, by the second mile of hiking in the river, we could go for about half an hour without seeing another soul in the canyon. It felt absolutely magical—just us, walking between the ancient canyon walls that stretched to the sky and through the turquoise waters that carved them.
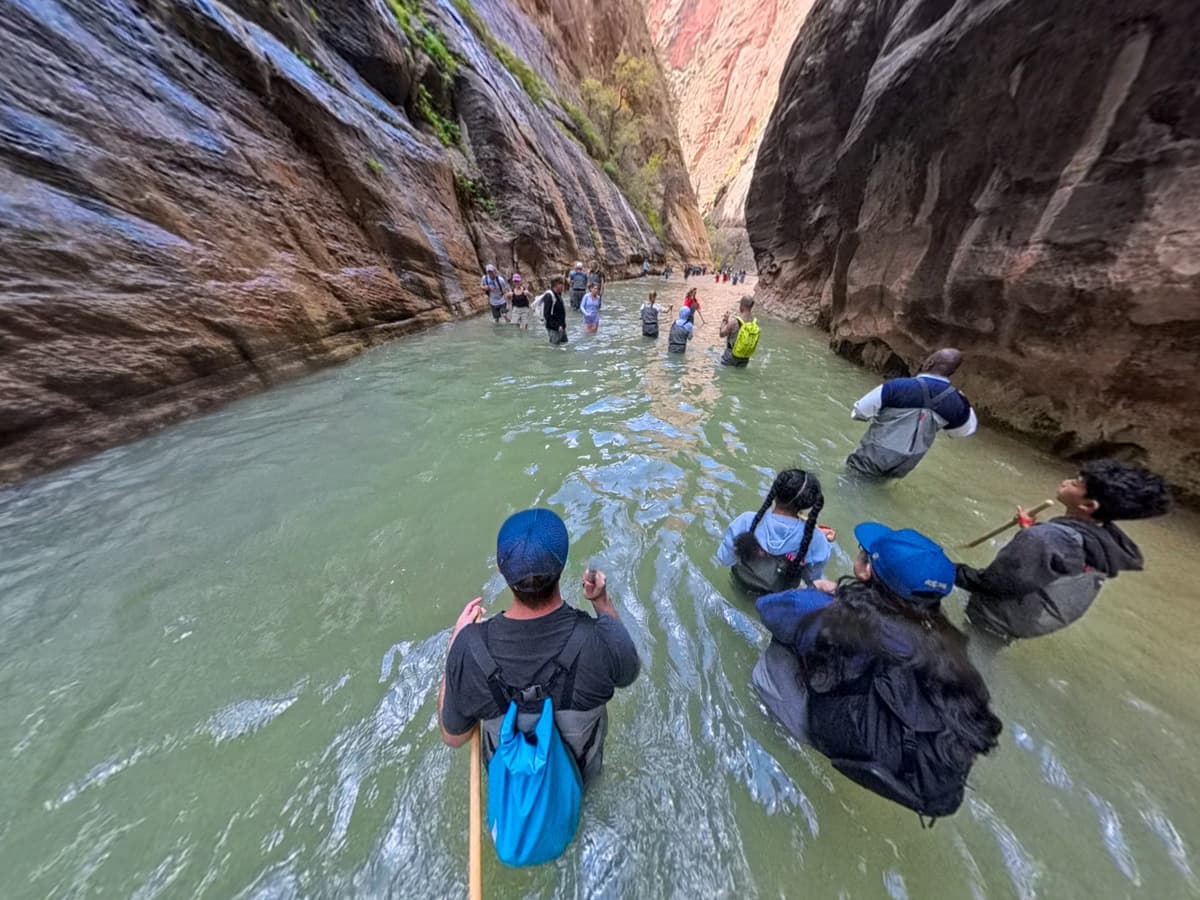
As we headed back towards the trailhead, though, it was a TOTALLY different story. The closer we got back to the trailhead, we started passing dozens and dozens of hikers every minute, with some sections feeling downright clogged with visitors.
To be honest, it was so crowded that I’m not sure that I would have had such fond memories if we had started The Narrows later than we did!
I hope you enjoy hiking The Narrows. It really is such a cool and unique hike! Do you have any questions about hiking this trail? Let us know in the comments below!
Thank you for reading our post! Check out our latest stories here and follow us on Instagram (@JustinAndJess_), YouTube, TikTok, or on Facebook to see what we’re up to next!
