Olympic National Park, tucked away in the Northwest corner of Washington state, is the United States’ ninth most visited national park- and for good reason!
From serving as the home to one of the largest temperate rainforests in the United States to the soaring Olympic Mountains and craggy Pacific Northwest beaches, Olympic has one of the most diverse landscapes that a U.S. National Park can offer, all crammed into its 1,442 square mile footprint.
Located just two and a half hours from Seattle, it’s easy to get to Olympic for a quick weekend getaway. But with such a vast geographic area and diverse landscape to explore, how can you possibly maximize your time if you have just a long weekend in Olympic National Park?
Lucky for you, my husband, Justin, and I are Seattleites and, thus, with our close proximity to this gorgeous par, have crafted the perfect 3 day Olympic National Park itinerary!
This post may contain affiliate links. If you make a purchase through them, we may receive a small commission, for which we are extremely grateful, at no extra cost to you.

Psssst.. headed to the Olympic Peninsula? Consider me jealous- it’s one of my favorite places on the planet! If you want to make your visit even more epic, check out our other articles about the park:
- Enchanted Valley in Olympic National Park
- 15 Stops along the Olympic Peninsula Loop
- Tree of Life: Washington’s Most Unique Tree
- 10 Stunning Olympic National Park Beaches
- 6 Best Hikes in Olympic National Park
- Olympic National Park in Winter
How to Get to Olympic National Park
If you’re lucky enough to call the Pacific Northwest home, Olympic National Park is an easy two and a half hour drive from Seattle, a four hour drive from Portland, or a five hour drive from Vancouver. If you’re visiting from further away, you’re likely going to need to fly into Seattle-Tacoma International Airport (I find the lowest airfare rates using Skyscanner) and then will need to rent a car.

Unlike some of the roads in Washington’s other mountain range, the Cascades, the roads in Olympic are generally really well maintained and you shouldn’t need to get a 4WD vehicle for your trip.
To get to Olympic from Seattle, you can either drive south around the Puget Sound or, if you truly want a Pacific Northwest experience, take a ferryboat! From the Seattle Ferry Terminal in downtown Seattle, you’ll want to catch either the Seattle-Bainbridge Island ferry or the Seattle-Bremerton ferry, which both have multiple daily crossings (you can find a schedule here).

Word of warning, though- while the route taking a ferry is technically shorter (and, in my opinion, more fun- it can actually take much longer when you take into account departure times, the time queuing up, and unloading from the boat.
So if you’re in a time crunch, driving south around the Sound may be your best bet. Otherwise, drive that car up on a ferry, buy a slightly overpriced Rainier beer from the ferry’s concession stand, and check out those Puget Sound views from the water.

Since you’ll need a car to get to and around Olympic, I’d recommend taking the opportunity to do a road trip around the Olympic Peninsula Loop and beyond, after your time in the national park- Mount Rainier and the Northern Cascades (to name just a few gorgeous parts) are not to be missed!
Where to Stay in Olympic National Park
Olympic National Park is HUGE, so no matter where you stay, you will likely need a car and to invest some time getting around the park. Given the sheer size of the park, there are several options for towns that can act as your base camp, depending on what area of the park you plan on spending time.
- Port Angeles, a small port town, is a great central homebase for your stay, with close proximity to popular park sites like Lake Crescent and Sol Duc Falls. For these reasons, it’s where I’ve always stayed when I’ve visited the park. Some accommodations to consider here: Olympic Lodge, Emerald Valley Inn, and the Royal Victorian Hotel.

- Another good option near Port Angeles, which Justin and I passed on a hike, is the Sol Doc Hot Springs Resort, nestled in a stunning rainforest and operated within the park itself by the National Park Service.
While it doesn’t appear to have all the bells and whistles that I generally associate with “resorts” (where’s my cabana, NPS?!), the cabins definitely looked cozy and you know there’s few things ya girl loves more than some hot springs, of which the resort has three (plus a freshwater pool for those warm summer days).
If hot springs and snuggly cabins make your heart sing as much as mine, keep in mind that the resort is only open from the end of May through the end of September each year.
- The tiny town of Forks, along the Washington coastline, is an excellent base for exploring the park’s beaches and attractions on the west side of the park. Some accommodations to consider here: The Pacific Inn Hotel, Woodland Inns, and Hoh Valley Cabins.
- Port Townsend, located about an hour east of Port Angeles, is another popular option and arguably has better accommodations and dining options than either of the towns mentioned above. Due to its location at the very northeastern-most section of the park, though, staying here would add about an hour of drive time to the most popular attractions in the Olympics and therefore, it would not be my recommended springboard to the park. Keeping that in mind, some accommodations to consider here: The Palace Hotel, Blue Gull Inn Bed and Breakfast, and the Swan Hotel.
When to Go to Olympic National Park
July through September is peak season in Olympic, due to the warmer and drier weather. Better weather, of course, goes hand in hand with more crowds, so the shoulder seasons of spring (May through June) and fall (October through November) are worth considering as well.

The Olympic peninsula can get a lot of rain (it is home to some of the country’s biggest rainforests, after all!), especially during the spring in Washington. So come prepared with waterproof clothing and a willingness to get a bit damp!
During winter in Olympic National Park (December through April), parts of the park, like Hurricane Hill, can have limited access due to snow, so, if you plan to visit the park during non-peak season, double check whether any trails you have your heart set on will be closed during your visit.
Thus far, Justin and I have visited in early July and late November (and thus, why we have pictures with both snow and me wearing tank tops… although I also was able to wear a tank top here in November, so go figure) and had totally lovely weather both times.

What to Pack for Olympic National Park
I’m not going to rattle off a list of everything you need to pack (I’m hoping you know how many undies you need for a weekend at this point), but here are some things you might not necessarily know you’ll need.
- A rain jacket– You know how everyone always talks about how much Seattle rains all the time? It actually doesn’t really rain that much here (in fact, Seattleites call what we get a “mizzle”, a combination of mist and drizzle, which is really only frequent in the wintertime), but with respect to Olympic, you’re going to a literal RAINFOREST.
It can rain a LOT here, so be sure to come prepared. I’ve been rocking this jacket for years (it’s affordable and comes in TWENTY EIGHT COLORS) and it’s always treated me right. Don’t worry, fellas- here’s the same jacket for men.
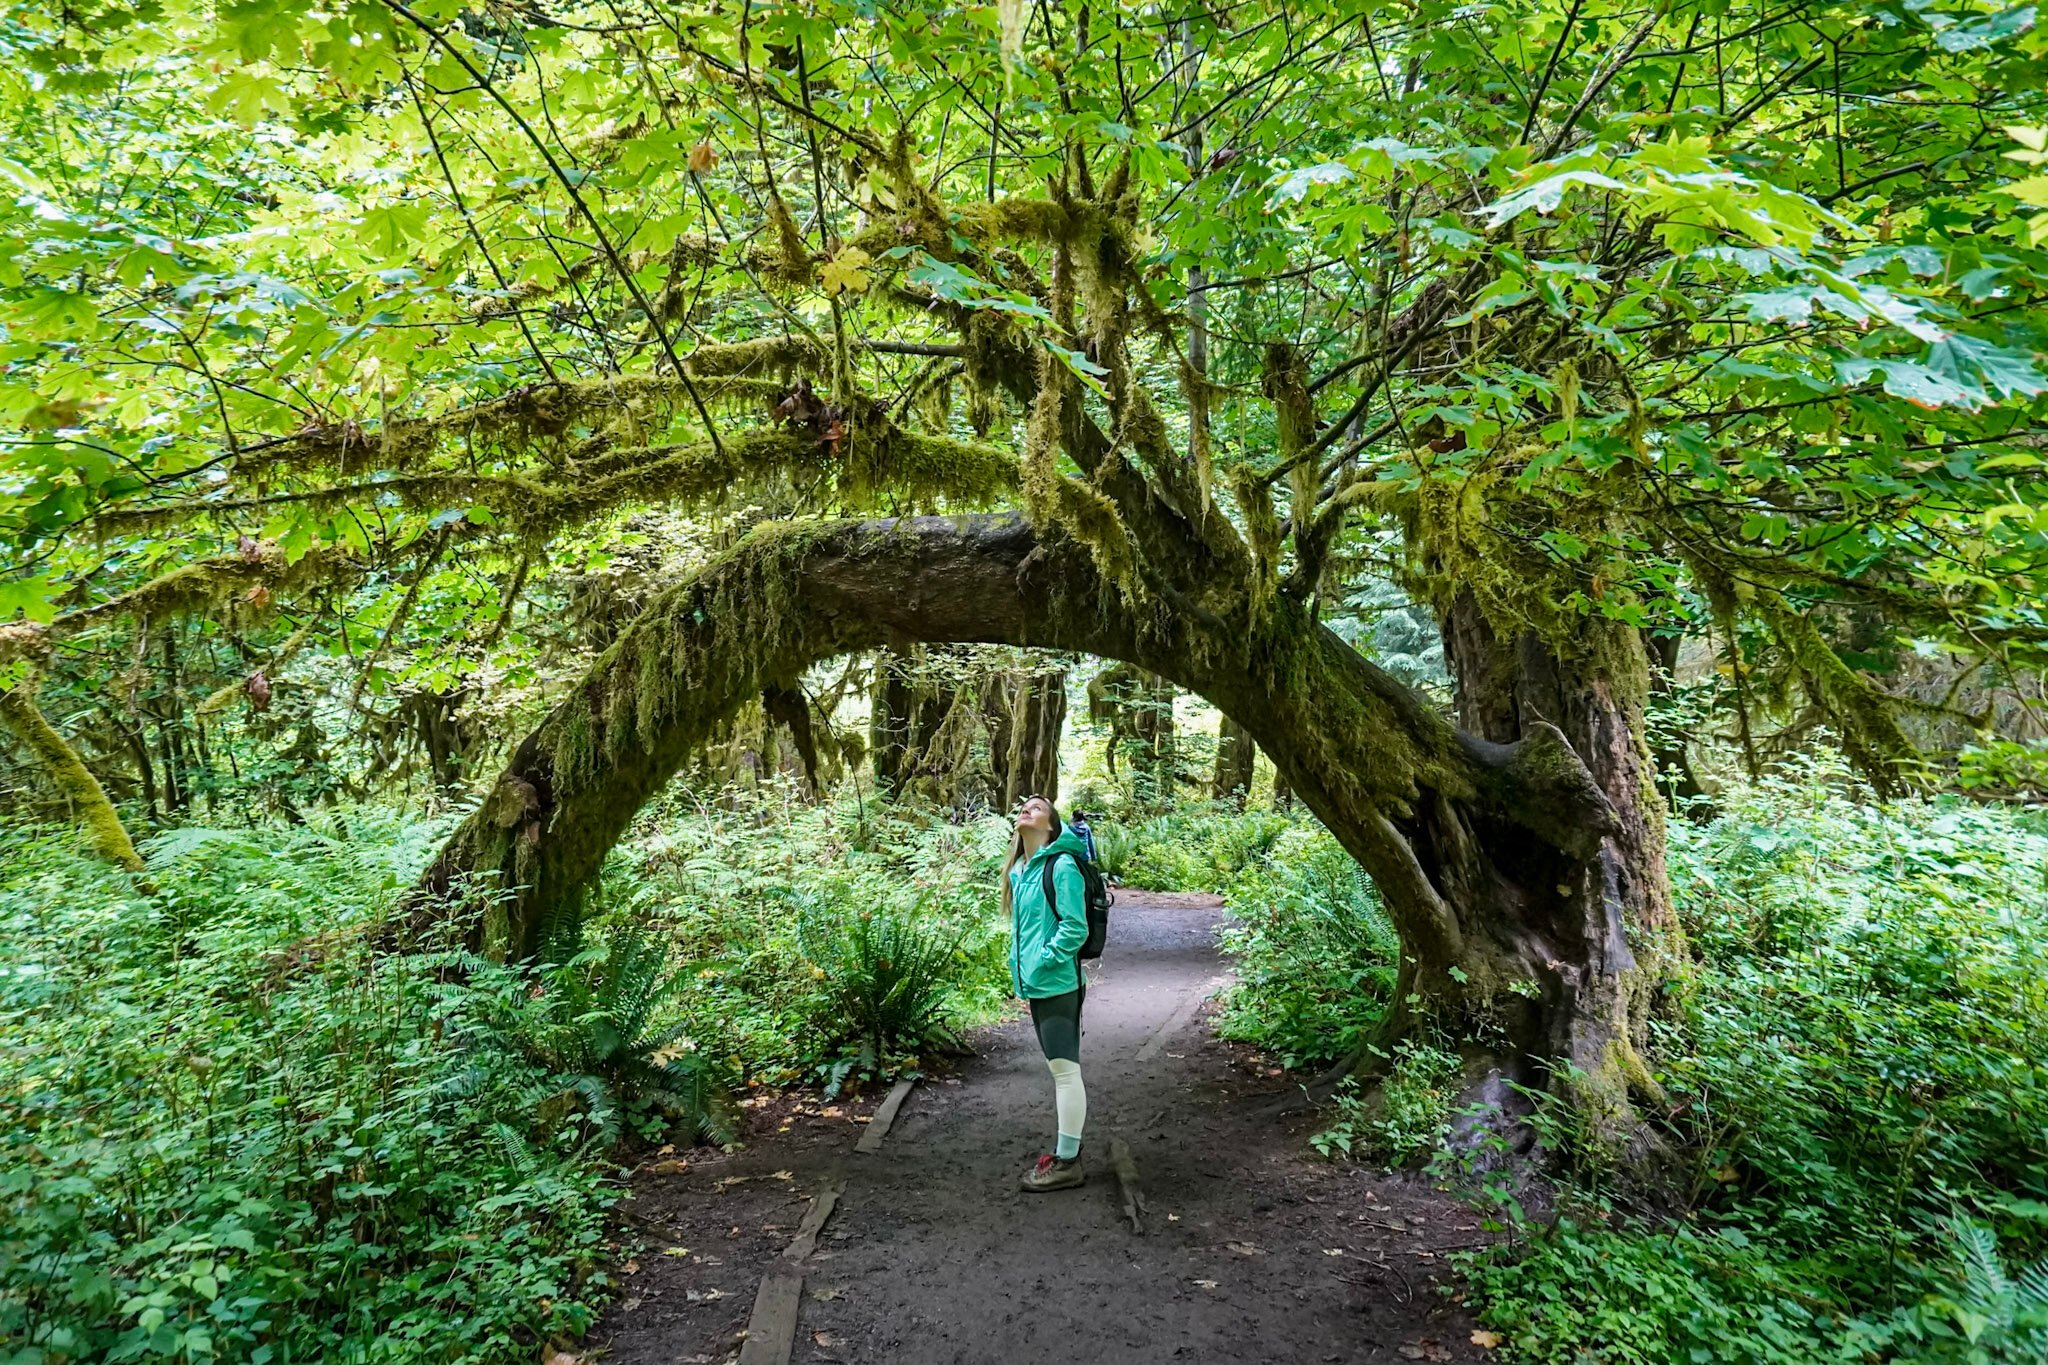
- Water-resistant, quick-dry hiking pants– Same logic as above- Justin and I have passed one too many people on the trail who are sadly slogging past us in the rain in soaking wet JEANS.
I can think of few things that are worse than hiking in the rain in soaking wet jeans (except maybe throwing in a case of solid chub rub on top of that?). For the ladies, these pants have solid reviews and I love that you could take them from the trail to dinner without looking overly schlubby. For the dudes, these look like a solid option. - Waterproof hiking boots– Scratch that- you know what’s arguably worse than wet pants? Wet feet. I have seen people hike in some head-scratching options, from slip-on Vans to literal flip-flops and it makes me shudder every time someone passes me in questionable footwear.
Beyond just being uncomfortable when your feet inevitably get wet, footwear without traction can be downright dangerous on some of the trails recommended in this article, like Storm King. Here are the hiking boots that I use (and LOVE!) and here is the pair that Justin has.

- A swimsuit– I first visited Olympic in chilly November, so I definitely didn’t have beach season on my mind. But if you’re going in warmer months (think June through September), I’d recommend bringing along a swimsuit, for everything from kayak excursions on Lake Crescent to relaxing in the Sol Duc Hot Springs. For the ladies, this one looks cute (the Pacific Northwest always gives me retro camp vibes, ya dig?) and comes in a range of sizes, from extra small to extra large and for the fellas, you could rock these from the beaches of Olympic all the way to a dive bar back in Port Angeles.
- Bear spray– Unlike some other U.S. National Parks, there are no grizzly bears in Olympic, but there are black bears. They are usually scared of humans and it’s fairly unlikely they’ll harm you, although mother black bears have been known to be aggressively protective around their young.
Because of this risk (and some other critters like cougars and even mountain goats who could make your day a no good, very bad one), I take bear spray (which is used much like pepper spray to temporarily disarm, but not permanently injure aggressive animals) with me wherever I go hiking in Washington state.
Although we thankfully have never had to use it, we have this one. Note that you cannot take bear spray on airplanes, so if you’re flying through Seattle, I suggest picking one up at a local REI or checking to see if Discovery Bay Outdoor Exchange (a neat little hiking store exchange in Port Townsend you’ll drive by on your way to the park) has any for cheap. - A daypack– You’re going to need a place to stuff your rainjacket, Clif bars, and your water on all those hikes! I swear by packable backpacks (i.e., ones that you can pack up into a tiny pouch and shove in a bigger suitcase, but quickly unpacks to meet all your hiking needs) and this 18L one by Osprey seems like a great option.
- America the Beautiful Pass– During our trip to Olympic, we didn’t spend a single penny on entertainment, because all we did was hike in and around the park. Our entrance to the park was totally free (usually it’s $30 per vehicle per week) due to our handy dandy America the Beautiful Pass, an annual pass that costs just $80 and gets you into more than 2,000 national parks, forests, shorelines (and on and on) for FREE.
Plus, the proceeds help support the totally awesome and totally underfunded National Park Service! This little pass has saved Justin and I SO much money- we would have easily paid at least $250 this year alone on National Park entries without it. If you think there’s any chance you’ll go to at least three national parks per year (or you just want to support the National Park Service), the pass will pay for itself!

3 Day Olympic National Park Itinerary
Finally to the fun part! So you have just a weekend to see the best of the best in Olympic National Park? I gotchu:
DAY 1
More likely than not, you’re driving from Seattle in the morning and are arriving in Port Angeles in the early afternoon. Since you’ve already done a bit of driving this morning, this afternoon’s hike will be close to home- and quite the workout!
Afternoon
Mount Storm King is one of the best hikes in Olympic National Park. The popular out-and-back trail winds up through a damp rainforest and eventually on top of the mountain’s spiny ridge, which will afford you panoramic views of the deep turquoise waters of Lake Crescent below and the surrounding rolling green hills.
While the hike is pretty short at 4 miles round trip, it’s definitely challenging and STEEP- you’ll gain some serious elevation, 2065 ft. over your 2 miles up (average ~18° incline), to be exact.

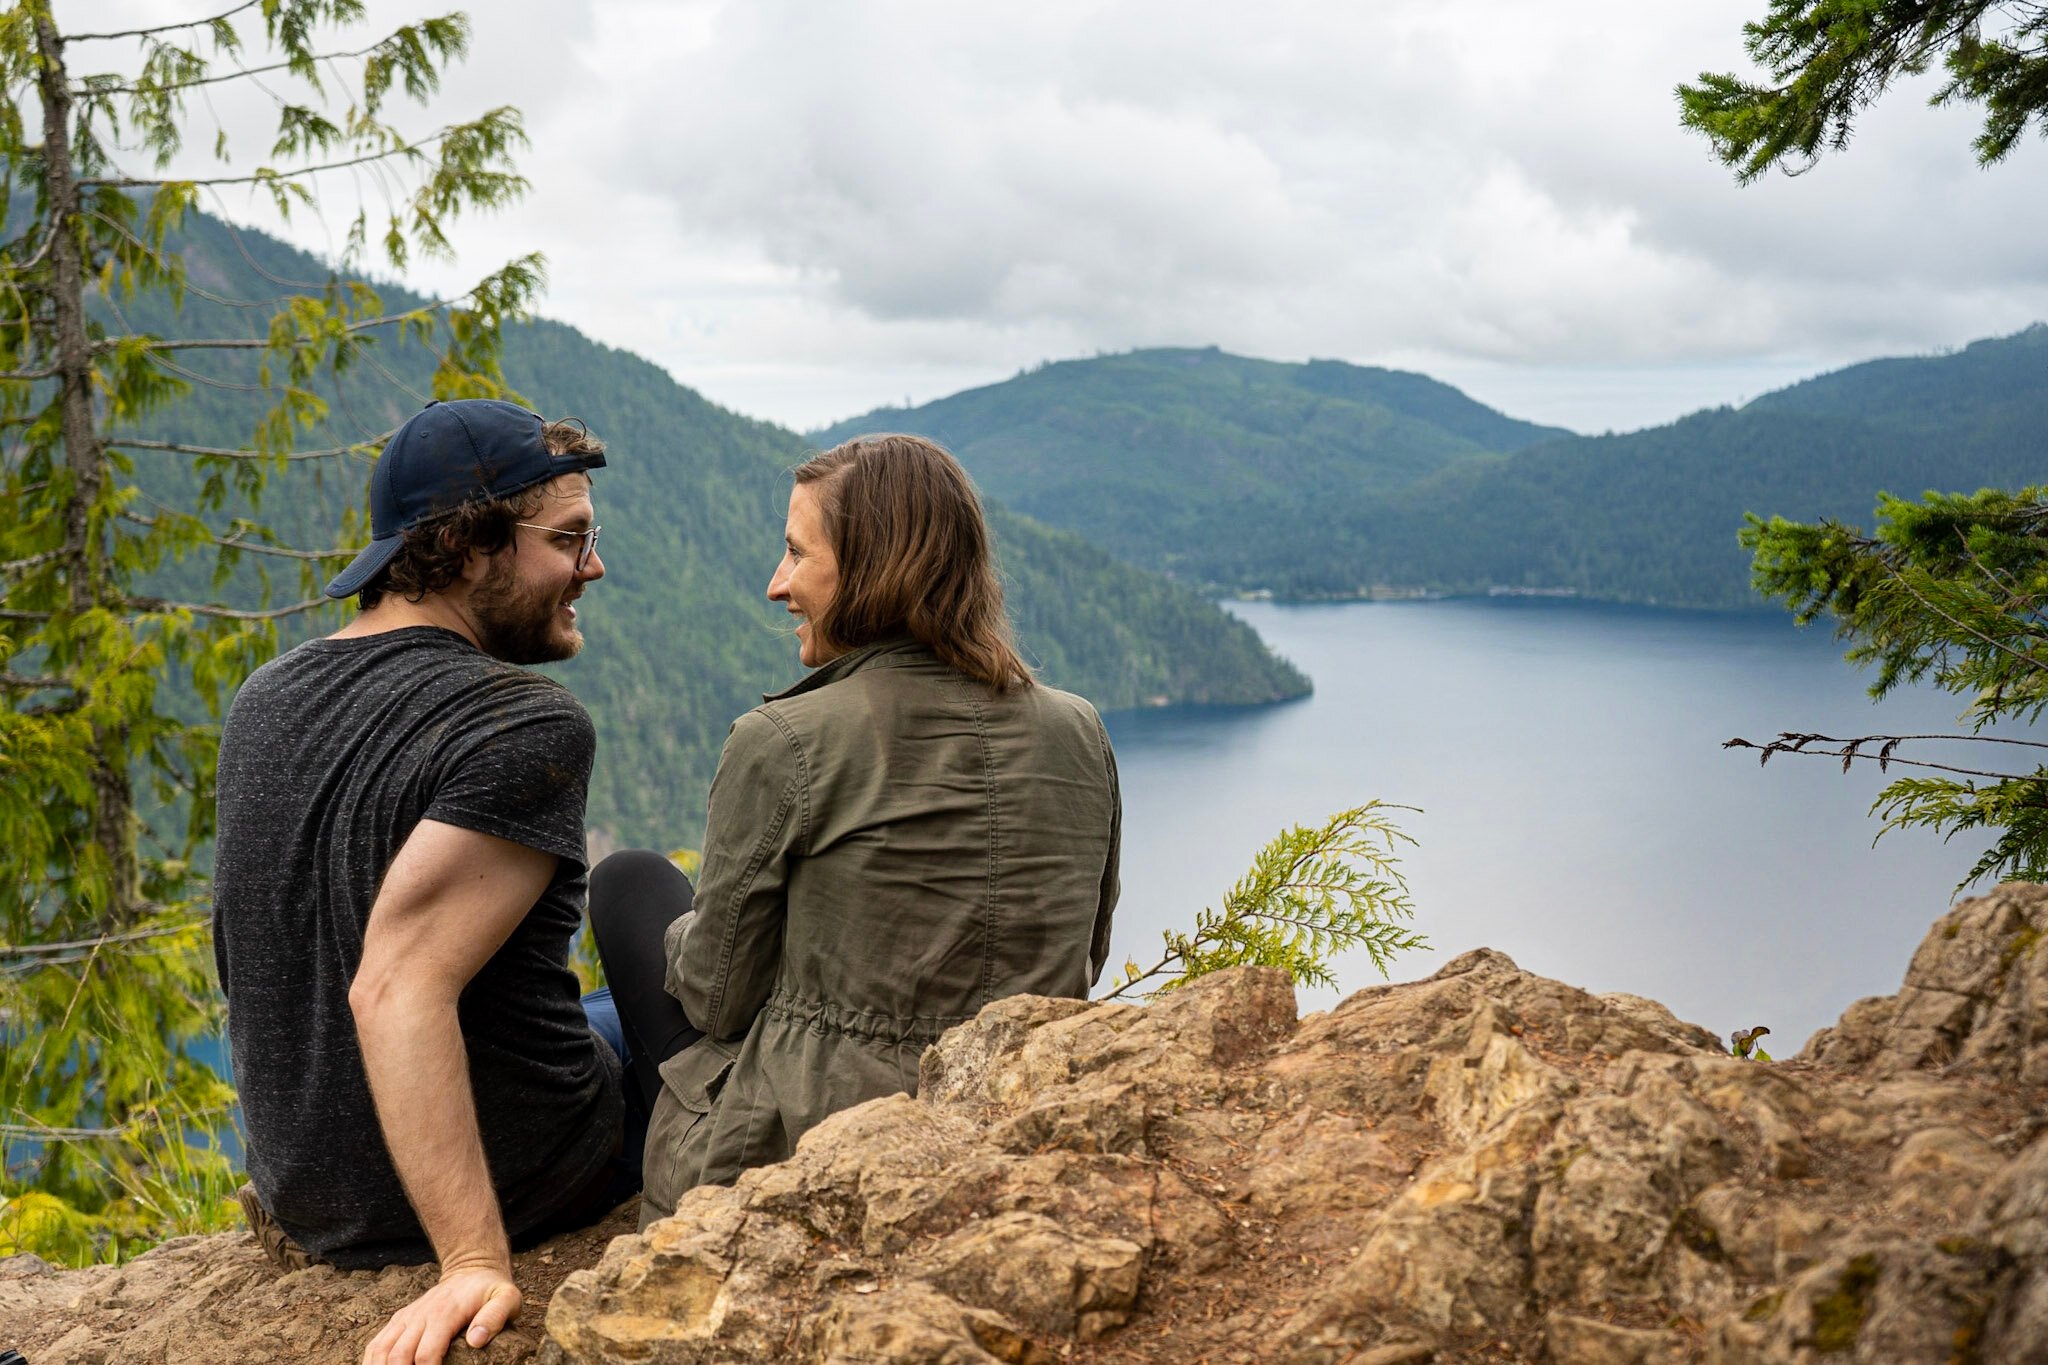
A few insider tips about the hike:
- You start the hike by the Storm King Ranger station at the Marymere Falls trailhead and follow a deceivingly gentle path. After about half a mile on the trail lulling you into a false sense of security, there’s an unceremonious sign for Storm King leaning against a huge boulder to your left, where you’ll veer off and start your Buns-of-Steel worthy ascent.
- The National Park Service’s maintained trail (which is clearly marked) ends about .4 miles or so from the summit. After this point, you’ll reach the summit by pulling yourself up ropes tied to questionable looking trees and finally scrambling to the very top of a rock pile with a significant amount of exposure.
This portion of the hike is, in my opinion, fairly technically advanced and I would not recommend going up anywhere that you’re not confident getting down. I personally did not feel comfortable scrambling all the way to the summit across the extremely steep rocks and thus, enjoyed the view of Lake Crescent whileawkwardly clinging on to a rocky ledge for dear liferelaxing on some rocks very close to the top. No shame in knowing your limits! - If you do climb the unmaintained portion of the trail, I wish I would’ve brought climbing gloves (I’ve got my eye on these guys for next time). Had I slipped and fallen while holding the rope (a very possible scenario when scrambling up a steep, rocky terrain), the skin on my hands would have definitely seen better days.
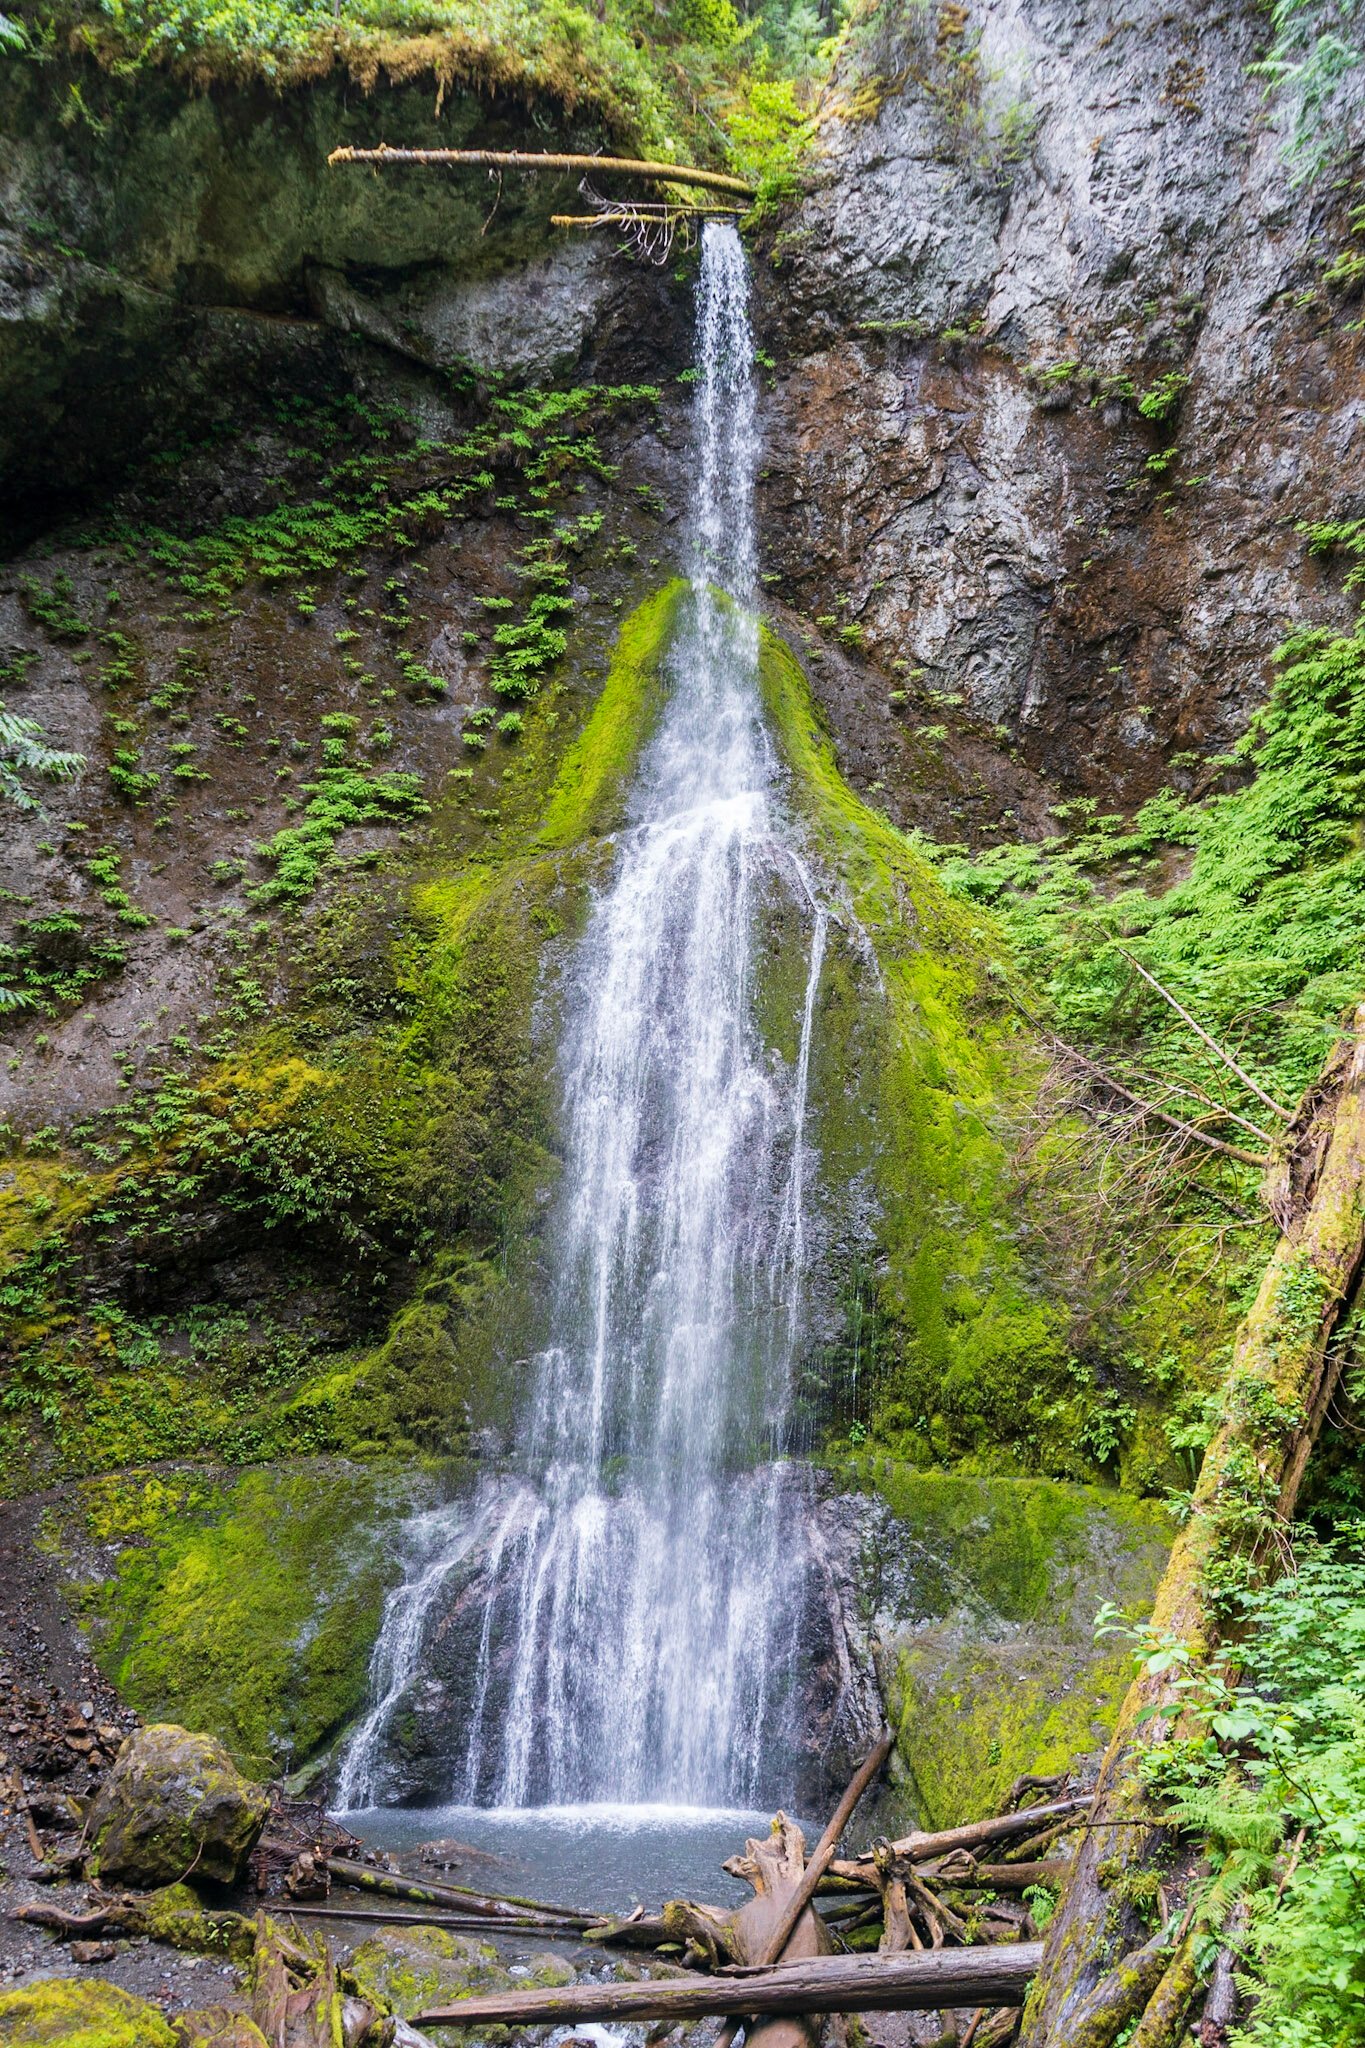
And part of the reason I did not climb all the way to the summit was the inability to get a good grip on the rocks. If only I had gloves, perhaps I would’ve been able to get that famous Mount Storm King Insta-shot. - After you hike back down Storm King, make sure to swing a left once you reach the Marymere Falls junction to catch a glimpse of the beautiful falls. It’ll add an extra mile to your hike, but the gorgeous falls are an excellent excuse for a little cool-down.
If you don’t feel quite up to Storm King on Day 1, the Marymere Falls trail (on it’s own, a 1.8 mile trail with 500 feet in elevation gain) is a great alternative if you’re feeling more of a mellow or family-friendly hike in the afternoon.
Storm King is by far the most physically demanding and technically challenging hike I’m recommending in this post, so if you’re still getting your hiking feet wet, I have plenty of more newbie friendly hikes throughout this post. So if you have some extra time on your hands after finishing the Marymere Falls trail or perhaps you just got an earlier start to your day, another great addition to the afternoon would be renting a paddleboard or kayak to explore Lake Crescent’s beautiful waters from Lake Crescent Lodge (check rates and hours here).
Afterwards, head back to Port Angeles to relax those barking dogs- we got a lot more exploring to do over the next couple of days! (Looking for what to do in Port Angeles? Check out the Where to Eat and Play section below).
DAY 2
Morning
Wake up bright and early and stop at one of my favorite oddities about Washington- one of its adorable and omnipresent drive-through coffee shacks (we’ve been to several in town, including Just Rewards and Daily Grind– would highly recommend)!
Now that you’re good and caffeinated, let’s get outside! First on the agenda is hitting up Sol Duc Falls, accessed via the Sol Duc Falls trailhead. This 1.6 mile, out-and-back trail is wide, pretty flat, and family friendly, meandering through a gorgeous old growth forest interspersed with lush rainforest. The end of the trail is a stunning overlook of the falls tumbling some 48 feet down in a rocky canyon below- photographers, you’ll definitely want to grab your tripod to catch this one!

If you can’t get enough of this forest (seriously, it looks like fairies and wood nymphs and unicorns are going to come out flying at your face at any second… in the best way possible), once you reach the falls, continue on to the Lover’s Lane loop trail, which will add about 4.5 miles to your total distance.
The trail remains mostly flat throughout the hike, but has some downed trees that may require a bit of scrambling. Other than the length, I would generally categorize this trail as easy.

A few protips about this hike:
- Assuming you started the Lover’s Lane trail at the Sol Duc trailhead, the first half of the trail will end in the campground of the Sol Duc Hot Springs resort. If the resort is open, this may be the perfect time to pop into the hot springs for a relaxing soak, so pack your swimsuit in your daypack (for non-guests, it’s $15 for adult passes; $3 for towel rentals; and lockers are free!).
- As I noted above, the first half of this hike is through a magical fairytale forest, while the second half of the loop, unfortunately, isn’t quite as nice.
First of all, it spits you out into this random parking lot of the hot springs resort, without any kind of signage of how to get back on to the loop trail. Second of all, once you figure out how to get back on the trail (you basically walk through the resort’s parking lots until you reach close to the road you drove on to get to the Sol Duc trailhead, where you’ll find a gravel path), a substantial part of the last half of the loop follows pretty closely along the actual road leading to the trailhead (you can see it pretty well on the All Trails map)- there’s definitely parts that are pretty, but the proximity to the road definitely makes the second half a bit of a letdown.
When I do the trail again, I’d likely do this as an out-and-back trail, turning around and retracing my steps from whence I came, back into the land of trolls and dementors and such.

Afternoon
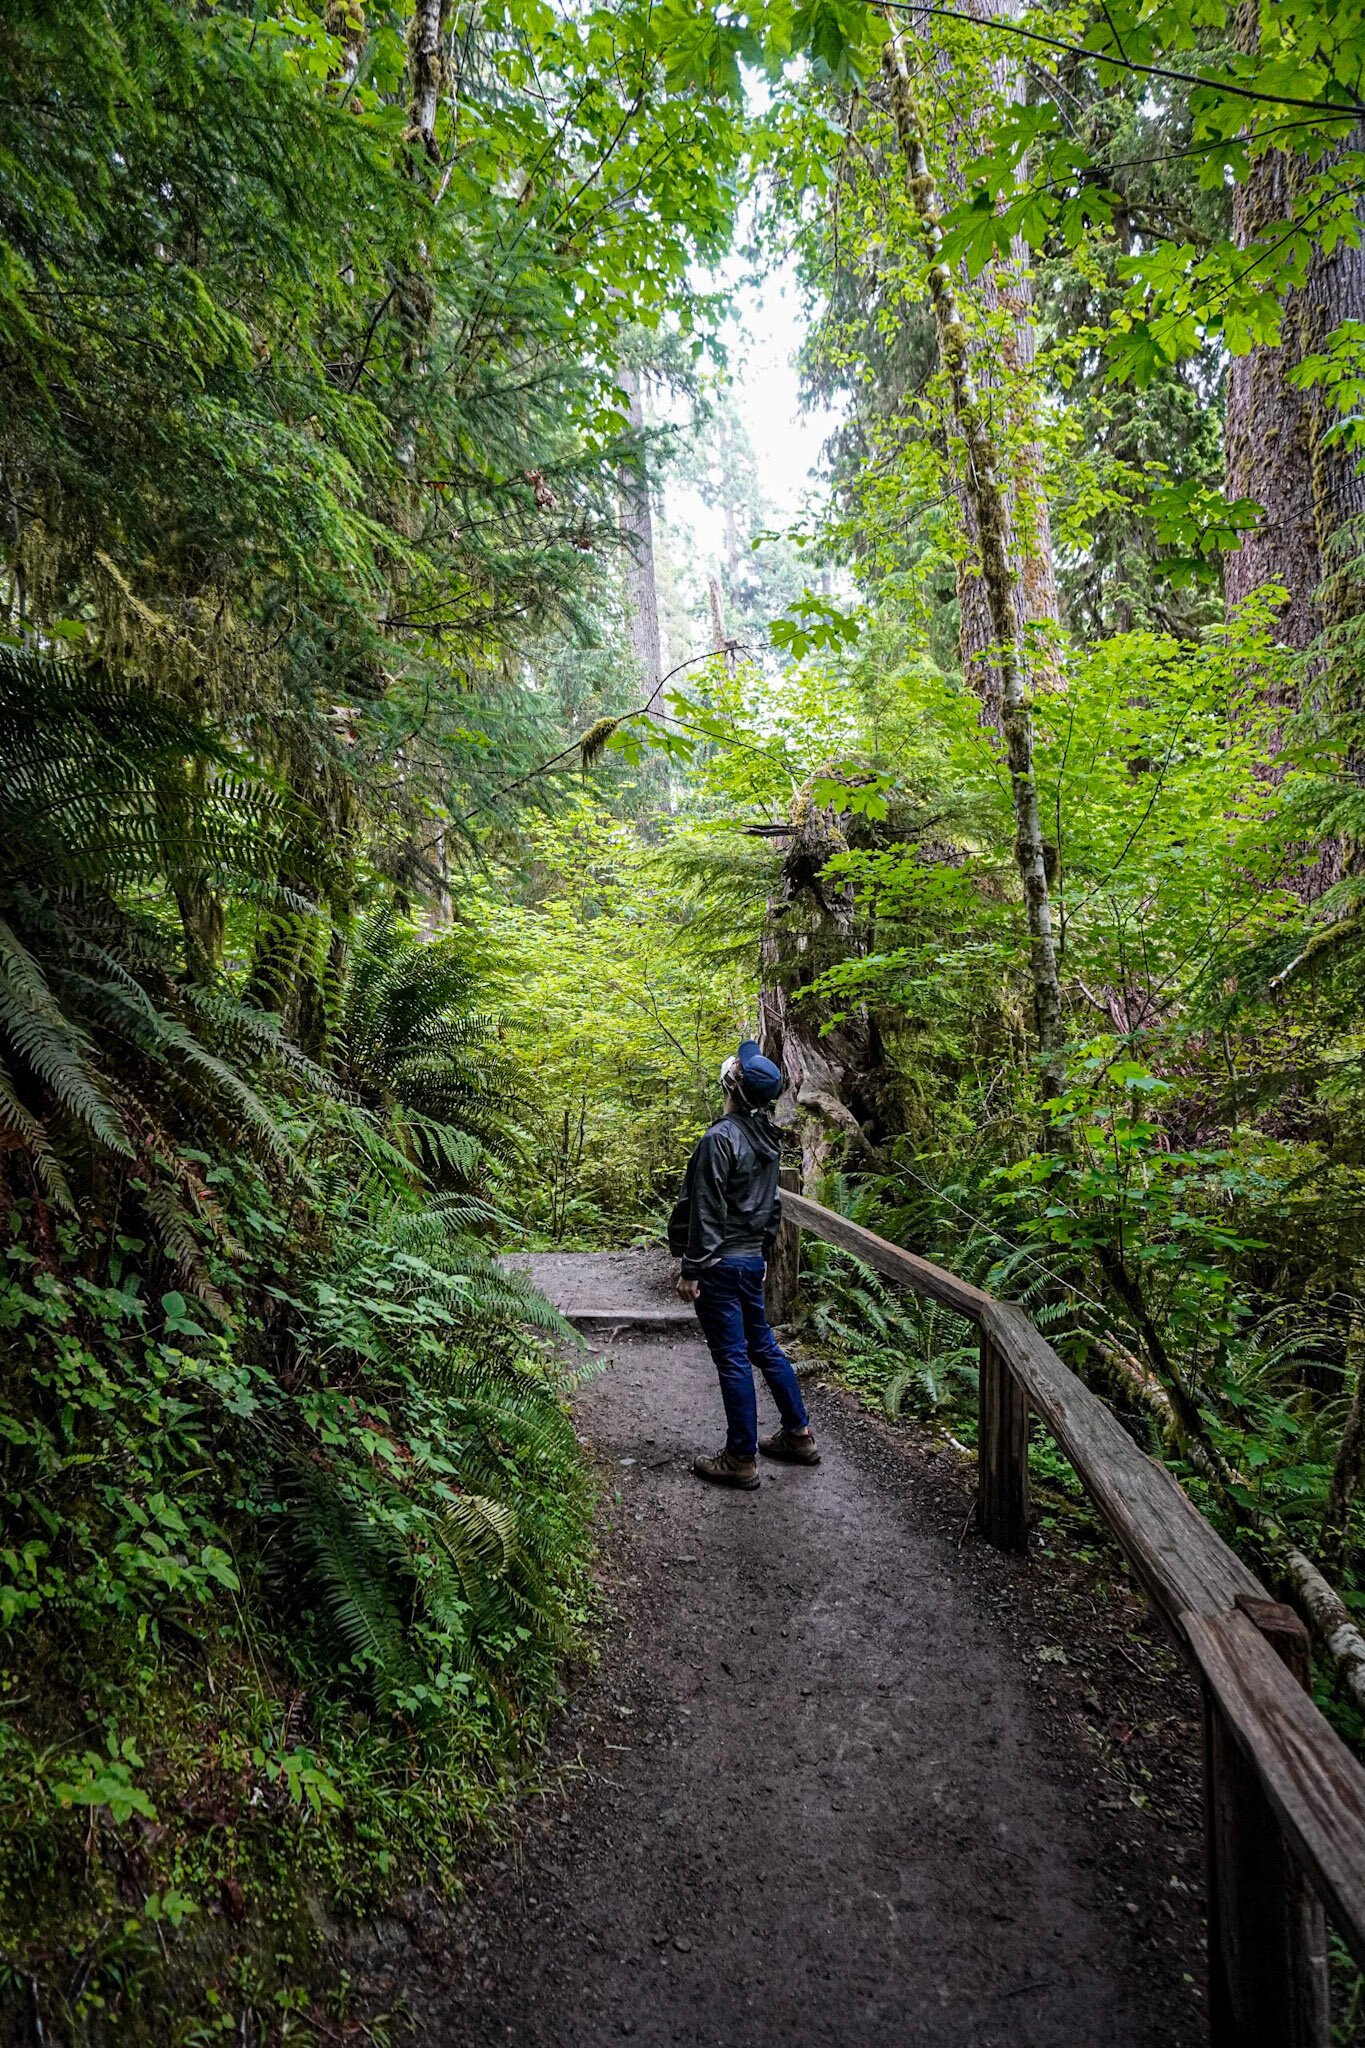
It’s time to hit the road and make the hour and forty minute drive to the Hoh Rainforest. The United States isn’t exactly known for its rainforests, but the Hoh Rainforest is the real deal, named a UNESCO World Heritage Site and a Biosphere Reserve and allegedly, the shooting location for Endor, home planet of the walking teddy bears- er, I mean ewoks- in the Star Wars classic, Return of the Jedi!
There are a handful of incredible Hoh Rainforest hikes to explore here.
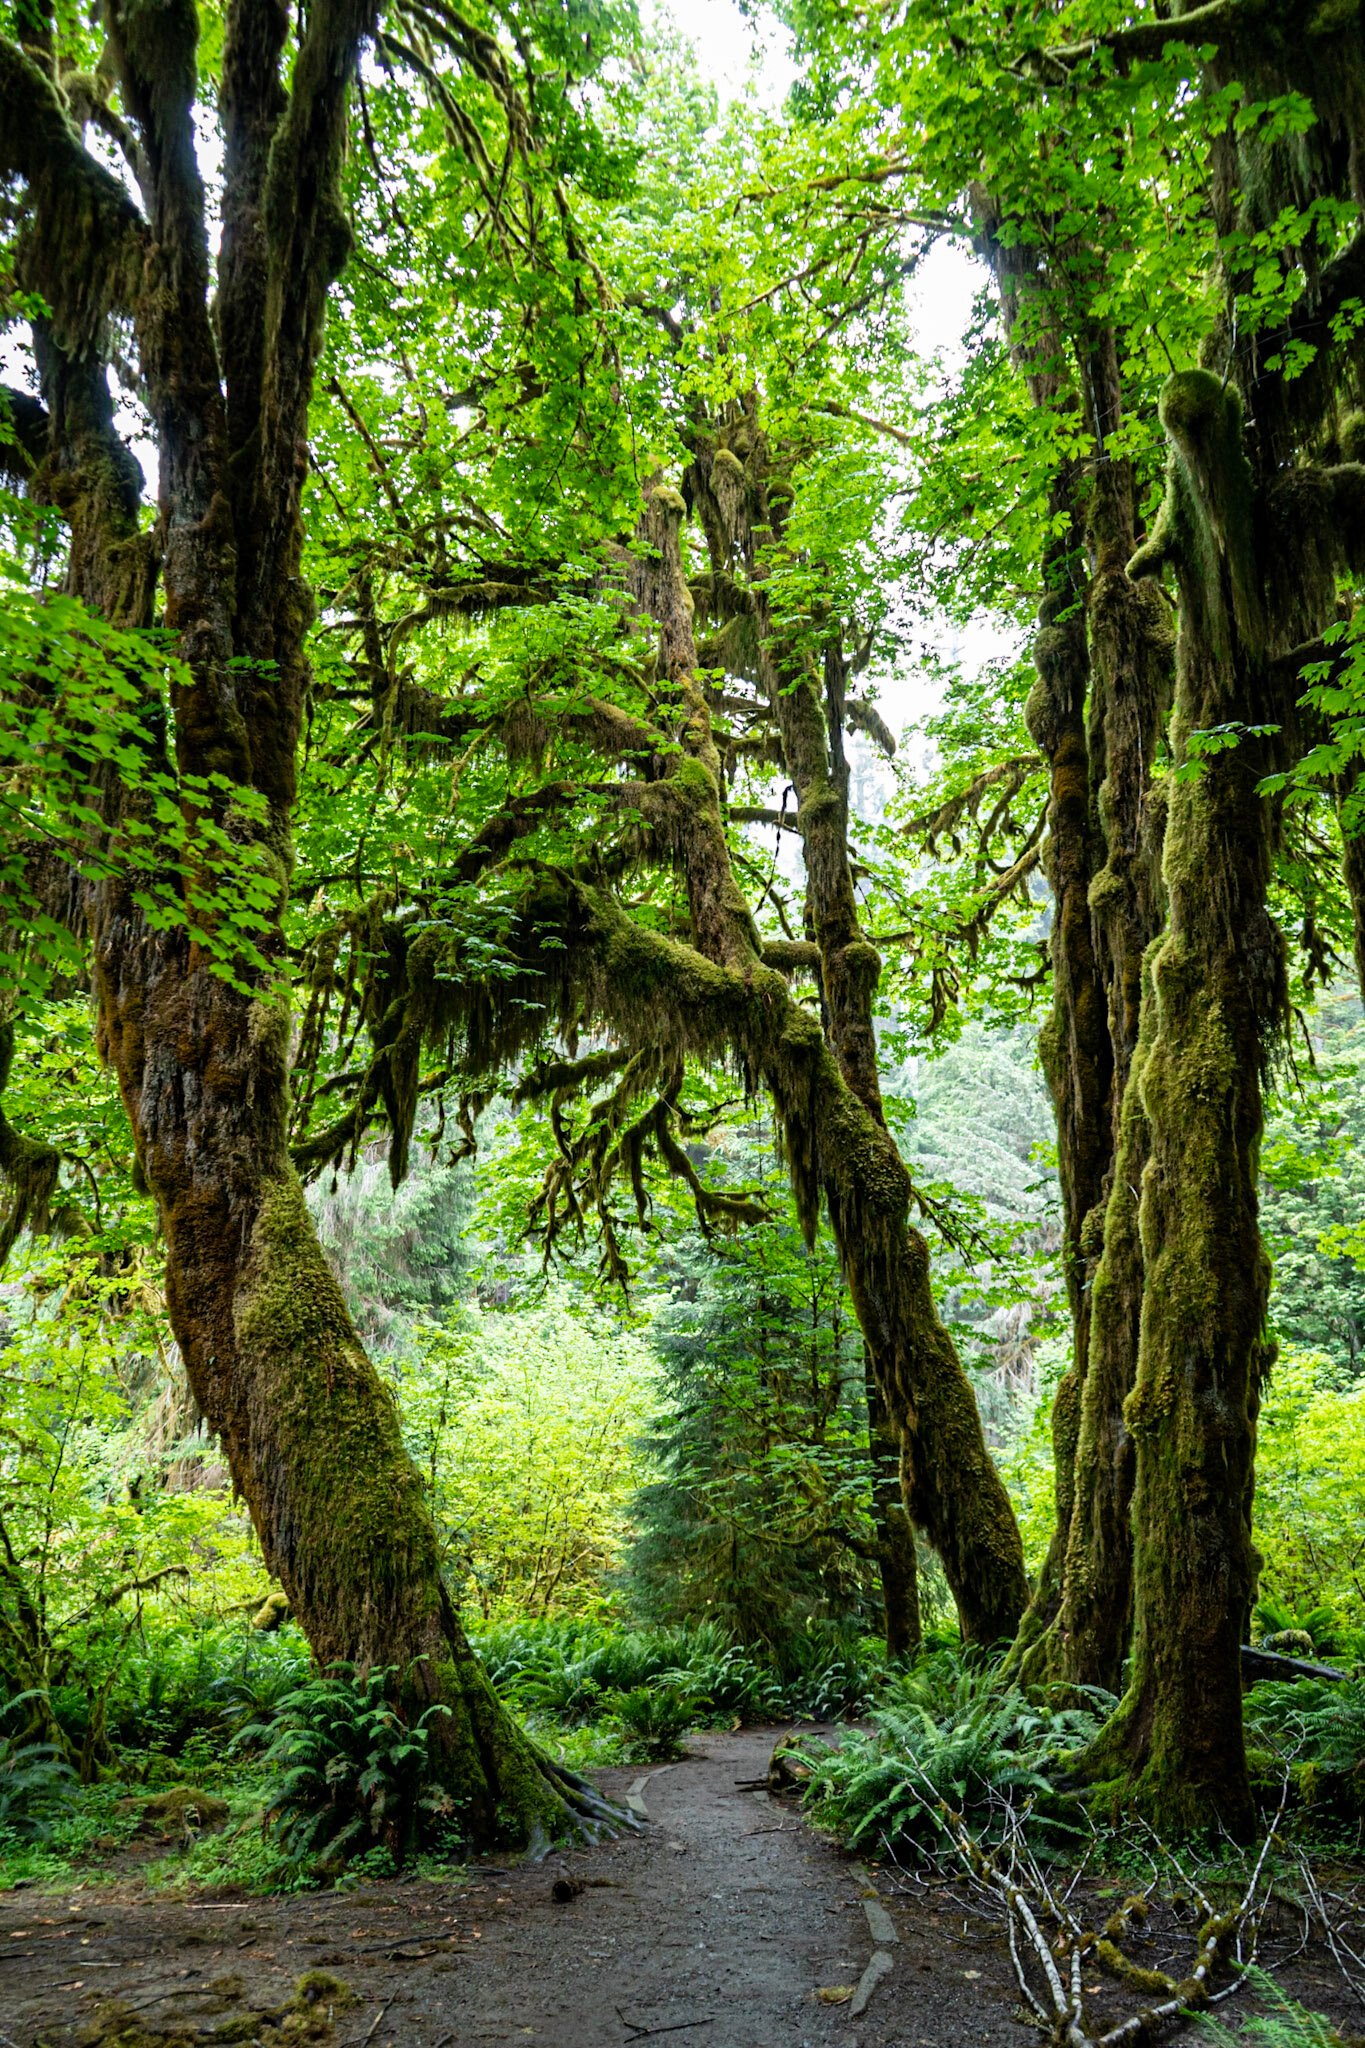
The Hall of Mosses trail is a 0.8 mile loop, featuring stunningly huge trees reaching to the sky, with dramatic moss dripping from their branches, and tons of beautiful ferns (some were as tall as me!) and other greenery blanketing the earth.
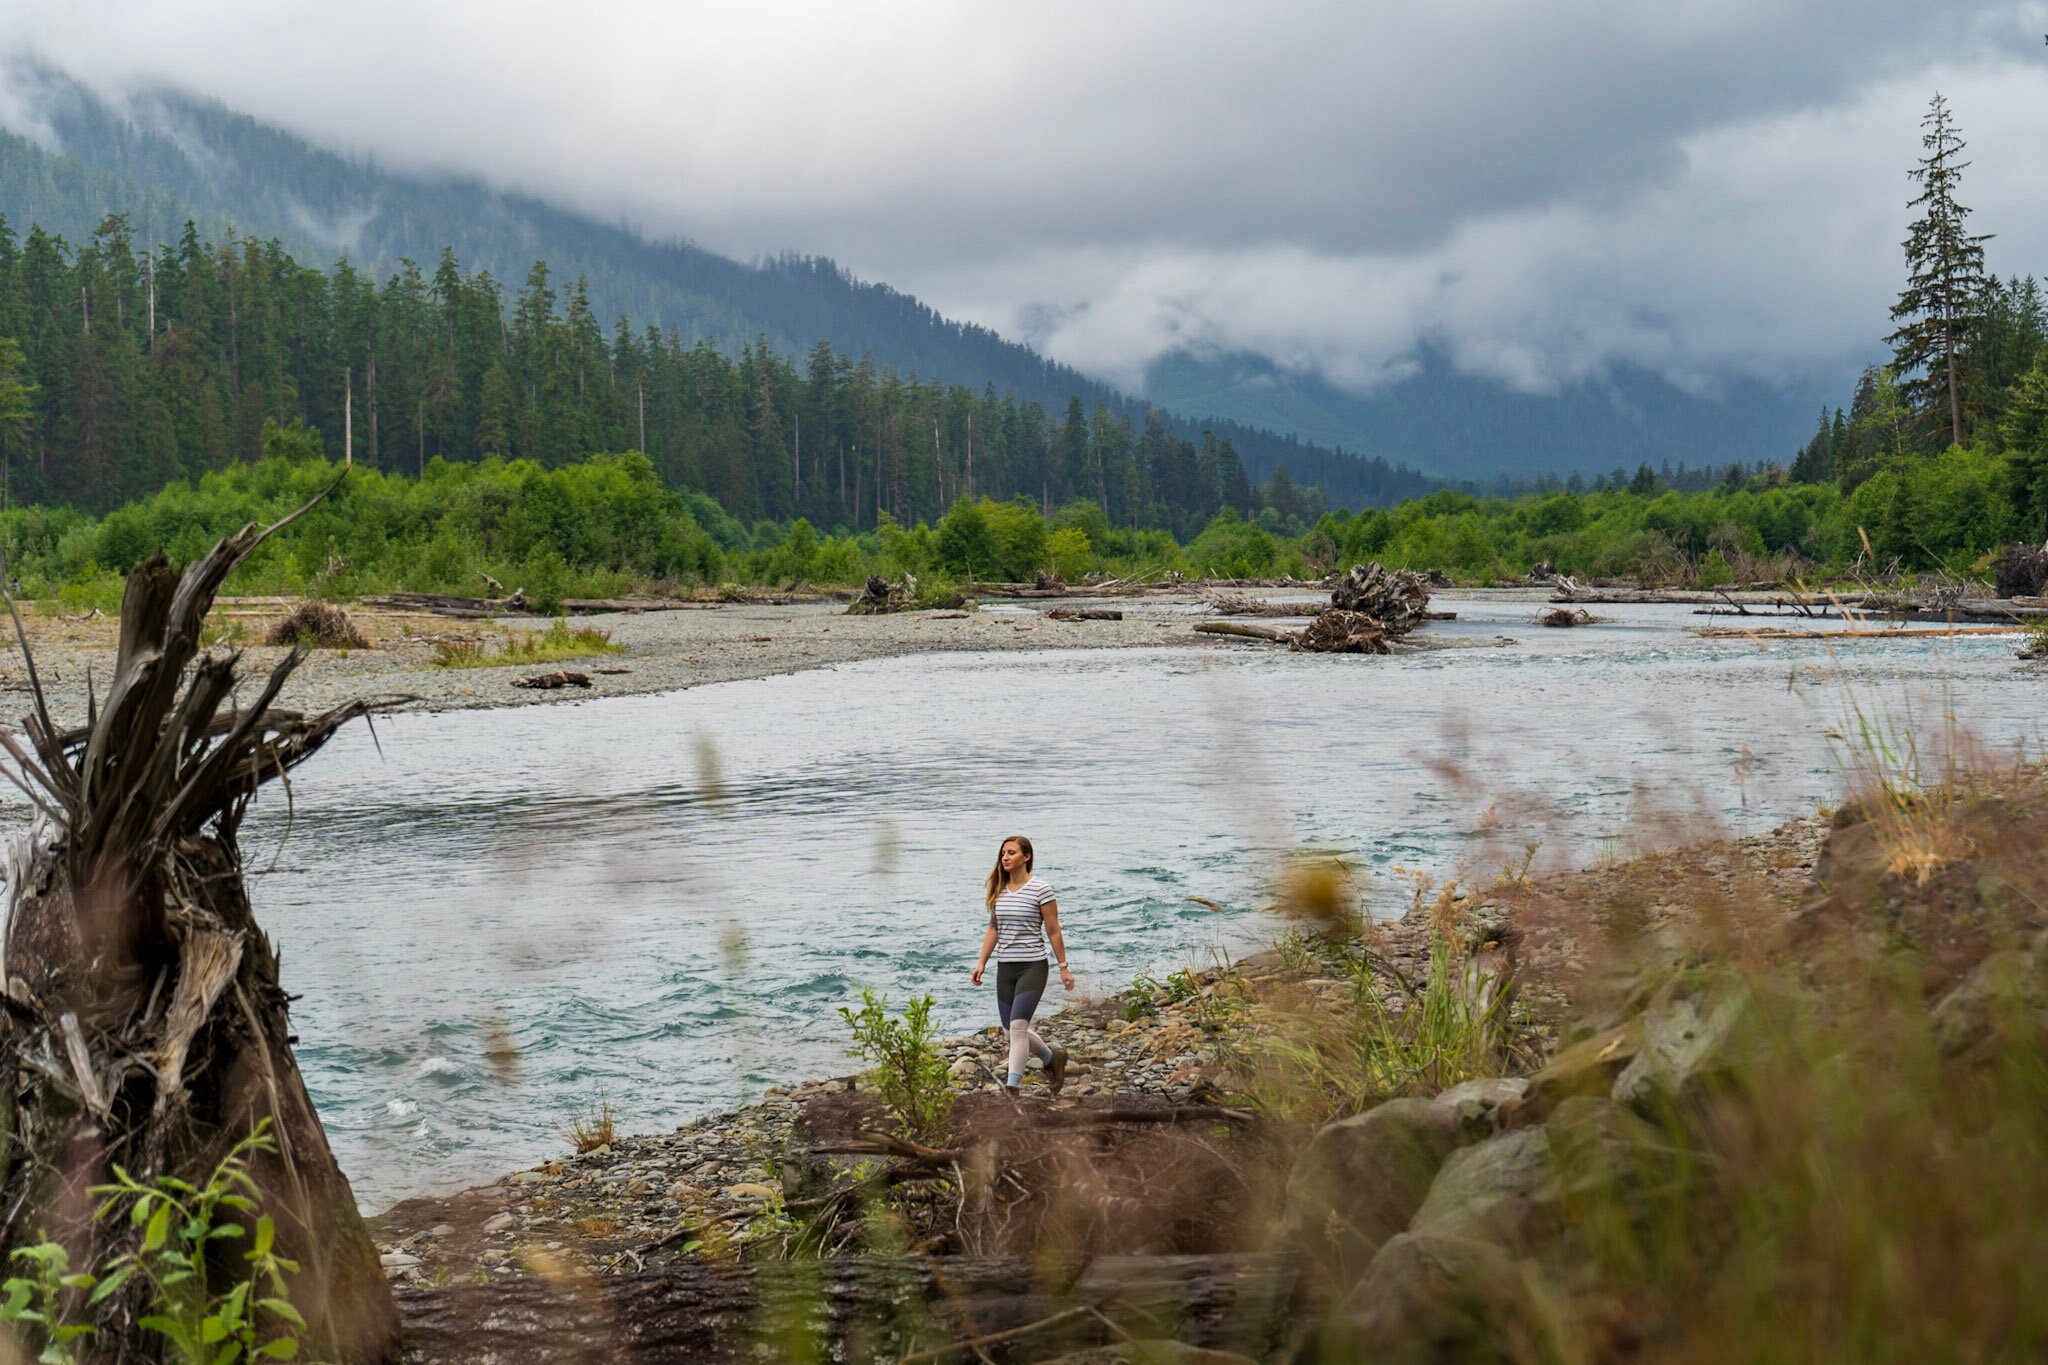
The second trail, the Spruce Nature Trail, a 1.4 mile loop trail, passes through the fecund rainforest with its monstrous spruce trees down and along the banks of the sparkling Hoh River. Along the riverside, you have a pretty good chance of spotting elk herds!
Early Evening
On your way back to Port Angeles for the evening, hit up one (or more) of the gorgeous Olympic National Park beaches! There’s something so magical about the pebble stone beaches and moody sea stacks topped by a few lone pine trees of the Pacific Northwest.

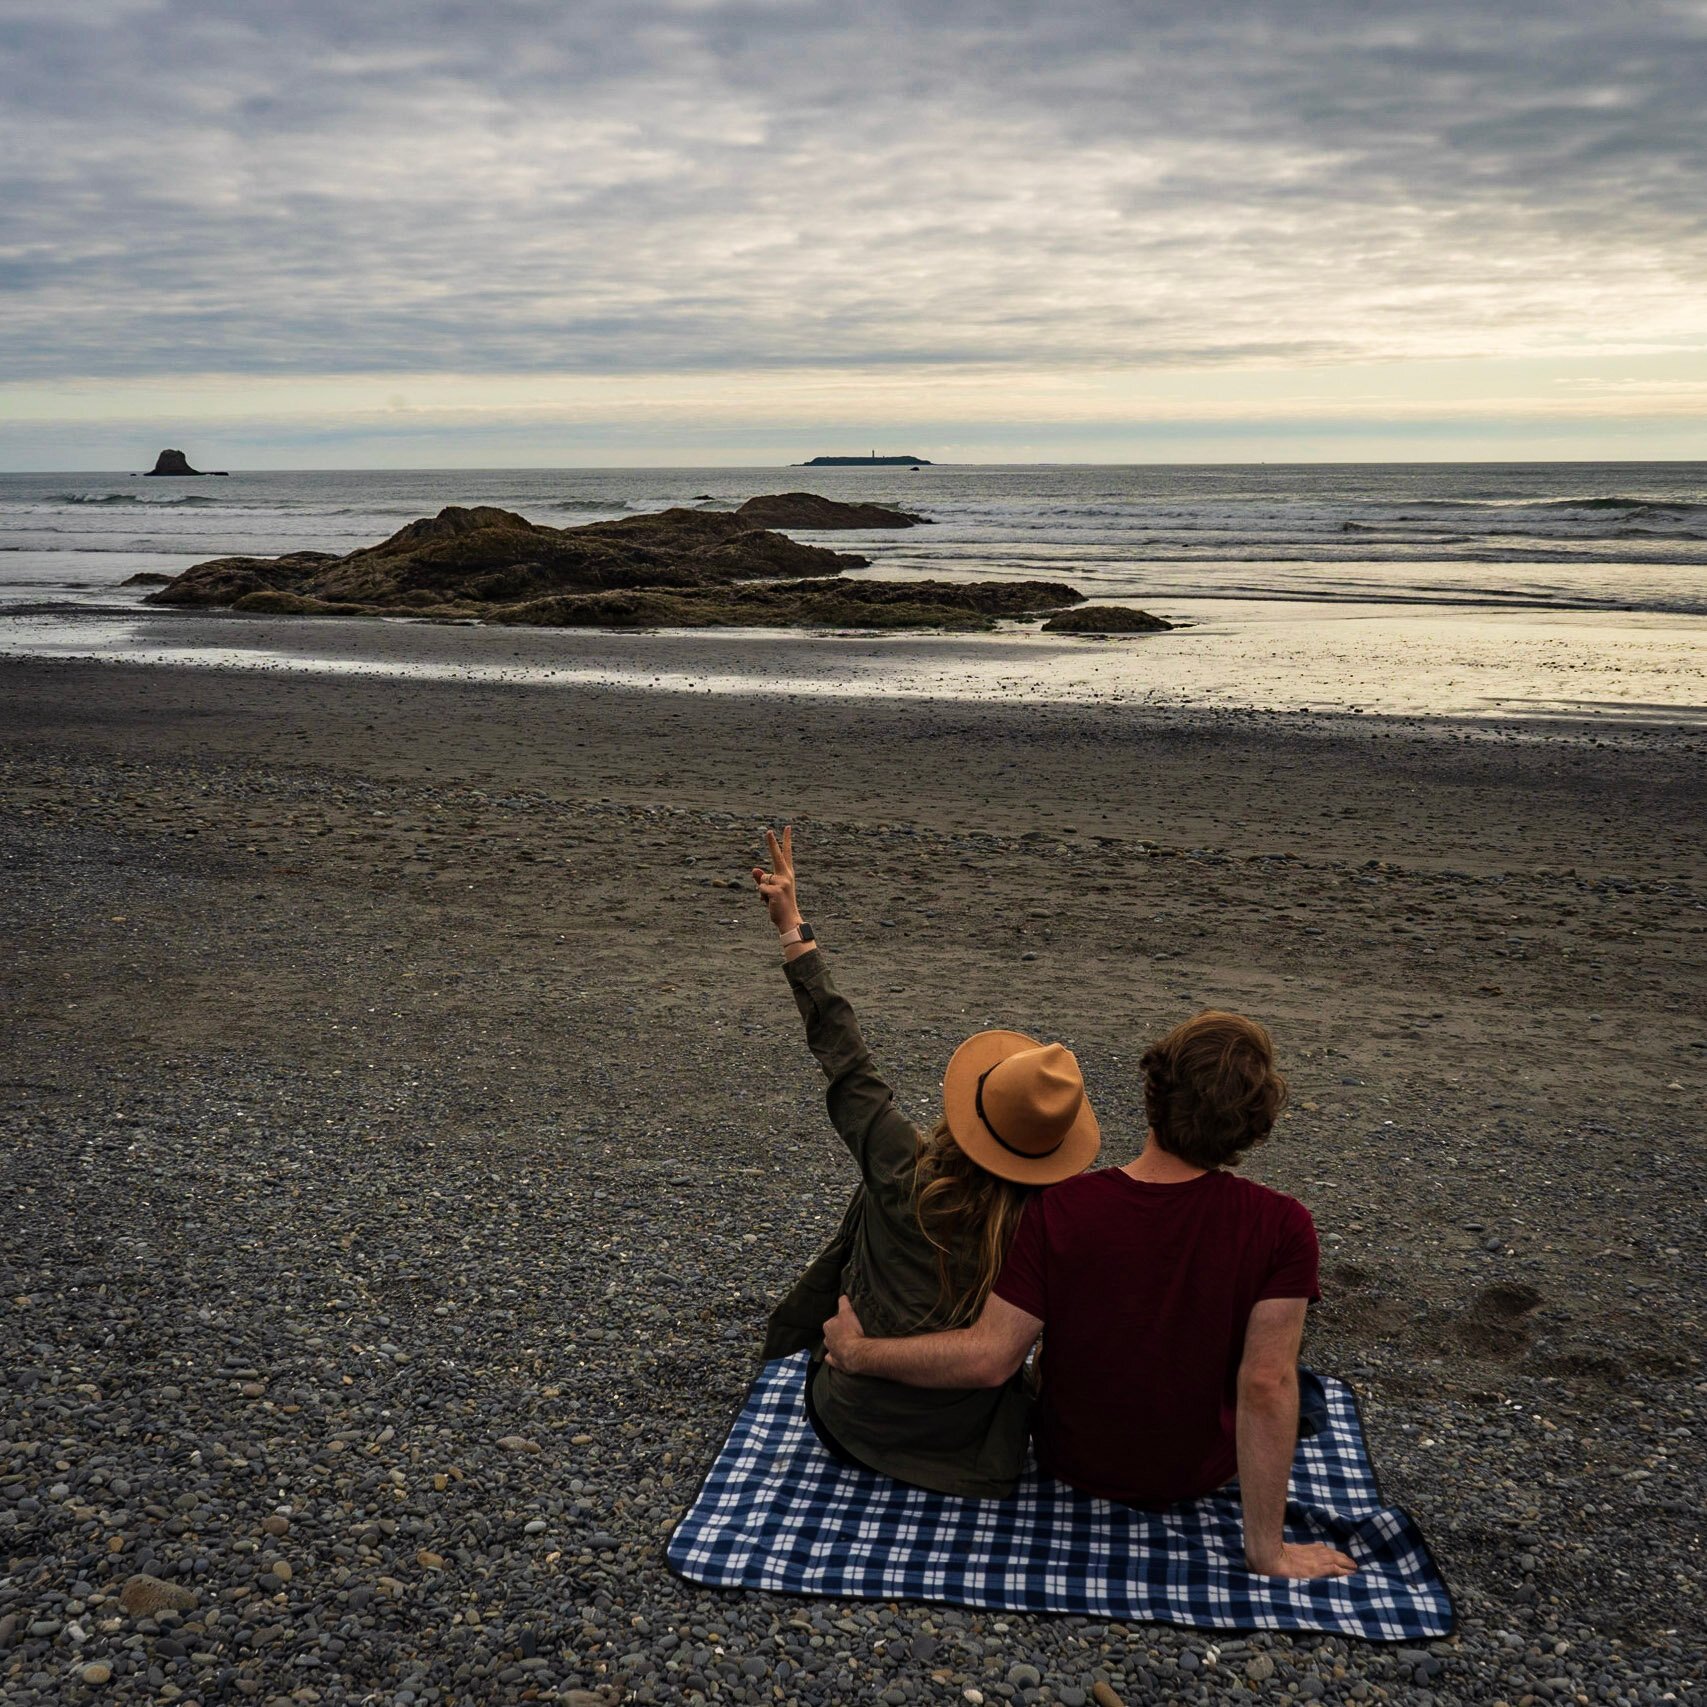
My favorite is Ruby Beach, which is easily reached by a short walk from the parking lot. Spread out a picnic blanket and take in the breathtaking scenery or time your visit with low tide so that you can go tidepooling (i.e., looking for little sea critters, like sea anemones, starfish, snails, and hermit crabs, that are left in small pools ashore during low tide; friendly reminder to touch with our eyes only!). I’ve even seen some very hardy folks go swimming or even surfing at this beach in summertime.
If you want a real treat, time your visit to Ruby Beach with sunset- trust me, you won’t be disappointed.

If you skipped some of the earlier activities today or just have extra time, Rialto Beach(accessible directly from the parking lot), Second Beach(accessible via a 4.0 mile out-and-back trail through a rainforest straight out of Jurassic Park), and Kaloloch Beach (home to the famous Tree of Life and easily accessible from the parking lot) are each worth a stop. As noted above, make sure to check parking lots and trailheads to confirm whether a beach is open.


A couple of insider tips:
- If have three full days in Olympic, you could definitely invest more time in the beaches- Justin and I spent a whole day hopping from beach to beach! So, in the event you have three full days in Olympic National Park, I’d recommend extending your time in the Hoh Rainforest during Day 2 (if you do both the Hall of Mosses and Spruce Nature Trail, it will take between two to four hours, depending on fitness level and how many photos you take!) and saving the beaches for a full afternoon on Day 3.
- If you happen to be a Twilight fan, you’re in luck- after Ruby Beach and before Rialto and Second Beach, you’ll be driving right through Forks, Washington, home to Bella Swan and her very creepy, emotionally abusive boyfriend/America’s vampire sweetheart, Edward Cullen! Forks is a pretty sleepy town and very few scenes in the actual movies were shot here- but if you’re a super fan, make sure to stop in the Forks Chamber of Commerce to take a picture next to Bella’s iconic truck and pick up a map of a bunch of Forks-centric photo ops from the Twilight-enthusiast staff. If you’re REALLY into Twilight, there’s an entire festival dedicated to your favorite human/vampire/werewolf love triangle every year, usually in September.

DAY 3
Morning
And finally, it’s time for the dessert of your trip- Hurricane Hill! The trailhead for Hurricane Hill, a 3.2 mile out and back trail, is located along the ridge of Mount Angeles- of the 45 minutes it takes to drive here, about thirty of them will be snaking your way up and around the mountain.
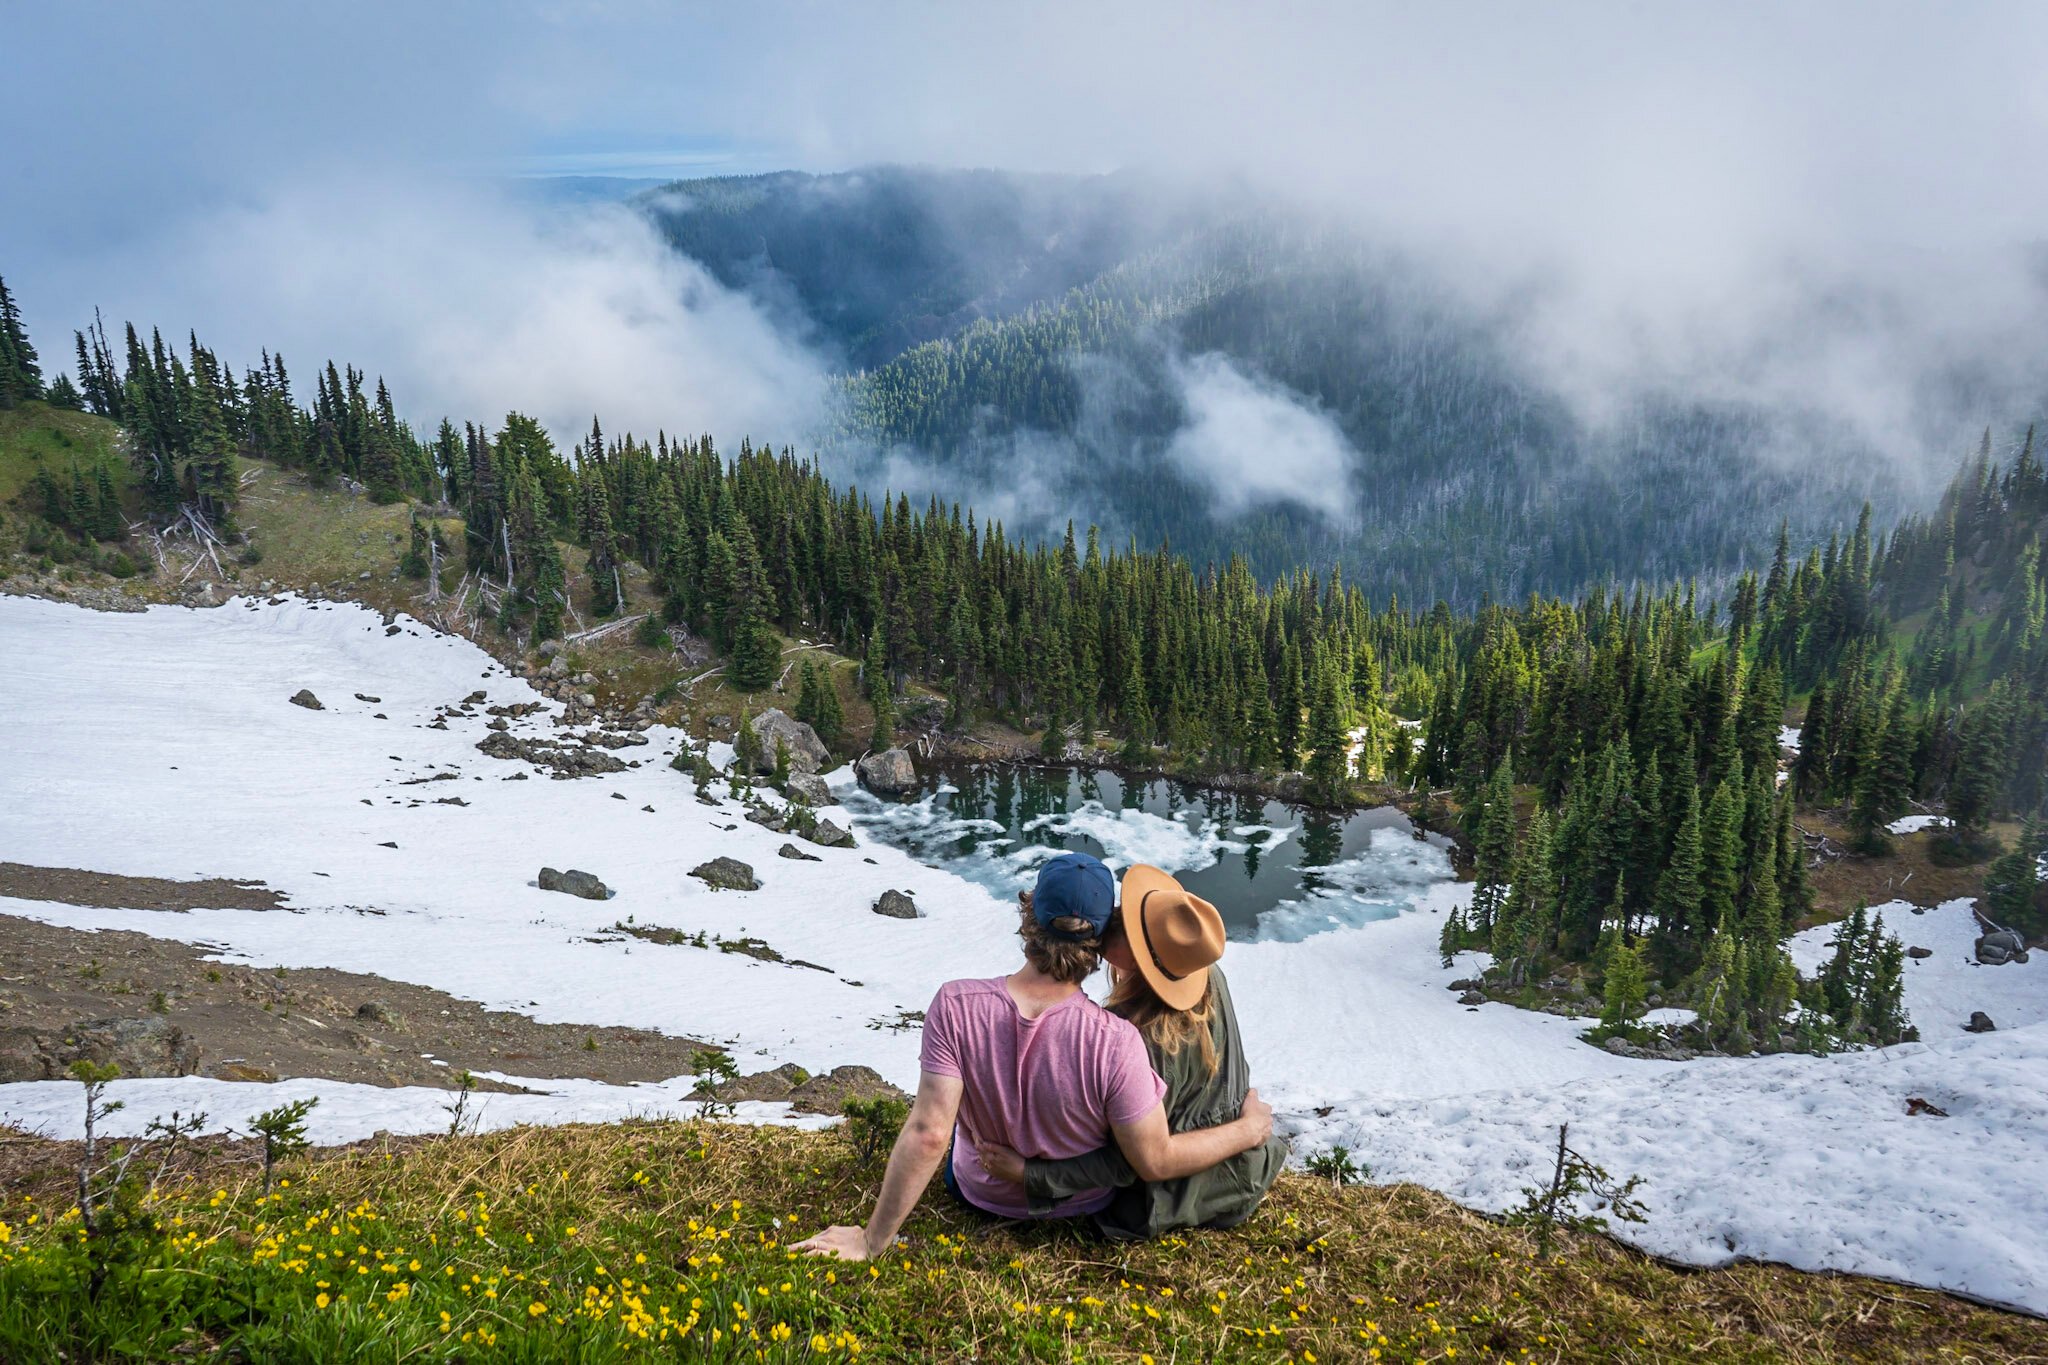
The drive itself is gorgeous, showcasing the seemingly endless layers of the Olympics and worth doing in and of itself- but be careful! The road hugs the edge of a cliff carved into the mountain, most of which does not have guardrails. From personal experience, I can say that the road can get a bit dicey in wet or icy conditions.
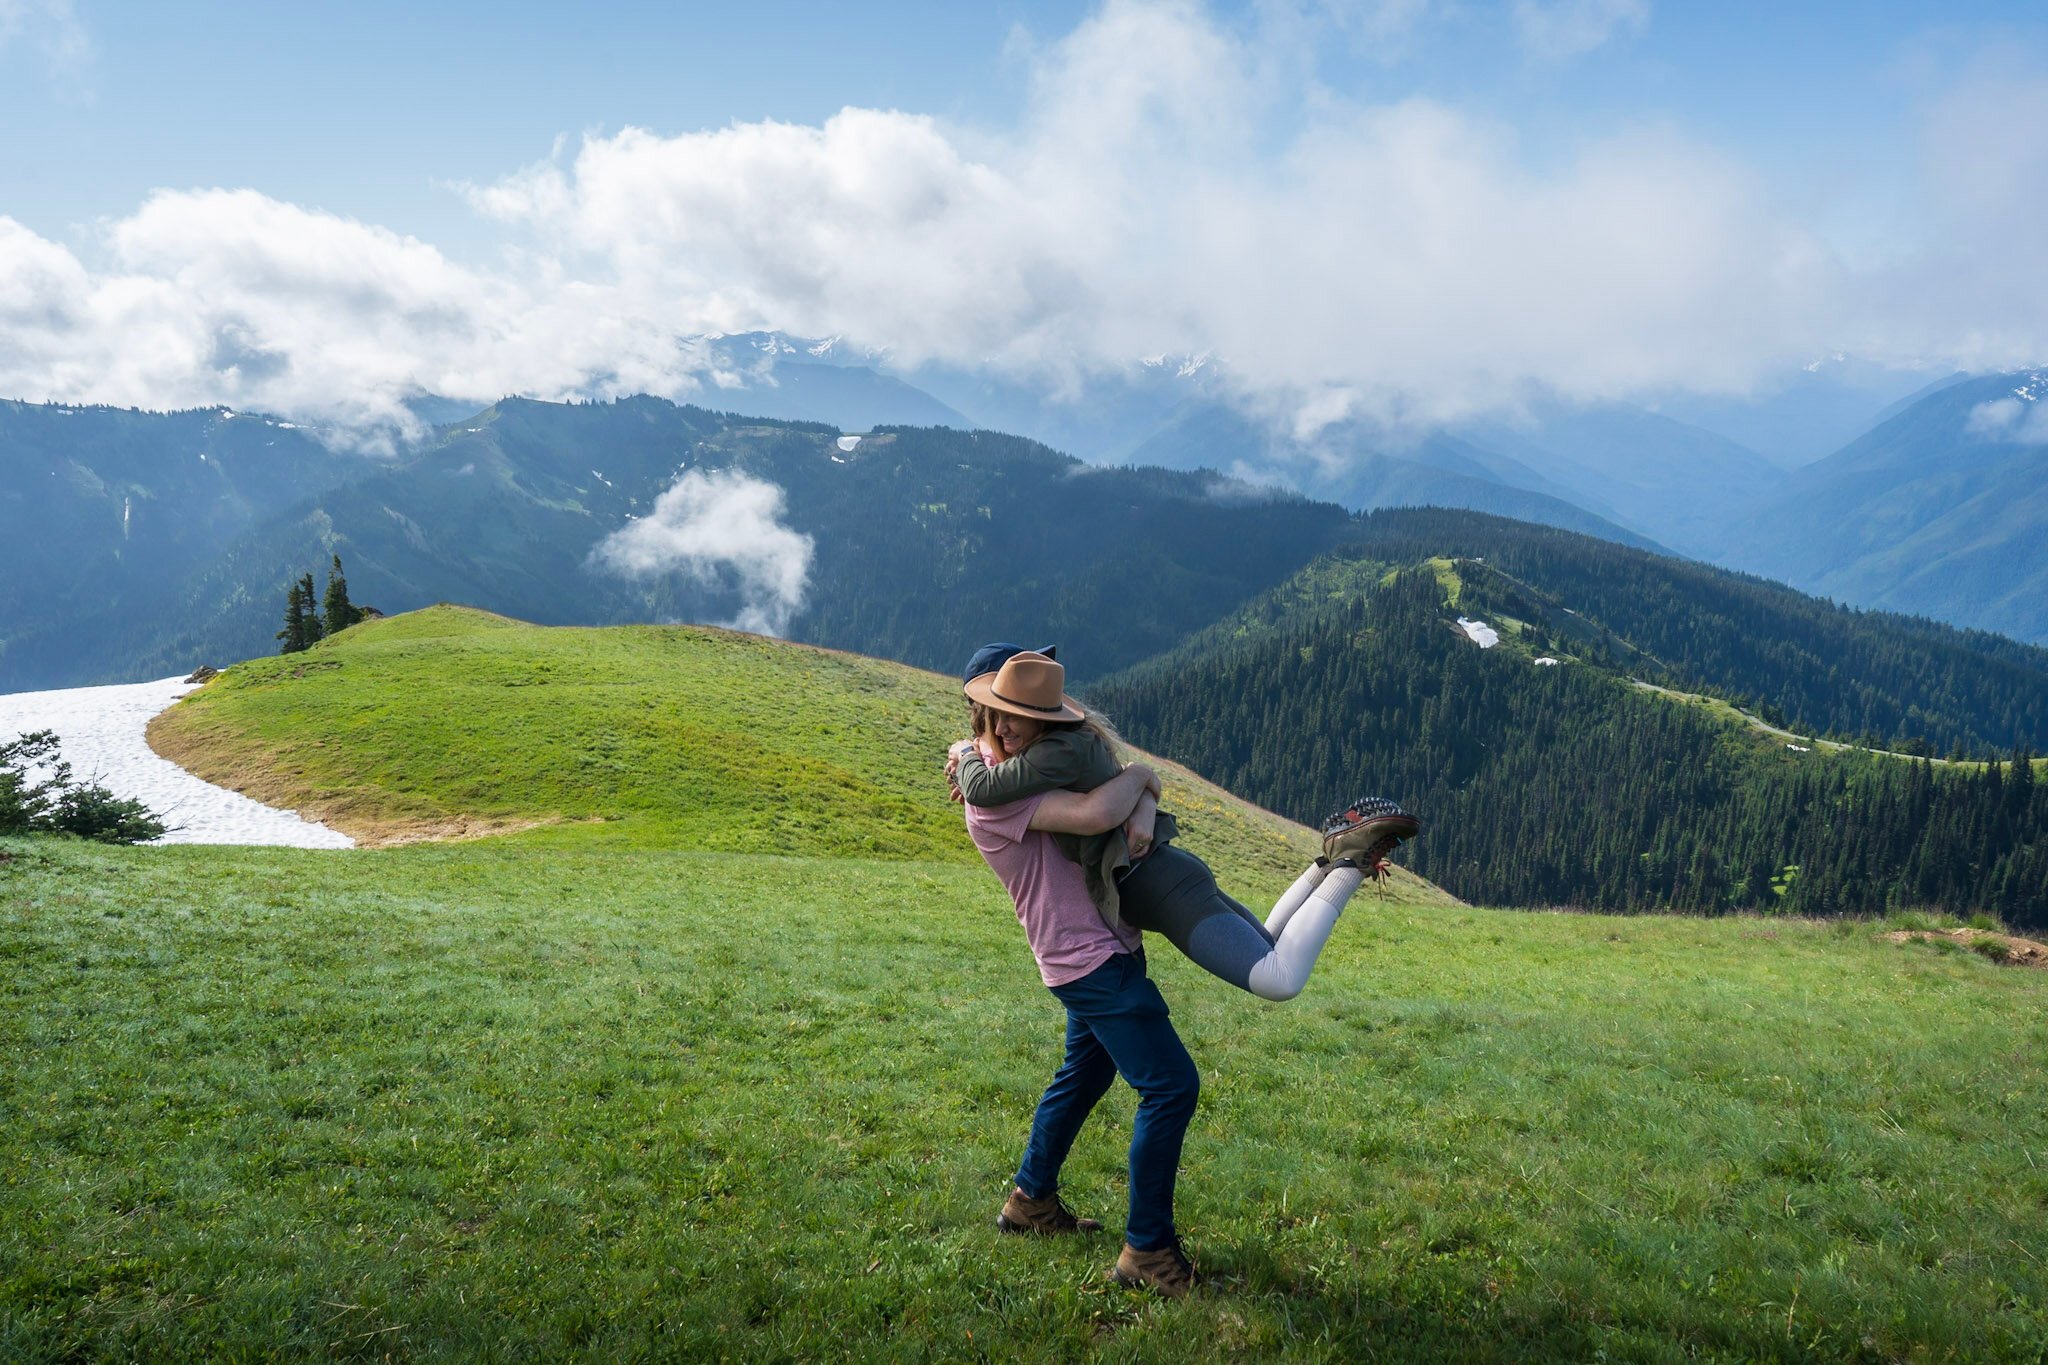
As for the hike itself, it is, in my opinion, one of the best bang-for-your-buck hikes you can go on. Straight out of the parking lot until the very end of the trail, you’ll be afforded continuous 360 degree views of the Bailey Range of the Olympics.

With a very modest elevation gain of 650 feet (most of which is reserved at the very end of the trail as you ascend Hurricane Hill itself), this hike is absolutely perfect for those with kids, individuals with mobility issues, or elderly travelers- even if you can’t quite make it to the top of the hill, this is one of those hikes where the journey is just as good as the destination.
While this hike is frequently billed as “family friendly”, it should be on even the most advanced hikers’ Olympic bucketlist- seriously, the views here can’t be beat.
A couple of protips:
- This is a popular hike and the parking lot is teeny (it probably holds about 40 cars max). While there’s an overflow parking lot with another 40 or so spots (that will add an additional half a mile to your hike), I’d recommend getting here fairly early, especially on holidays and weekends.
- If you like wildflowers, come here in late July through August- the colors here are seriously insane!
- As noted above, the road up to Hurricane Hill is closed every day but weekends and Monday holidays from mid-December to March, weather permitting, and during that timeframe, all vehicles going up the road are required to have tire chains. Throughout the year, it can also be closed for other random reasons- at the time I’m writing this, it’s currently closed for a month to allow the National Park Service to capture and rehome mountain goats- so always be sure to check the Olympic National Park website before you go.

Afternoon
Sadly, it’s time to pack up and head back to Seattle and fly home!
Where to Eat and Play Near Olympic National Park
So here’s the deal- I live to travel and a large part of why I love traveling is eating (and drinking!). That being said, I wouldn’t exactly call Olympic National Park or Port Angeles a foodie or nightlife destination- and that’s totally okay! Some destinations you’ll head mainly for the purpose of eating delicious food (I’m looking at you, Tokyo), while natural beauty will be the focus of others, like this one!
In my experience, restaurants in towns like Port Angeles (i.e., small towns that are largely funded by tourism from neighboring national parks) are oftentimes somewhat limited in number, especially if you’re a vegan traveler like Justin and me, and pretty expensive, with the price point not always lining up with the quality of food or service.
So unless you have unlimited funds, I’d generally recommend bringing food or buying groceries, at least for a meal or two a day and use the opportunity to take the “early to bed, early to rise” mentality to heart.
All that being said, I have found some places in Port Angeles that I 100% think are worth any travelers’ hard-earned money:
- Spruce (128 E Front St. Port Angeles, Wa. 98362): With a really cool vibe, toeing the line between kitschy Pacific Northwest cabin and elevated dive bar, a killer menu of locally sourced bougie comfort food (think burgers, crispy brussel sprouts, and grilled cheese), and inventive cocktails, this is definitely a restaurant that is not to be missed in Port Angeles, whether for a few rounds of beers or for a hearty meal after a long day of hiking.
- Strait Slice Pizza Company (121 1/2 West First St, Port Angeles, WA 98362): This is a no-frills pizza joint with super-friendly staff and reasonably prices for a huge and tasty pie (Justin and I, who both have healthy appetites, can split one pizza for two meals- INCONCEIVABLE!).
- Fast Burritos Taco Shop (940 E 1st St, Port Angeles, WA 98362): Listen, not every meal has to be fancy, and sometimes, ya girl just wants a burrito- fast. This is definitely not a date night spot (… it’s got a drive-thru, y’all), but if you want a dirt-cheap, super filling, and delicious burrito, this is absolutely the perfect place to grab a quick lunch.
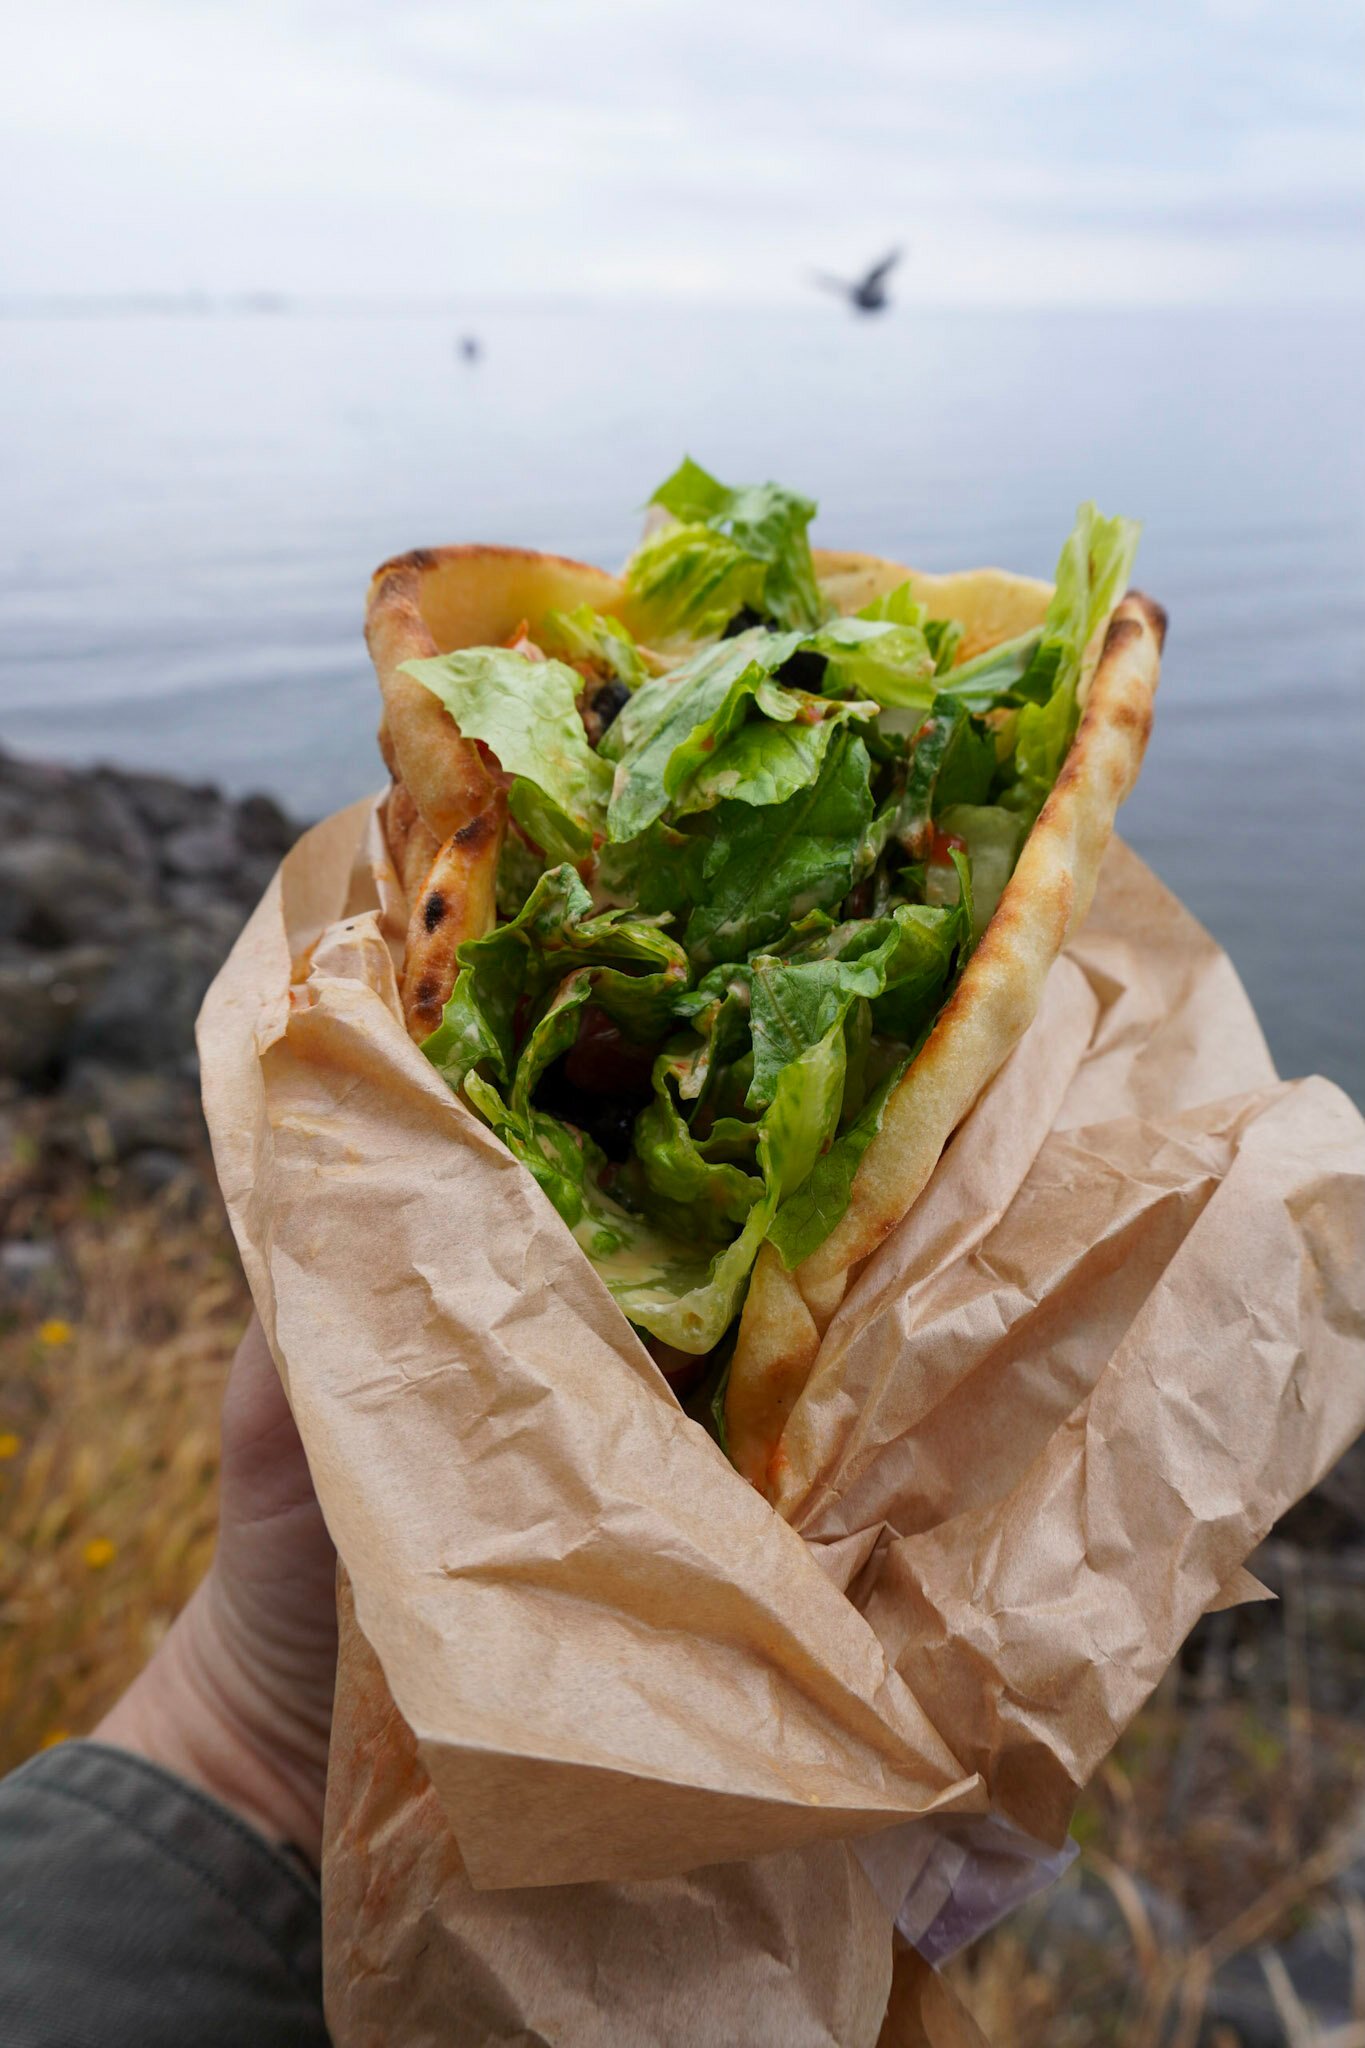
- Turnip the Beet (132 E Front St, Port Angeles, WA 98362): Since I’ve thus far included pizza, burritos, and burgers, I’m throwing in this fast casual option as the token healthy one. Think fresh, organic wraps, salads, and bowls, which would be great to grab to take for lunch on the trail or for a light dinner once you return to town for the night. If you want to even out the healthy stuff, lucky for you- the bar is attached to a delightful dive called Gateway Tavern, complete with $2 Miller High Life specials. So feel free to take your organic and healthy wrap next door and destroy your liver with a cheap Tequila Sunrise.
- Barhop Brewing and Artisan Pizza (124 W Railroad Ave, Port Angeles, WA 98362): Last but not least, it would be against my soul to not include the only, and coincidentally awesome, microbrewery in town, which is right along the waterfront. I’ve only had the beer here (since you’re in the Pacific Northwest, you got to get yourself an IPA!), but the pizza and other bar snacks served up here seem to have pretty solid reviews on Yelp.
How Much It Costs to Visit Olympic National Park
I always think it’s helpful to see an actual breakdown of how much other people’s trips cost, instead of descriptors like “cheap” or “pricey”, so here’s exactly what we spent for a Friday morning through Sunday evening trip to Olympic on a Fourth of July weekend.
I want to flag that Justin and I travel on a lower mid-range budget- we stay at modest Airbnbs, make some of our meals, and try to find reasonably-priced restaurants, with occasional splurges on our soft spots (coffee and beer, apparently) here and there. All prices below are for both Justin and me.
Two nights’ accommodations at anAirbnb (private guest suite comprised of a bedroom with small kitchenette and bathroom): $217.36 (+ $40 for our two dogs to stay with us) for a total of $257.36.
Five caffeinated beverages from those cute espresso shacks: $21.51.
Two lunches and two dinners out: $103.94. Next time, I think I’ll probably bring food to make our own lunches to save some additional money.
Groceries: $22.32. We brought snacks, like Clif bars and dried fruits, and wine to drink while Netflix and chilling from our Airbnb (which is not included in my total trip cost), but in Port Angeles, we picked up the goods to make some tasty Buddha bagels for breakfast and some additional nuts for snacking on the trail.
Three pints of beer: $16.14.
Gas: $74.15. Between driving from Seattle to Port Angeles and driving around the park, you wind up driving… a lot. We have a Prius-C, which gets ~50 m.p.g. , for reference.
Random odds-and-ends: $5.78. Because everyone will inevitably forget their toothbrush or deodorant.
This brings our grand total $501.20 for a three day, two-night vacation, which breaks down to $83.53 per person per day.

Some things to consider in how much your trip will cost:
- If you’ll need to pick up a rental car, you’ll need to add between ~$70-$250 to your total, depending on whether you’re renting on a weekend or a holiday.
- You may notice that we didn’t spend a single penny on entertainment throughout the trip! That’s because we have the America the Beautiful Pass, an annual pass that gets you into all of the National Parks and over 2,000 national recreation sites for free (plus the proceeds help support the amazing National Park Service!).
I’ve already waxed poetic about how much I love this little pass in the What to Pack section, so bottom line, if you don’t have the pass, you’ll need to pay a $30 fee per vehicle, which is good for a week in the park. - As you can see, the most costly aspect of our trip was our Airbnb, which was perfectly pleasant, but a little pricey for what we got, in my opinion (and I selected the cheapest option that both allowed dogs and had a Superhost). When I selected our accommodations, I also made sure that it was cheaper than hotels in the area. So if you’re an ultrabudget traveler, camping is probably your best option. If you’re coming in the summertime, book early, as campgrounds book up fast!
There you have it- the perfect Olympic National Park itinerary for 3 days. Did I miss any of your favorite hikes? Is there a hidden gem Port Angeles dive bar that I simply must check out? Let me know in the comments below!
Thank you for reading our post! Check out our latest stories here and follow us on Instagram (@UprootedTraveler), YouTube, or on Facebook to see what we’re up to next!


Hi Jess and Justin, I’m heading to the park next weekend. Do you recommend hiking sticks?
Hi Ming,
Sorry for the delayed reply! Sounds like your trip may already have wrapped up, but for any other readers who might want to know this information, it depends upon what trail you’re doing and whether you have any existing knee or hip problems that are ameliorated by using trekking poles. Some trails at Olympic are quite steep, like Mount Storm King, and hiking poles might come in handy for that (although there is a rock scramble at the end, where you’d need to put the poles away). On the other hand, most of the popular trails at Olympic are not terribly challenging, steep, or rocky, so I think most hikers could get away without using them.
Hope you loved your trip to Olympic!
Jess