Arches is one of the most popular U.S. National Parks—and for good reason! With its towering red sandstone rock formations and beautiful desert landscape, it’s no surprise that over one million visitors explore the park each year. And what’s even better, the park is fairly small—you could easily hit all of its highlights in just a day or two.
So if you’re looking to narrow down what to see and do in the park, look no further! Here are the 10 best hikes in Arches National Park, plus tips on how to make sure you have an awesome time on each trail.
This post may contain affiliate links. If you make a purchase through them, we may receive a small commission, for which we are extremely grateful, at no extra cost to you.

")
Entry Fee and Timed Entry Permits for Arches National Park
Before we talk hikes, it’s important to note that entrance to Arches National Park either costs $30 per private vehicle per week or is free with an America the Beautiful pass, which, for just $80 a year for U.S. residents (and $250 for non-U.S. residents), gets you into all of the national parks and over 2,000 federally managed lands for free!

For a few years, Arched required that visitors obtain a advanced timed entry permit for its busiest months. However, that requirement was lifted in 2026, so visitors are allowed to enter the park during its operating hours, without additional restrictions.
With that, let’s talk hikes!
Best Hikes in Arches National Park
1. Delicate Arch Hike
- Length: 3.2 miles
- Elevation gain: 629 feet
- Difficulty: Moderate
- Trail map

What to expect on the Delicate Arch Hike
If there is one iconic arch out of the two THOUSAND that are scattered across the park’s landscape, it’s this one. It’s so famous, in fact, that it’s plastered on every Utah license plate AND even on the state welcome sign!
On this out-and-back trail, you’ll climb up a slickrock incline, occasionally skirting around steep drop-offs, to ultimately stand and gaze up in awe at the foot of the 46-foot tall structure.

Tips for the Delicate Arch Hike
Hike it at sunrise or sunset
Consider timing your visit with sunrise or sunset, when Delicate Arch is even more stunning than usual. This is inarguably one of the best hikes in Arches National Park, but it’s also the most crowded.
Come sunrise, you’ll get to enjoy the trail in relative peace and quiet (although there’s still usually plenty of people here—it’s on Utah’s frickin’ license plate, guys!). On the other hand, sunset casts a beautiful glowy light on the arch—plus, afterwards, you’ll have the best front row seats to stargaze at Arches’ incredible night sky!
2. Devil’s Garden Trail
- Length: This Arches National Park hike is kind of a choose-your-own-adventure, ranging from 1.9 miles to 7.9 miles roundtrip.
- Elevation gain: 1,085 feet
- Difficulty: Depending on which adventure you choose, the trail can range from easy (for the 1.9 mile route) to difficult (for the 7.9 mile route).
- Trail map

What to expect along the Devil’s Garden Trail
In my opinion, the Devil’s Garden Trail is one of the best hikes in Arches National Park to see a LOT of formations in one trail. If you hike the full loop, you’ll see SEVEN arches and one sandstone column along the way, including (going counterclockwise starting at the trailhead): Landscape, Partition, Navajo, Double O, Dark Angel, Private, Pine Tree, and Tunnel Arches. That’s a lot of bang-for-your-buck, if you ask me!

You can either hike the entire thing or just out-and-back to some of the arches. For example, a popular option is to hike 1.9 miles out-and-back to the Landscape Arch, which is reportedly the longest natural stone arch on the planet!
If you’d like to plan out which arches you want to include on your hike, there’s a handy dandy interactive map on the National Park Service’s website.
Tips for the Devil’s Garden Trail
Parts of the trail can be a bit sketchy
The eastern portion of the loop (to and from Double O Arch) is called the Primitive Trail. True to its name, the trail here isn’t super well-maintained, with lots of rock scrambling, walking across narrow sandstone ridges with steep drop offs, and lots of route finding.

I’m sure there’s plenty of hikers who would find this portion of the trail not-so-fun that would prefer to skip it, while others (like Justin and me!) think it’s a blast. Just keep this in mind while you’re planning your route on the Devil’s Garden!
If you do decide to hike along the Primitive Trail, I’d recommend downloading a map of the trail on AllTrails before you go so you don’t get lost along the way. We definitely would have gotten a bit lost without using our offline trail map!
Psssst... you'll need the AllTrails+ version of the app to download offline maps, but luckily, our awesome readers can get a 7-day free trial PLUS 30% off your first year by using this link and the promo code "UPROOTED30" at check out.

If you're wondering whether the app is for you, we wrote a whole post on whether AllTrails+ is worth it.
For a moderate operation, hike to the Landscape and Double O Arches
If you’re looking for a good, middle-of-the-road option for exploring this trail, consider hiking 4.5 miles out-and-back to the Landscape and Double O Arches down the western portion of the loop.

Not only are these two some of the most impressive arches in the entire loop, but you’ll also pass by some of the park’s most breathtaking scenery- plus you’ll have the option to take short spur trails to see four additional arches along the way.
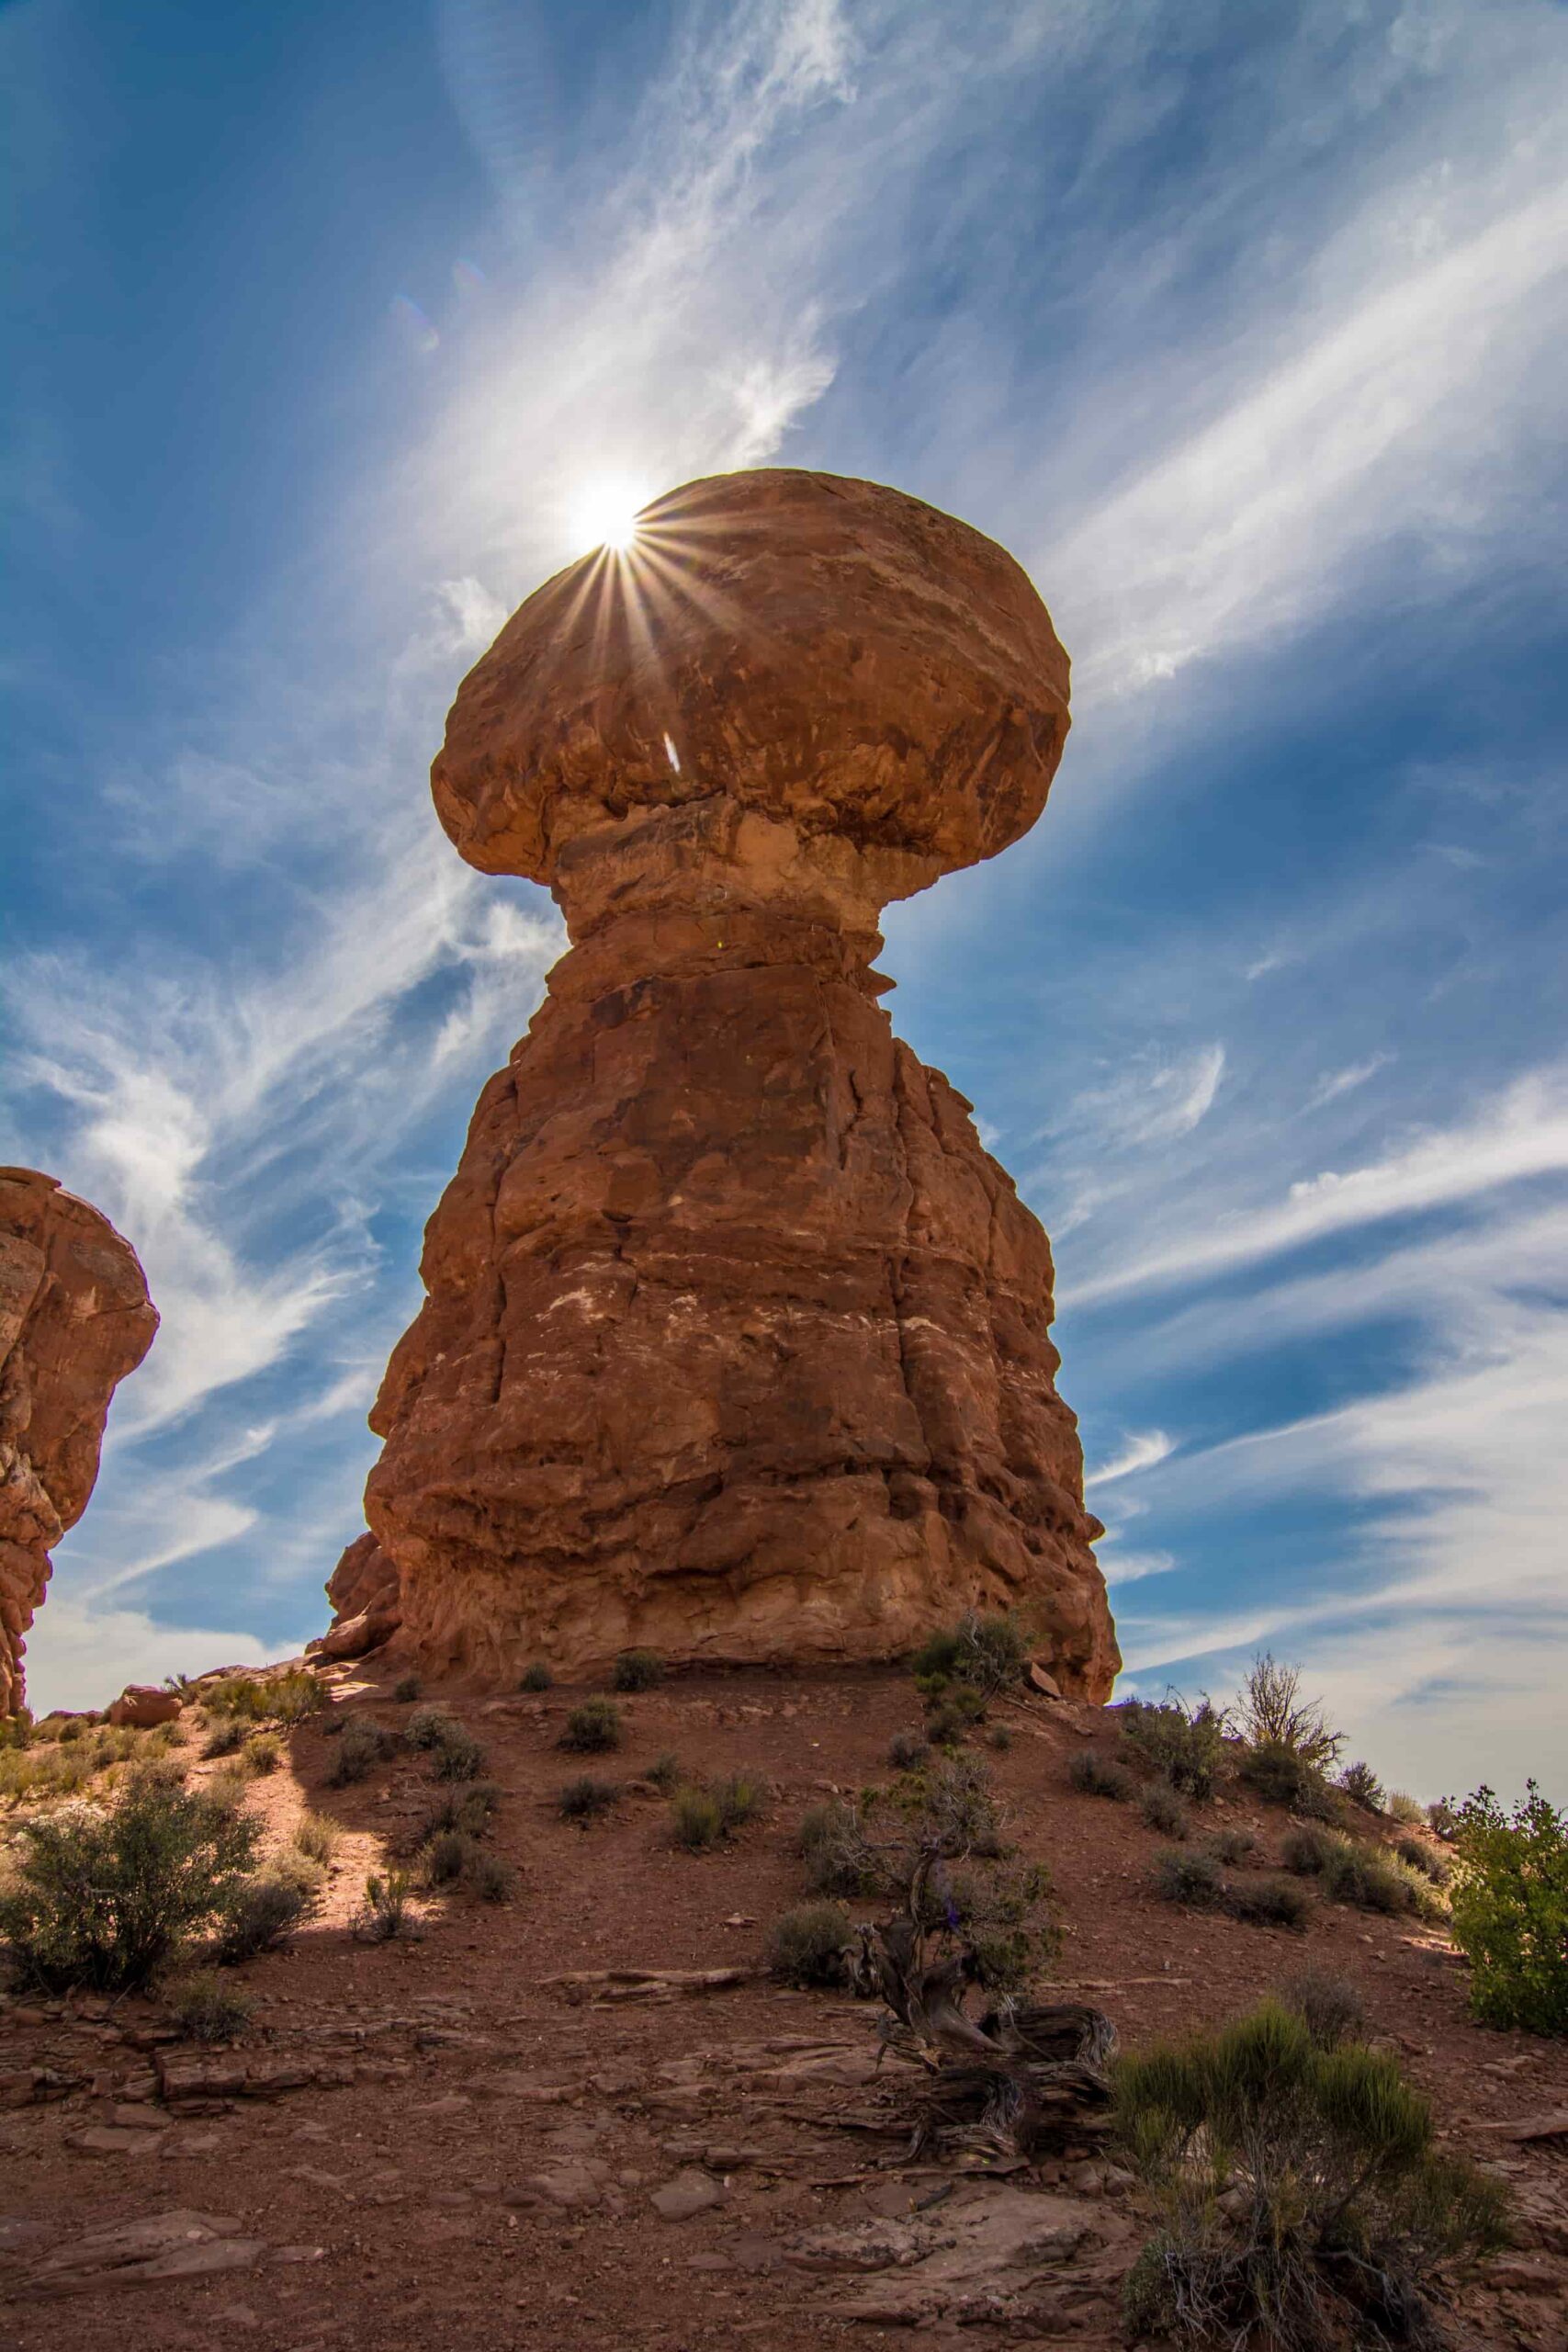
3. Balanced Rock Trail
- Length: 0.3 miles
- Elevation: 55 feet
- Difficulty: Easy
- Trail map
What to expect along the Balanced Rock Trail
This Arches National Park hike quickly loops around an interesting rock formation, with a football-shaped sandstone boulder, weighing in at an eye-popping 3,600 tons, that is seemingly “balancing” on a pedestal below.
Honestly, this is more of a walking path as opposed to hike, but it’s still an excellent place to stop, stretch your legs, and get a jaw dropping perspective of a unique rock formation in the park.
Tips for the Balanced Rock Trail
This is a great spot to enjoy a shaded lunch
If you’ve packed a picnic, there’s a little area across from Balanced Rock towards the west, with several picnic tables, a canopy (i.e., SHADE!, which is hard to come by in the park), and spectacular views of the surrounding Salt Valley.

4. Park Avenue Trail
- Length: 1.8 miles
- Elevation gain: 298 feet
- Difficulty: Easy
- Trail map

What to expect along the Park Avenue Trail
The MASSIVE monoliths that make up Park Avenue are some of the first things that visitors will see in the park. And while most folks will just drive on by, they’re TOTALLY missing out—there’s really no way to truly appreciate the sheer scale of these formations without hiking to the foot of them.

This trail has parking at either end, so if you happen to have an amazing friend/shuttle driver with you, you can begin the trail on its southern end, by the Park Avenue viewpoint; hike downhill the entire time; and get picked up at the north end, by the Courthouse Towers viewpoint. That’s what friends are for, right?!
Tips for the Park Avenue Trail
Plan ahead for that good light
If you’re into photography, you’ll get the best lighting along the trail during either the early morning or late afternoon.
5. Windows Loop Hike
- Length: 0.7 mile
- Elevation gain: 98 feet
- Difficulty: Easy
- Trail map

What to Expect along The Windows Trail
The Windows offers the highest concentration of arches in the entire park, with a gravel path leading you from the parking lot to North Window, South Window, and Turret Arch—all in under a mile!
Plus, you’ll have STUNNING views throughout the entire hike, with the red rocks of the Windows dramatically contrasting with the La Sal Mountains in the background.
Tips for The Windows Trail
Check out the Primitive Trail option
The Windows trail is definitely one of the best easy hikes in Arches National Park. However, because of its approachability, it also can get downright PACKED.

So, if you’re looking to enjoy the Windows in peace, try hiking along its Primitive Trail, which you’ll find right past the South Window. This portion of the trail is almost always deserted and only adds 0.2 miles to your trek, looping around the backside of the Windows, and ultimately spitting you out into the parking lot.
6. Double Arch Trail
- Length: 0.6 mile
- Elevation gain: 95 feet
- Difficulty: Easy
- Trail map

What to expect along the Double Arch Trail
This short out-and-back trail leads to one of the most unique formations in the park, with two neighboring arches forming a huge amphitheater that opens to the sky.
It’s such a cool formation, in fact, that it was used inIndiana Jones and The Last Crusade!

Once you hike up to the arches, be sure to scramble around the rock faces underneath them—that’s half the fun!
Tips for the Double Arch Trail
Combine it with the Windows Trail
The trail leaves from the same parking lot as the Windows Loop. Given that both of these trails are short and family-friendly, it would be awesome to combine these two for an incredible bang-for-your-buck hike!

7. Sand Dune Arch Hike
- Length: 0.3 mile
- Elevation gain: 108 feet
- Difficulty: Easy
- Trail map
What to expect along the Sand Dune Arch Trail
Along this short but sweet trail, the path will lead you towards a cluster of sandstone fins.

Eventually, you’ll walk through two of the fins, forming a slot canyon, where you’ll reach the Sand Dune Arch, which is one of the most picturesque formations in the park, in my opinion!
Tips for the Sand Dune Arch Trail
This is one of the shaded hikes in the park
Sand Dune Arch provides something that almost no other hikes in Arches National Park has to offer- blessed shade! So if you’re visiting when it’s particularly steamy, this may be a good one to save for during the hotter parts of the day.

Most of the trail is sand, so this is a great place to kick off your shoes, feel the cool sand against your toes, and enjoy the reprieve from the hot Moab sun.
8. Fiery Furnace Hike
- Length: 2.1 miles
- Elevation gain: 505 feet
- Difficulty: Moderate to challenging
- Trail map
What to expect along the Fiery Furnace Hike
While this trail isn’t particularly physically demanding, it’s inarguably one of the most challenging Arches National Park hikes, given you’ll need to navigate through a series of maze-like towering sandstone fins, with no trail signs and extremely limited markers to lead the way. GPS devices often fail within the massive sandstone walls, so you’ll need navigation skills and attention to detail to make your way through this trail.

Another unusual thing that makes this trail different from pretty much all of the other hikes in Arches National Park?
You’ll actually need to snag a highly-coveted permit in advance, either to hike it on your own or with a ranger (the latter of which is only available during the busier summer months). You’ll also need to attend an orientation session when picking up your permit, where you’ll fill out paperwork, watch a video, and have a Q&A session with a ranger, either the day of or before your hike.
Tips for the Fiery Furnace Hike
Set an alarm to snag a permit
The permits for this sell out basically the instant they become available, so be sure to check when they go on sale. Typically, they go on sale at 8 AM MT seven days before the date of the hike, but be sure to double check here well before your trip, set an alarm for when they go on sale, and click FAST!

Bring along plenty of water
There’s lots of scary information online about possibly getting lost in the disorienting fins of the Fiery Furnace and becoming dehydrated—or even dying—in the hot desert sun.
For what it’s worth, I wasn’t able to find any information online about anyone actually getting lost on the trail, let alone dying, but please be sure to bring along a ridiculous amount of water and a satellite communicator, just in case!
9. Upper Delicate Arch Viewpoint Trail
- Length: 0.7 miles
- Elevation: 141 feet
- Difficulty: Easy
- Trail map

What to expect along the Upper Delicate Arch Viewpoint Trail
This trail leads to a unique perspective of the famed Delicate Arch and is a fantastic, less crowded alternative to see the iconic structure for hikers who may not feel up to- or don’t have time for- the longer and more challenging Delicate Arch Trail.
You’ll be able to see the arch up and across a canyon and watch all the crowds wait in line for photos under the arch- while you likely have this viewpoint all to yourself!

Tips for the Upper Delicate Arch Viewpoint Trail
If you need an easier option, consider the Lower Delicate Arch Viewpoint
Portions of this trail are still fairly steep and it’s completely exposed to the sun the whole way. So if you’re looking for a lower impact option, the Lower Delicate Arch Viewpoint is accessed via a flat, 50-yard pathway and offers similar (just slightly further away) views to the upper viewpoint.
Bring binoculars
Word of warning- to set expectations, you’ll still be preeetty far away from the Delicate Arch from the upper viewpoint. If you really want to appreciate the scale of this amazing structure, be sure to pack along some binoculars to get an up close peek at it!
10. Tower Arch Hike
- Length: 2.4 miles
- Elevation gain: 600 feet
- Difficulty: Moderate
- Trail map

What to expect along the Tower Arch Hike
Given this trail is tucked away from the main portion of the park that most visitors stick to, it’s one of the best hikes in Arches National Park if you’re hoping to get it all to yourself!

As you hike through the stunning scenery, passing layers upon layers of sandstone fins, you’ll find your way along the trail using cairns. They’ll lead you straight to Tower Arch, an impressive arch (spanning 92 feet!) with one of the most breathtaking views in the whole park!
Tips for the Tower Arch Hike
Choose your trailhead wisely
There’s two trailheads for this hike.
The Klondike Bluffs trailhead, located here along an unpaved road, is accessible by most passenger vehicles (so long as you drive slowly and carefully!). However, if it is or has recently rained, this road turns into a muddy disaster zone, primed and ready to suck your wheels in, so I’d strongly suggest stopping at the park’s visitor center to check with a ranger on the current road conditions before you head out.
Alternatively, if you have a super hardcore high-clearance car, you can take an unmaintained road, to the left of the Klondike Bluff’s trailhead sign, to just 0.3 miles away from the arch. In my opinion, though, half of the fun of this trail is the incredible views along the way!
Things to Know Before Visiting Arches National Park
You will need a car to get around the park.
While the park is fairly small at under 120 square miles, you’ll still definitely need a vehicle, either your own or a rental car, to get around, as there’s no shuttle or other public transit system here.
Start early.
Arches is, like, REALLY popular, receiving well over a million visitors per year, so trails can get pretty crowded.

I’d recommend starting your days in the park early. Not only will there be less crowds, but you’ll also be avoiding the hottest part of the day and get to see the rock formations in the prettiest light. Win win!
Follow the Leave No Trace Principles.
Arches is an incredibly special place. In fact, many of the Indigenous tribes who call Moab and the surrounding area home, like the Pueblo of Zuni or the Hopi tribe, consider it to be a spiritual and sacred place.
So please treat it with the care and respect it deserves by following the Leave No Trace Principles.

Take, for example, leave what you find. The park has had a heartbreaking problem with graffiti—even on ancient petroglyphs (who does that?!). Not only is this mega uncool on SO many levels, it’s also a federal crime and will subject you to eternal internet shame– so don’t be that guy.
What to Pack for Hiking at Arches National Park
So now that you’re armed with a ton of amazing trails to check out, here are the must-have essentials for your time in the park.
Hiking shoes or hiking sandals
While many of the Arches National Park hikes are on the easier side, many of them require you to hike on slippery sandstone.

As such, I’d highly recommend packing some actual hiking boots, like these for women or these for men, or hiking sandals, I have these Tevas and Justin has these, to provide better traction on the smooth rock and for support, especially in sandy terrain.
Refillable water bottle
Listen, Arches gets HOT, so you’re going to need water- lots and lots of water. Justin and I each take one of these giant Nalgene bottles on every hike (and for longer hikes or particularly hot days, usually throw a couple of smaller water bottles in our backpack to refill it), as well as keep a large water dispenser in the trunk of our SUV to refill between hikes.
I love these refillable solutions- not only are they better for the planet than single use-plastic, but they’re also way easier on my wallet!
Headlamp
If you’re planning on doing any sunrise or sunset hikes here (which you definitely should!), be sure to pack along a headlamp, so you can see where you’re going and, you know, not accidentally fall off a cliff. We have- and love- these rechargeable ones.

Where to Stay when Visiting Arches National Park
Looking for a place to stay while you’re visiting Arches?
While there’s no hotels within the park’s borders, there’s tons of great option in the nearby town of Moab, like:
- Moab Valley Inn: This is a great option for travelers on a budget, especially in pricey af Moab- plus there’s some solid perks like continental breakfast and a hot tub.
- MainStay Suites Moab: This hotel offers clean and comfortable rooms (conveniently including a kitchenette!) and an awesome location right in the heart of the downtown area.
- Hyatt Place Moab: If you’re more in the market for something on the bougie side, this hotel will be right up your alley- think: a pool with views of Moab’s red rock canyons and your own personal nook to nosh on your continental breakfast.

I hope you have the best time exploring these incredible hikes in Arches National Park! Do you have any questions about any of the trails? Let me know in the comments below!
Thank you for reading our post! Check out our latest stories here and follow us on Instagram (@JustinAndJess_), YouTube, TikTok, or on Facebook to see what we’re up to next!
